
Exporting a Database from SQL Azure
If you need to copy your SQL Azure database locally then exporting it as a Bacpac file is the simplest route to go.
There's many ways you can do this including PowerShell, REST API, and even SQL Server Management Studio. However I am going to show you how to do it through the Azure Portal.
Exporting a Bacpac file
First off find your DB in the Azure Portal.
In the top set of buttons when you view your DB (make sure you're on the actual DB not the server), you will see an export button 3rd from the left.

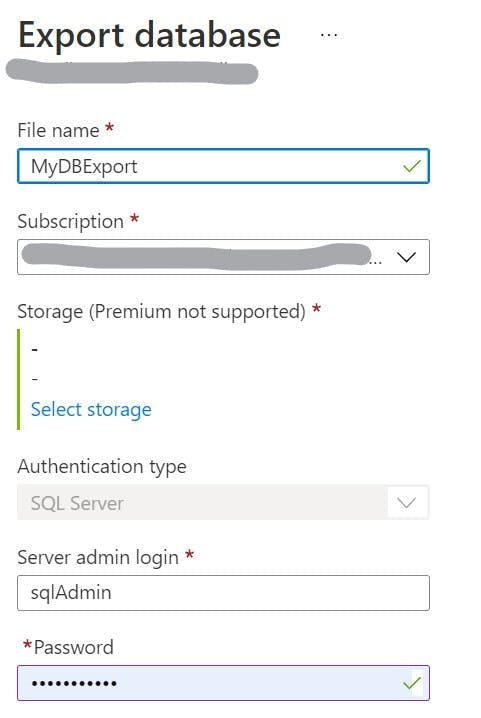
Clicking Export takes you to a page where you need to configures the filename to export as, the storage account to export to and the authentication to log into the DB. The storage account is required as a place for the export to be saved, you will get the choice of configuring the container for it to go into, so I like to create one called backups.
Checking the status of the export
When you start the export you will get a confirmation that it has started, but knowing how to check what the progress is isn't obvious.
To check the progress, navigate to the DB server in the portal.
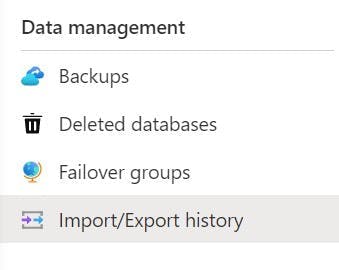
In the left nav, under Data management, select Import/Export history.
From here you can view the status of each of the exports.
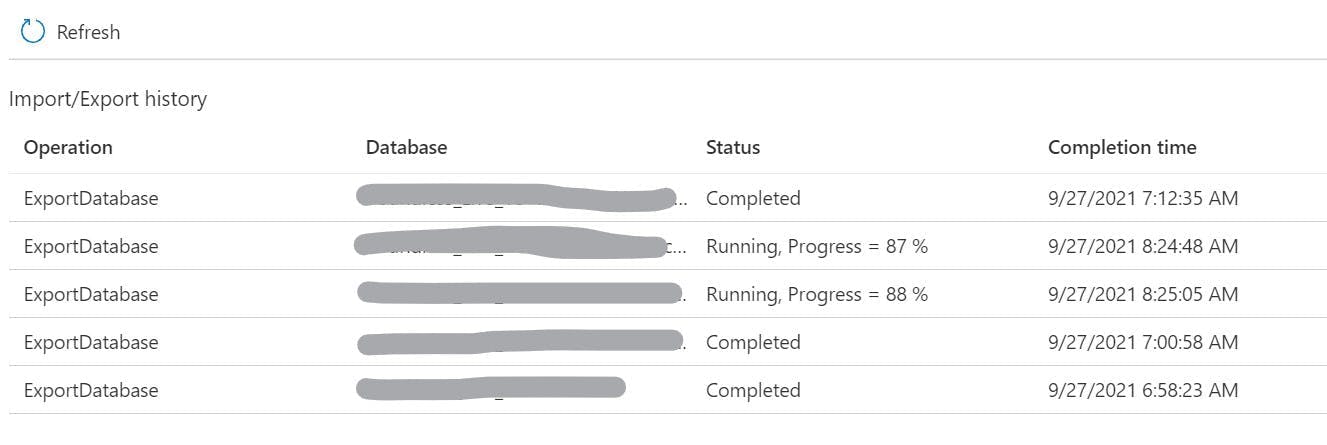
Once they are complete you can download them through blob storage.