
How to add a table to content in Sitecore
Although most of my blog posts are aimed at developers, this one is really for a content editor. When we build sites and do all the checks to make sure they work well for SEO and hit AAA accessibility standards, it's easy to forget that once we're done the content editors are going to take over with the ability to destroy things :) through the rich text editor.
Scenario
As a content editor you need to display some data in your article, and it makes most sense to put in a table.
Adding a table is actually quite straightforward in Sitecore, it's not much different to doing it in Microsoft Word. You click the insert table button and choose the size you want. However the problem that often gets missed is accessibility. While a table is actually very good for a screen reader, it does need to have a bit of info on things like table headings. e.g. are the they top row, the first column or do they exist at all.
Solution
Adding heading information takes a bit of extra work, but not a lot.
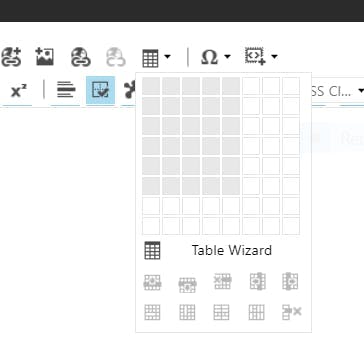
- Add you table by clicking the Insert table button and choosing the size you want.
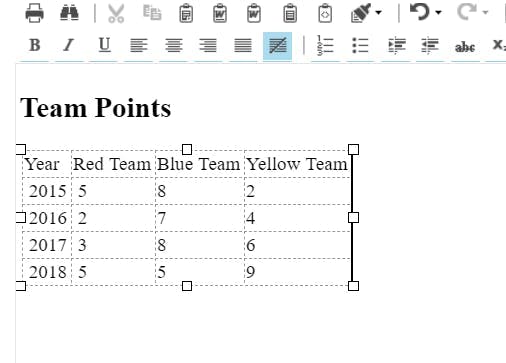
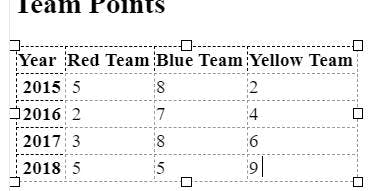
2. Fill in your tables content
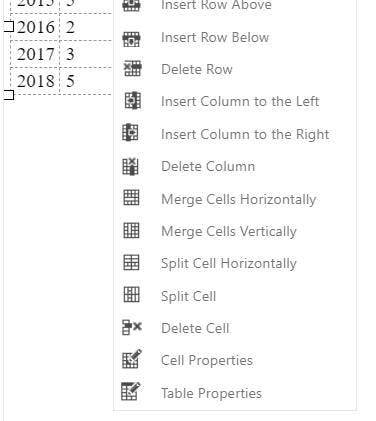
3. Right click the table and select "Table Properties"
4. Go to the Accessibility tab and set the heading rows and columns. In this example I have set the first row and first column to be marked as headings.
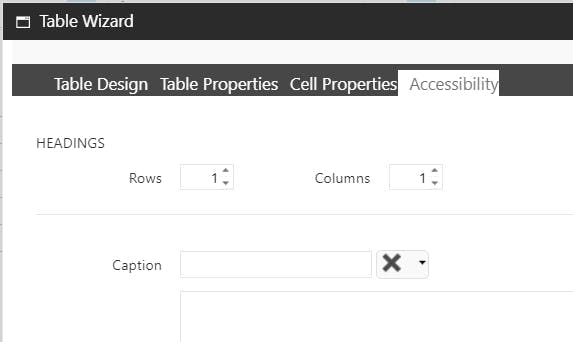
5. Click on and your table will be updated. If your site has styles for table headings these will also show now too.
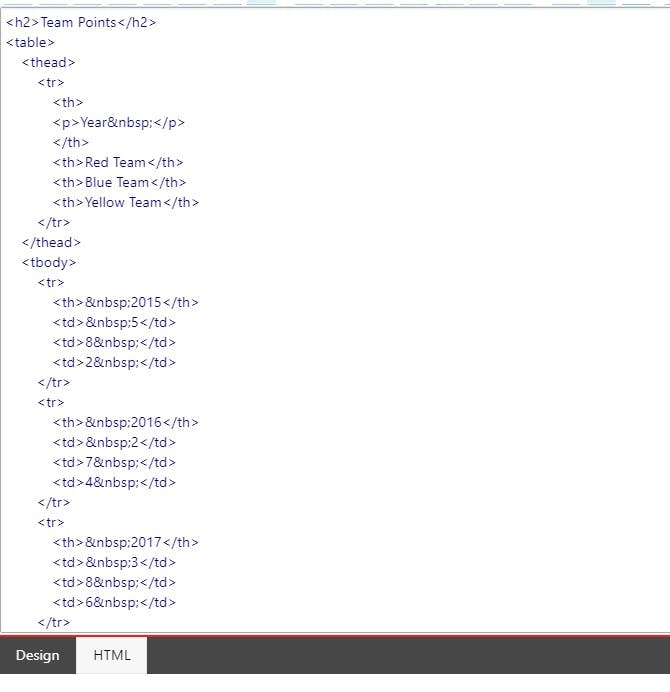
6. Switching to HTML view will also show the correct HTML tags now being used.
An alternative approach to this, is at step 1 to pick table wizard rather than picking the size of the table. This will open the same wizard as in step 4 and allow you to specify the size of the table here too.