How to setup CI with Azure App Service using GitHub Actions and deployment slots
Today I'm going to go through how you can setup automatic deployments when using a combination of Azure App Service (e.g. a Web App), deployment slots on the App Service and GitHub Actions. This is a setup to achieve zero downtime.
What are GitHub Actions?
GitHub Actions are the continuous integration and continuous delivery (CI/CD) platform from GitHub. If you're working with the Microsoft tech stack you may have used tools such as Team City or Azure Dev Opps in the past and this is just GitHubs version. Like the newer Azure Devops pipelines GitHub Actions define the pipeline in yaml files and while they are not the same they are very similar.
What are App Service Deployment Slots?
Deployment slots solve two issues; Firstly they allow zero downtime deployments by deploying the application to a separate instance to production, warming up that instance and then swapping it. Secondly, they can also be used as separate environments to preview changes without affecting the production code.
One thing to note is that although they are separate from the production code, they do share the same resources. So if your change has a processor-hungry bug, then that will have an affect your live environment. For this reason its also best to not leave them running all the time.
Configure App Service Deployment Slows
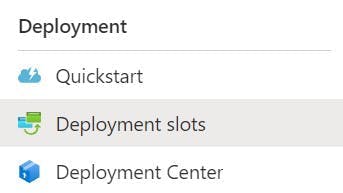
As a pre-requisite you need an App Service configured in Azure. Once you have this head to the Deployment slots section in the left nav.
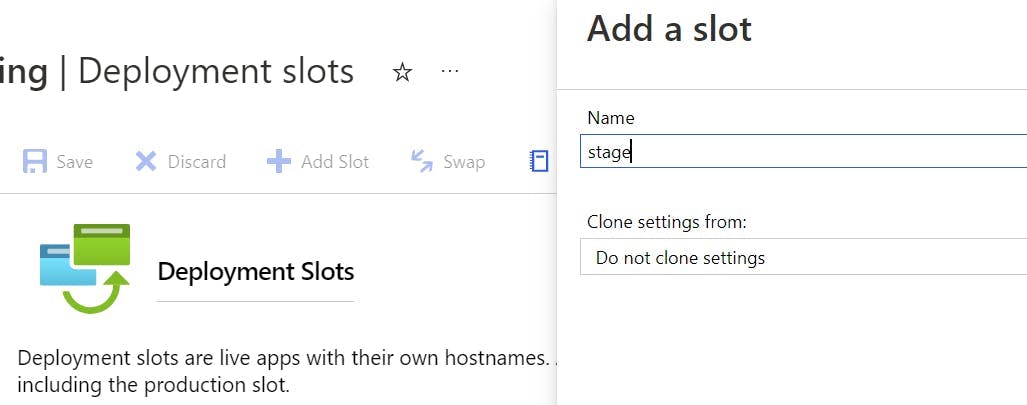
Click the Add Slot button, and create a slot named staging.
Auto Swap Slots
At this point you could setup a deployment pipeline that deploys to the staging slot and then performs a slot swap, to change which one is in production. However Azure has a nifty setting that will do this all for you.
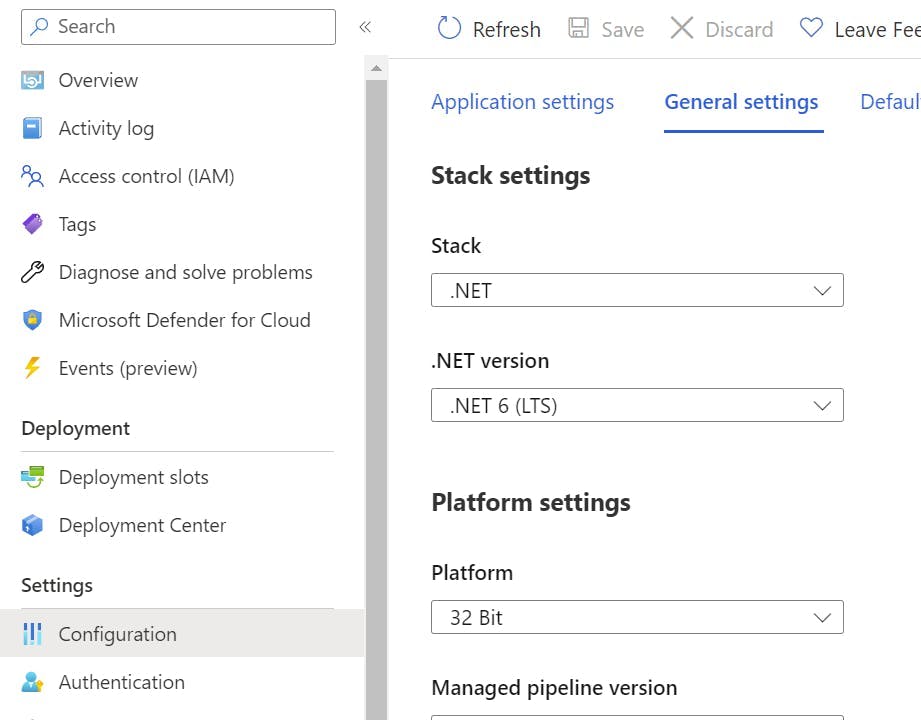
Click into the Deployment slot you just created and then go to Configuration, in the left-hand nav.
Switch to the General settings tab.
Scroll down to a section called Deployment Slot, and turn on auto swap. Within the drop-down select production.
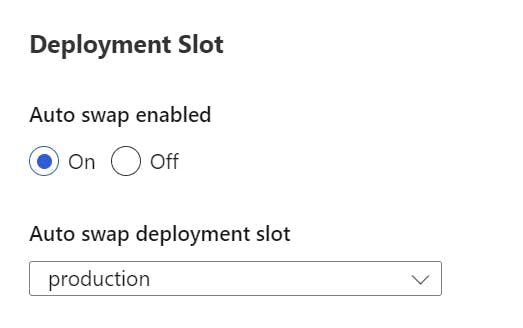
Now when a deployment is made to the staging slot it will warm up and then automatically swap with the production slot.
Configure GitHub Action
To configure the GitHub Action first make sure you are still in the staging deployment slot and select Deployment Center in the left nav.
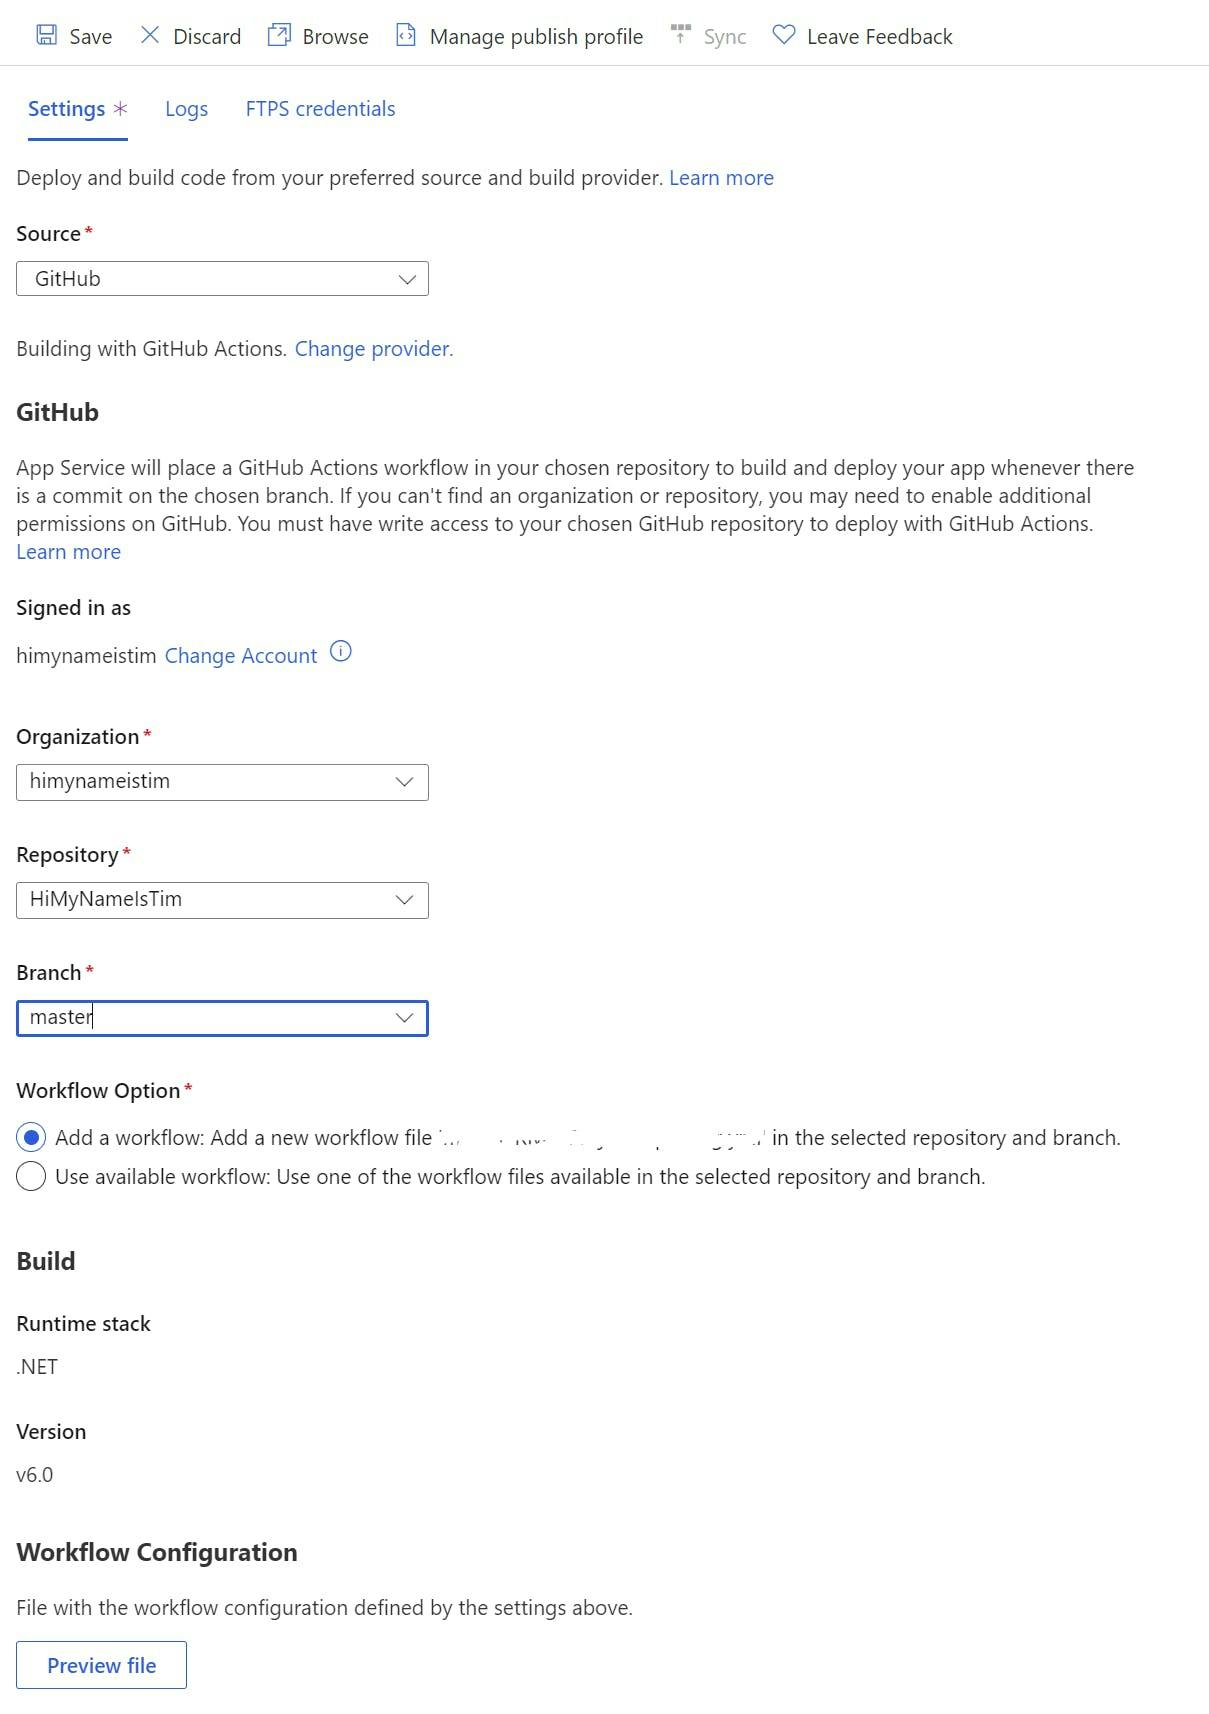
From the source drop-down select GitHub.
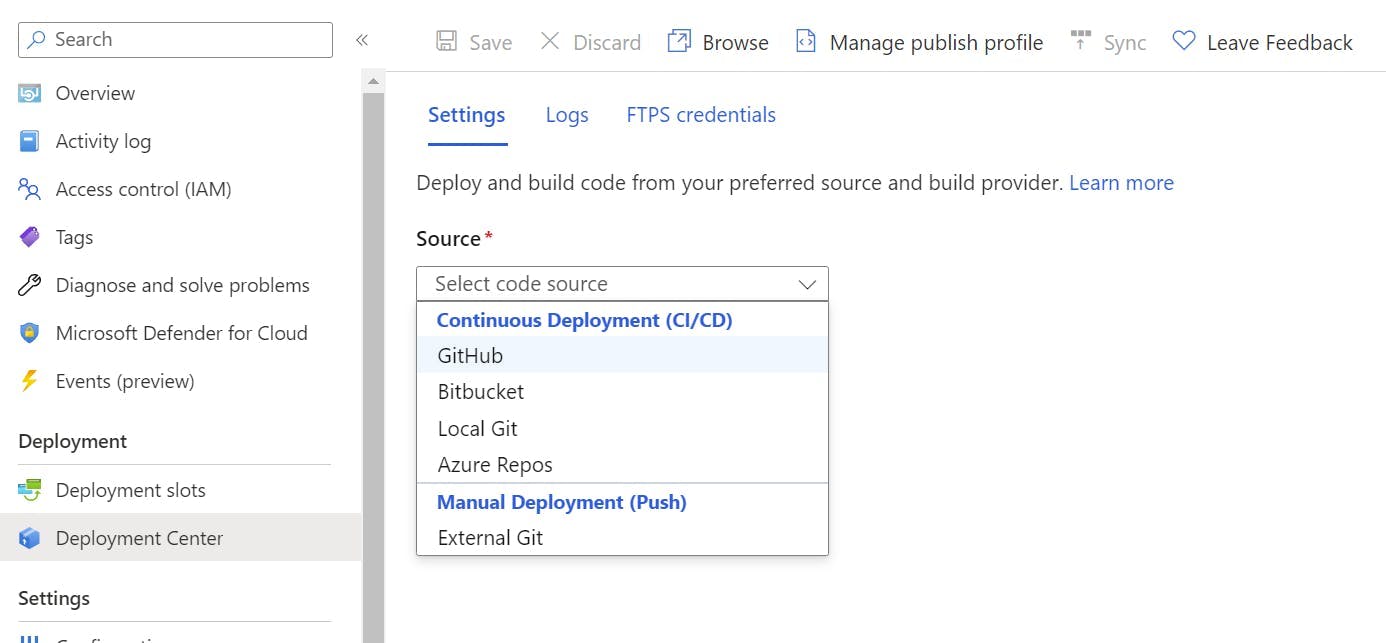
Next select the Organization, Repository and branch to deploy for. This will give you the option to add a workflow. You may need to edit this file to get the build to work as needed but, this will provide the basics for building a .NET application and configuring the publish profile to get it into Azure.
