Custom Experience Buttons vs Edit Frames in Sitecore
So your going that extra mile and fully supporting the experience editor in your Sitecore solution, but how do you support a WYSIWYG editor when a field isn't actually visible, or you need to provide the ability to edit a complex field type such as a drop-down or a multi-list?
The solution is to use either Edit Frames or Custom Experience Buttons, both of which will display a dialog containing the fields to edit. The difference between them comes down to where the toolbar containing a button will appear.
Edit Frames require extra code to be added to your view and are designed to surround a section(s) of your view. Custom Experience buttons however appear on the existing tool bar that's shown when you select a component in the experience editor.
Edit Frame
With an edit frame you can surround a section of html within your view with a clickable target, that will display a toolbar with a button to launch the dialogue.
To set up an edit frame:
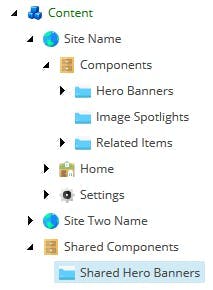
- In the core database navigate to /sitecore/content/Applications/WebEdit/Edit Frame Buttons and create a new item based on Edit Frame Button Folder. This folder will be referenced in your view for the collection of buttons to be displayed.
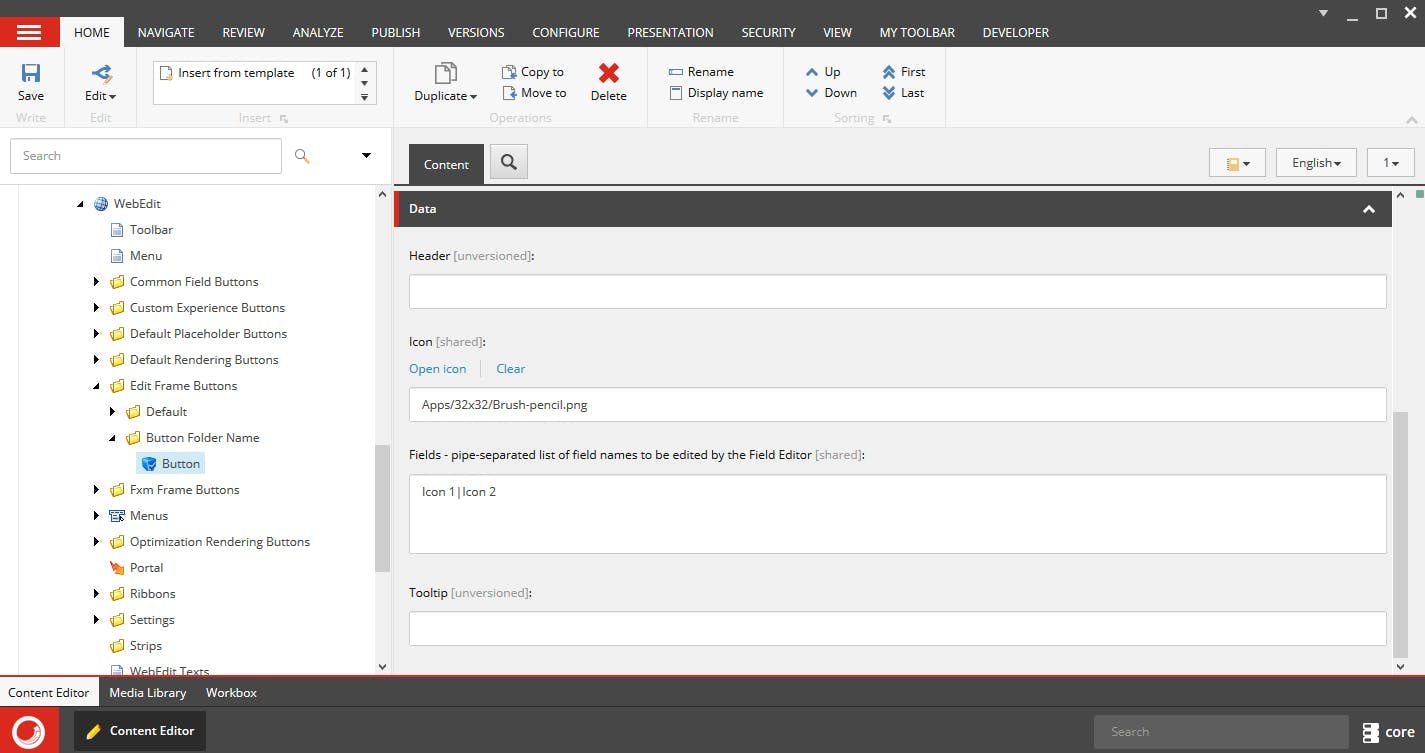
- Under the new folder create a new item based on Field Editor Button and give it the name of your button.
- On your button item make sure you set an icon and the list of fields the button should allow the content editor to edit. These should be pipe separated.
- In Visual Studio open the view for your rendering
- Add a reference to Sitecore.Mvc.Extensions
- Surround the section to show the button with a using block as follows:
1@using (Html.BeginEditFrame(RenderingContext.Current.ContextItem.Paths.FullPath, "Button Folder Name", "Toolbar Title"))2{3 // HTML here4}
- You will now see a toolbar appear in the experience editor
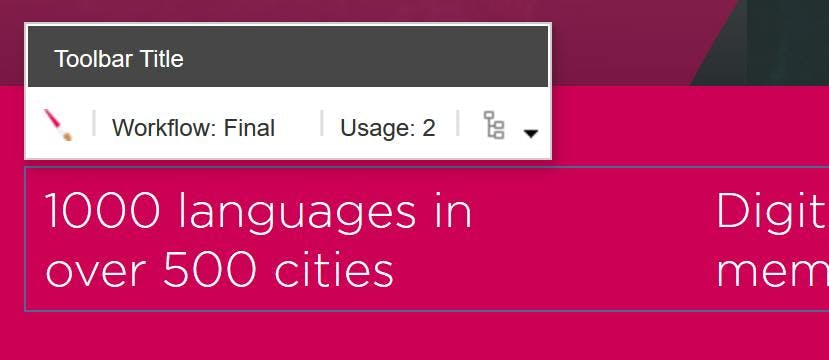
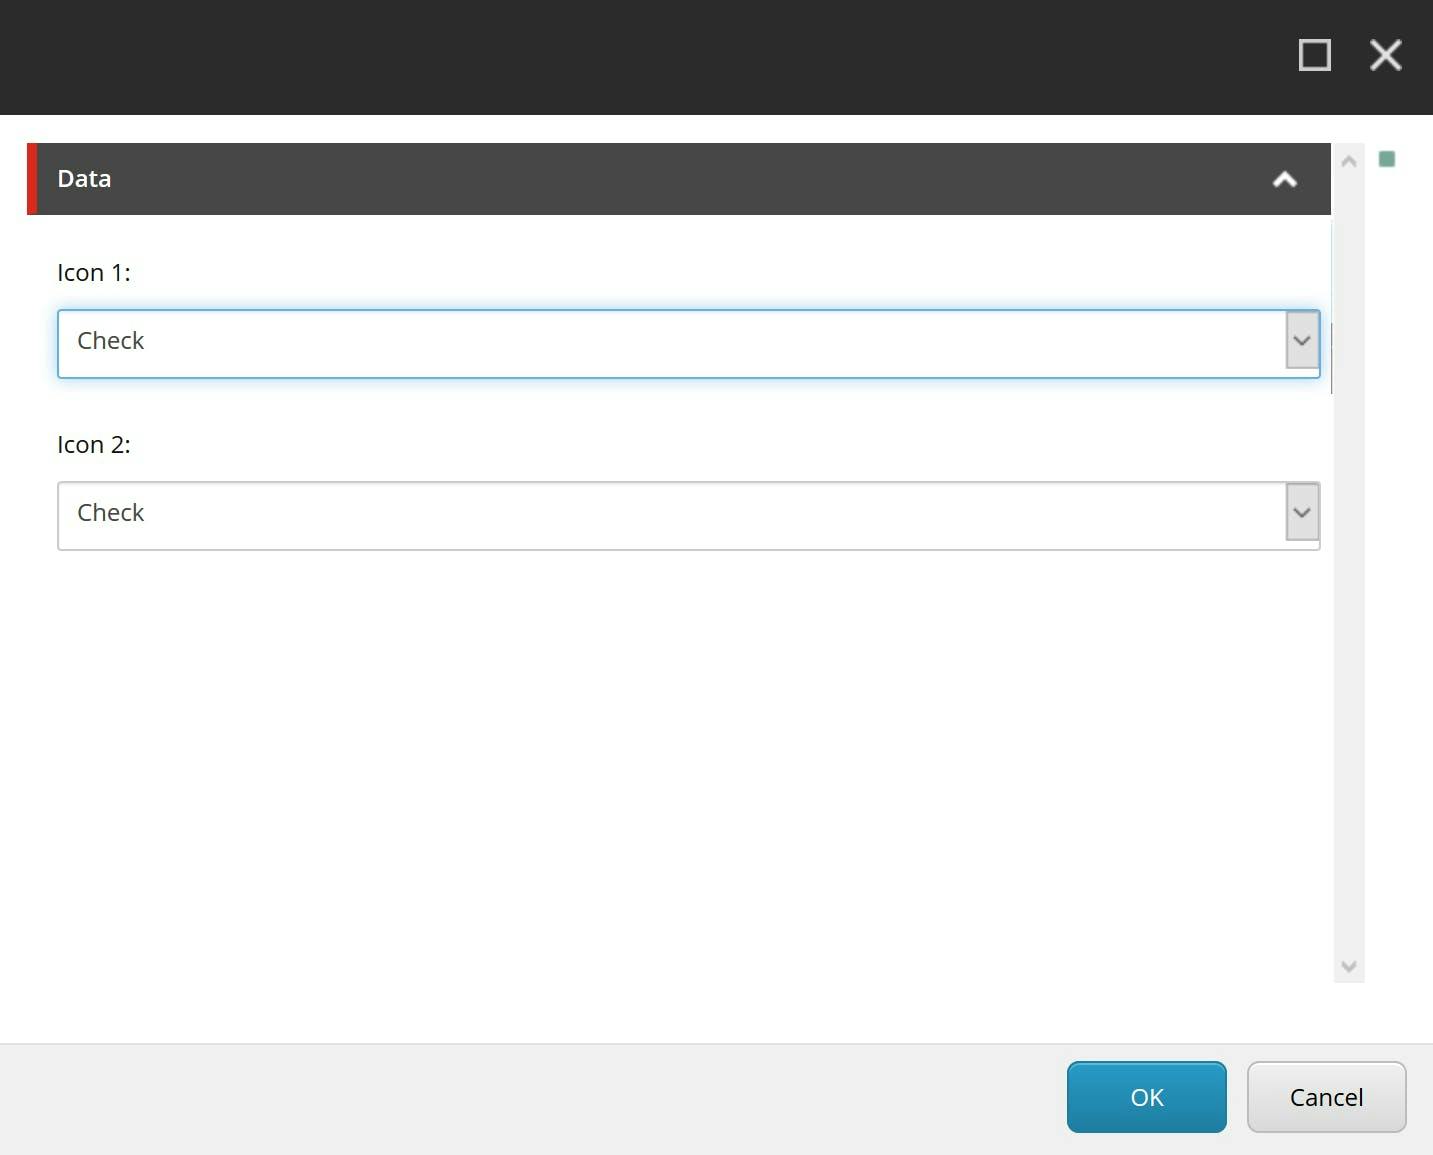
- Clicking the icon will load a dialogue to edit the listed fields
Custom Experience Buttons
Custom experience buttons differ to edit frames in that you do not need to add any code to your views. Rather than having 1 or more clickable areas in your view the button will appear on the toolbar for the entire component. This makes them beneficial when the field doesn't directly relate to a section in the view. e.g. for editing a background video that may span the entire components background.
To set up a custom experience button:
- In the core database navigate to /sitecore/content/Applications/WebEdit/Custom Experience Buttons and create a new item based on Field Editor Button.
- On your button item make sure you set an icon and the list of fields the button should allow the content editor to edit. These should be pipe separated.
- Switch to the master DB and navigate to the rendering item for your component
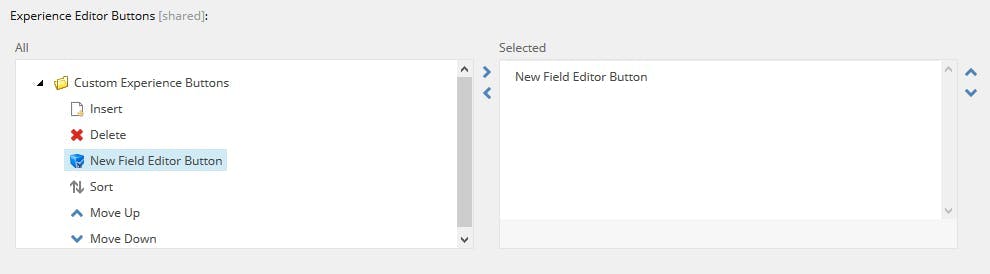
- In the field for Experience Editor Buttons select the new button
- Selection the component will now show the additional button on the toolbar
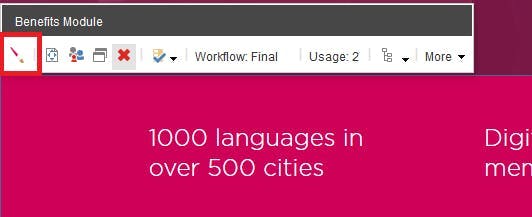
- Clicking the icon will load a dialogue to edit the listed fields