Using Visual Studio with Git Hub
This is one of those great examples of writing a blog post to yourself to remind you how to do something.
If your using Visual Studio 2012 then to add Git support you will need the Visual Studio Tools for Git plugin created by Microsoft's TFS Power Tools Team (http://visualstudiogallery.msdn.microsoft.com/abafc7d6-dcaa-40f4-8a5e-d6724bdb980c), if your using a later version of Visual Studio then it's already built in.
If you're thinking in of using Git Hub as your source control provider then the most basic thing you're going to need to know is how do you get the Git plugin to link up to GitHub. Here's a couple of different methods;
Creating a Project in Git Hub

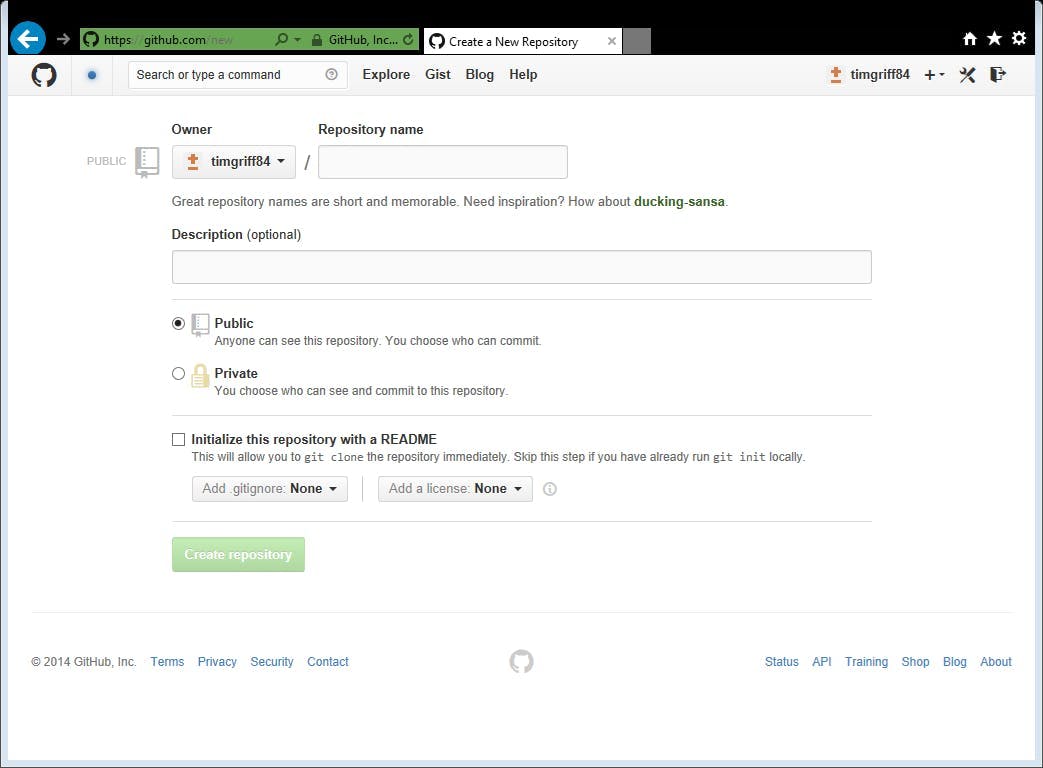
Click New Repository. Enter a new, Select Public or Private and click Create new Repository.
A new repository will be created in Git Hub
Clone the Project in Visual Studio
Now the project has been created in Git Hub you will need to clone it to your machine so that you can start adding files and sync then back.

Open a new instance of Visual Studio and do the following:
- Open the Team Explorer window
- Click the connect button
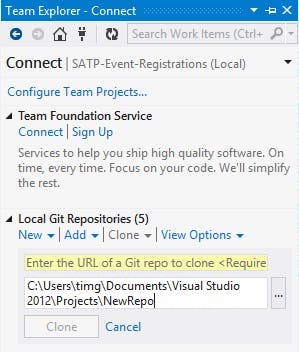
- In the list of Local Git Repositories click clone
- In the URL box enter the HTTP URL from Git Hub
- The second box should auto populate with a location on your hard disk
- Click Clone
Creating a Repository on Git Hub using the Git Hub app

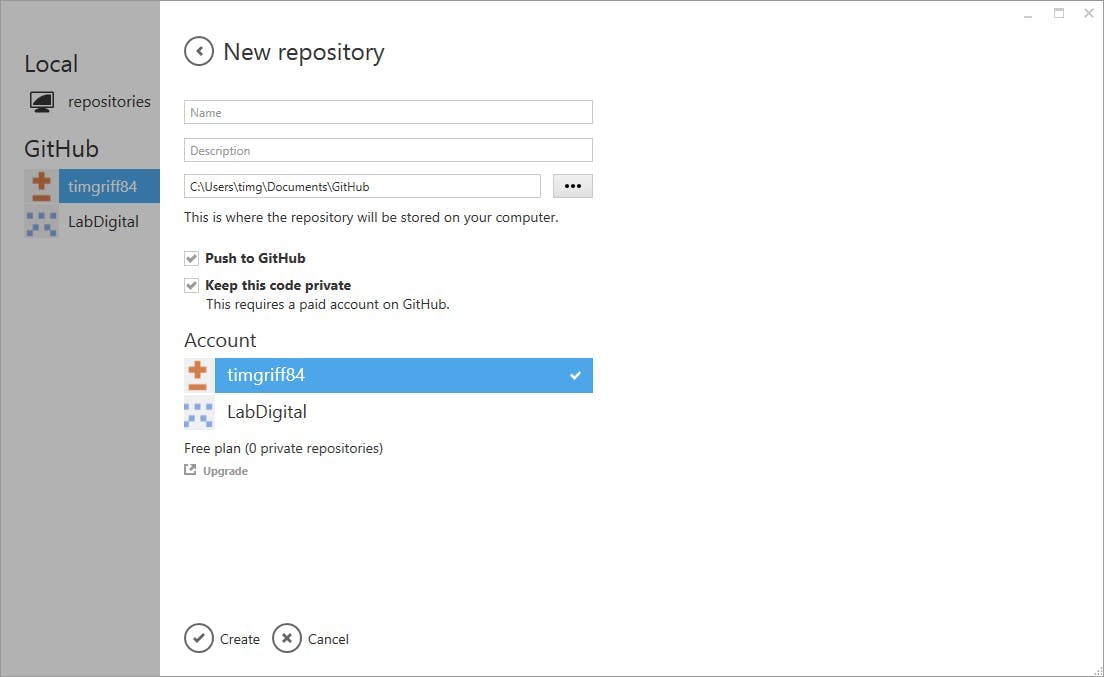
Rather than creating the Git Hub repo through the GitHub website you can use their app. Once you've got the app installed and logged in do the following:
- Select the GitHub account you want to add the repo to on the left
- Click Create button at the top
- Enter a name and click create
- The repository will be created in GitHub and automatically sync with the folder on your machine
Adding an existing Repository to Visual Studio
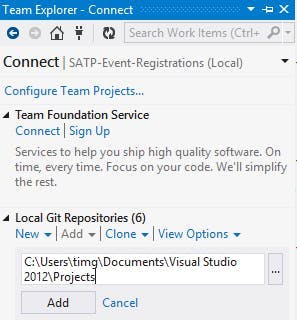
If you already have a repository cloned on your machine but it's not showing in Team Explorer you can add it by clicking on Add

- Click the Connect button to view the list of local repositories
- Click add an enter the path to the repository on your hard drive
- Click Add