IIS Where are my log files?
This is one of those things that once you know is very very simple, but finding out can be very very annoying.
IIS by default will store a log file for each site that it runs. This gives you valuable details on each request to the site that can help when errors are being reported by users.
When you go searching for them your initial thought may be to go to IIS and look at the site you want the files for. There you will see an item called logging. Excellent you think, this will tell you all you need to know.
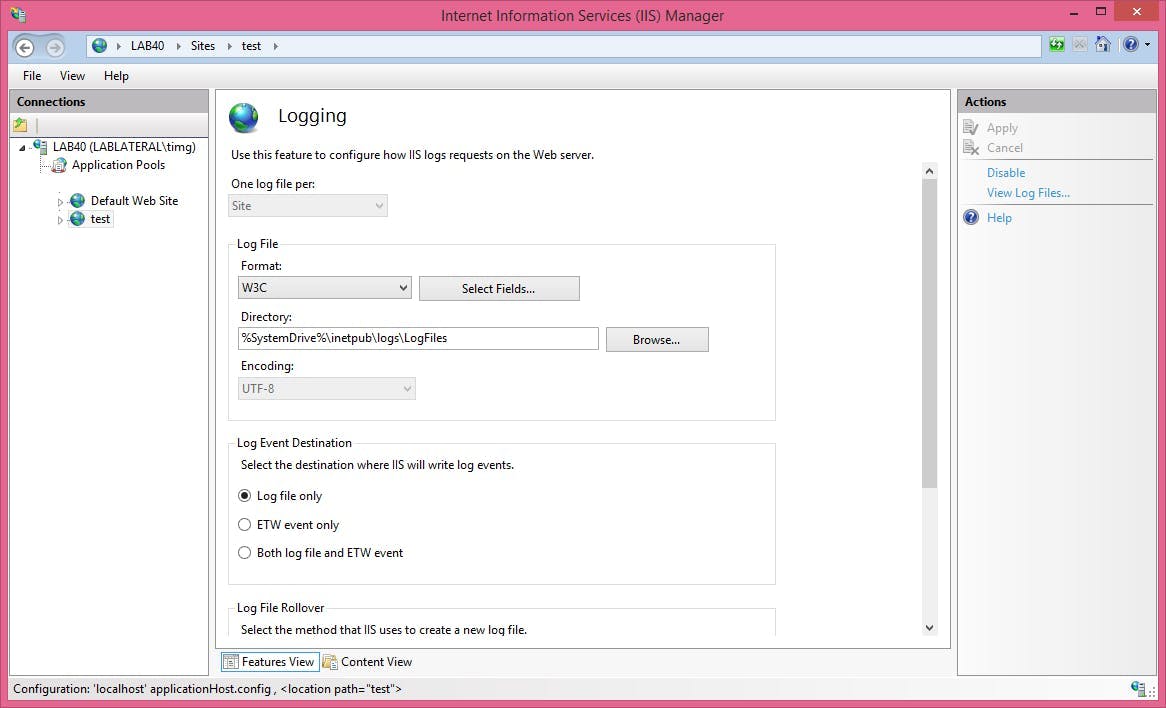
There's even a button saying "View Log File...", but once you click it you realise things aren't so simple. The link and folder path on the logging page both take you to a folder, containing more folders. In those folders are the logs, but there's a folder for each site in IIS and they've all got a weird name. How do you know which folder has the log files for the site you want?
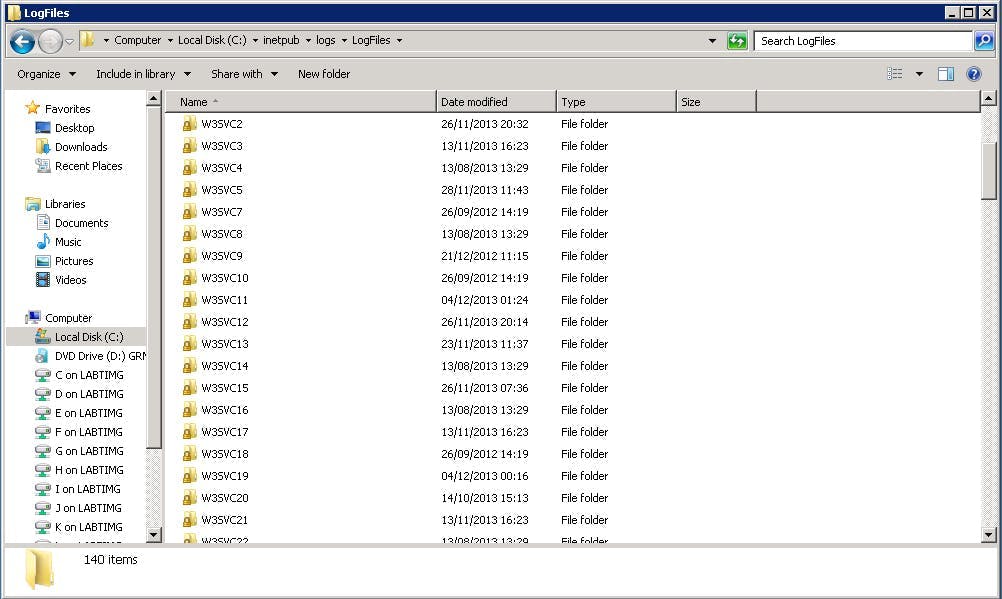
Back on the IIS logging screen there's nothing to say which folder the files will be in. There isn't any indication anywhere.
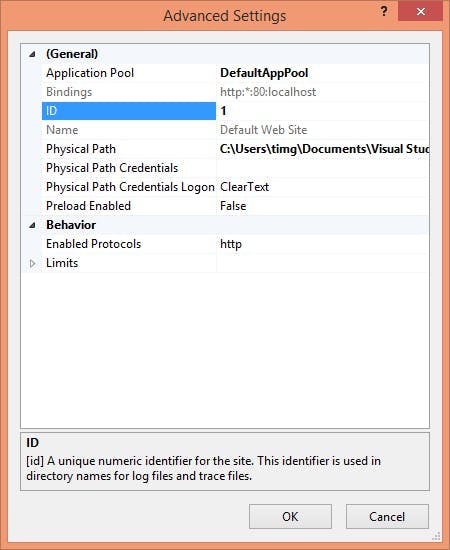
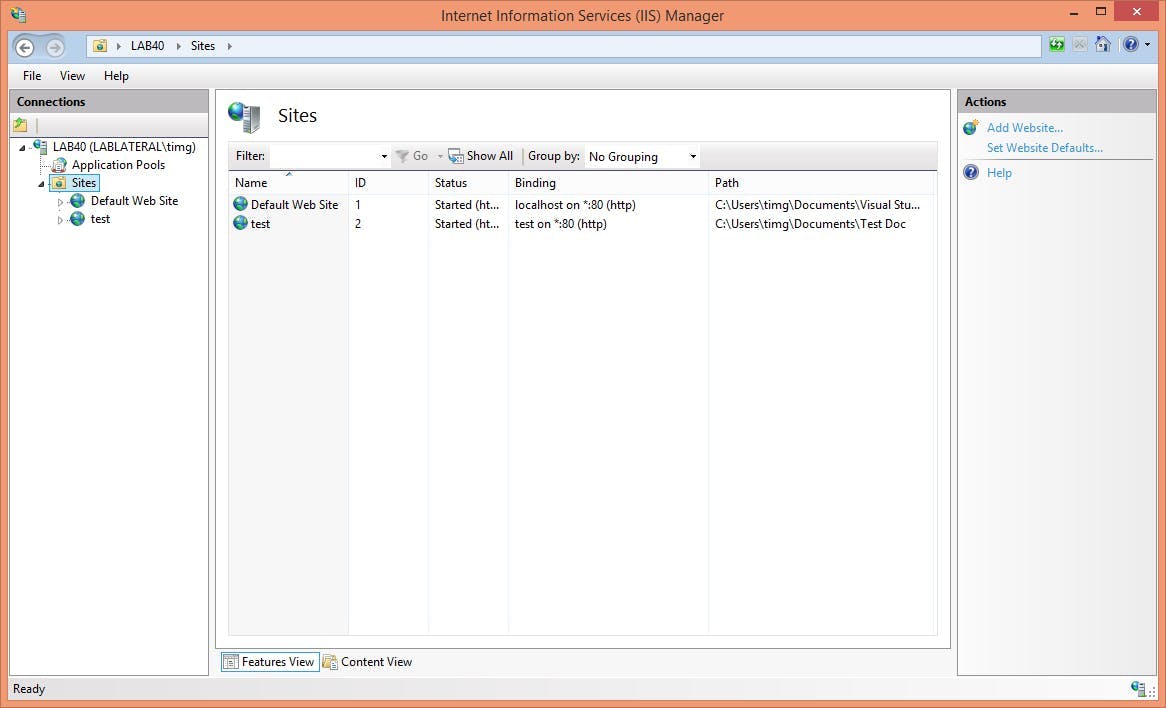
The answer however is very easy. Each folder has the Site ID in its name. You can find the Site ID for your site in IIS either by looking at the sites list
or clicking on a site and clicking advanced settings