Equivalent of the Octopus Package Library for Azure Devops
I’ve been using Team City and Octopus deploy in our CI setups for several years, but over the last 6 months have slowly been moving over to use Azure Devops. This is mostly to move away from needing to keep an application like Team City updated by switching to a SAAS service. Octopus is available as a SAAS service, but as Azure Devops is also capable of doing releases I opted to start with that rather than using Octopus again.
One of my first challenges was how you replace Octopus’s package library. The solutions I’m working on (which are generally Sitecore based), consist of the application we write and store in Source Control, and all the other pre-built parts of Sitecore which we don’t store in source control.
With Octopus deploy we would add these static parts to the Octopus package library and then release a combination of them and our application to a server, wiping what is there before we do. That then gives us the exact same deploy on every target.
With Azure Devops however, things are a bit different.
Azure Artifacts
The closest equivalent of the package library is Azure Artifacts. Rather than a primary purpose being to upload packages to be included in a deploy. The goal of Artifacts is more inline with the output of a pipeline being saved to an Artifact which can then be a package feed for things like NuGet or npm.
Unfortunately, there is also no UI to directly upload a NuGet package to an Artifact feed like there is with Octopus’s package library. However, it is possible to upload a pre-built NuGet package another way using NuGet.exe itself.
Manually uploading a NuGet package to Azure Artifacts
To start you need to create a feed for your package to uploaded to.
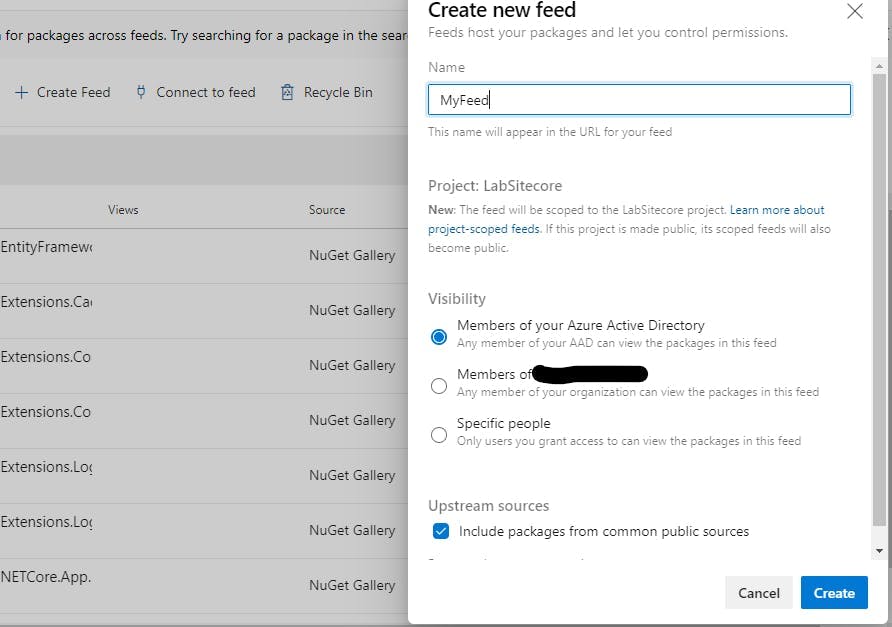
Login to Azure DevOps and got to Artifacts. Click Create feed and give it a name.

Click connect to feed and select NuGet.exe. You will see under the heading project setup a nuget.config file to add to your solution.
Create an empty solution in Visual Studio and add a nuget.config file to the root folder using the source from the website. It will look something like this;
1<?xml version="1.0" encoding="utf-8"?>2<configuration>3 <packageSources>4 <clear />5 <add key="MyFeed" value="https://pkgs.dev.azure.com/.../_packaging/MyFeed/nuget/v3/index.json" />6 </packageSources>7</configuration>
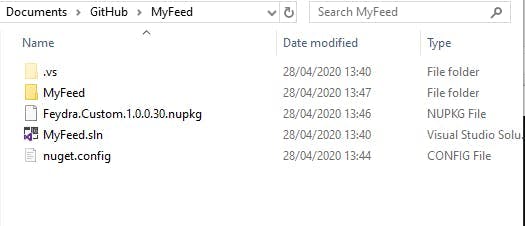
Copy the NuGet package you would like you publish into the root folder as well. I’m using a package we have created for a tool called Feydra. My folder now looks like this.


Before we can publish into our NuGet feed we need to setup a personal access token. This is done from within Azure Devops.
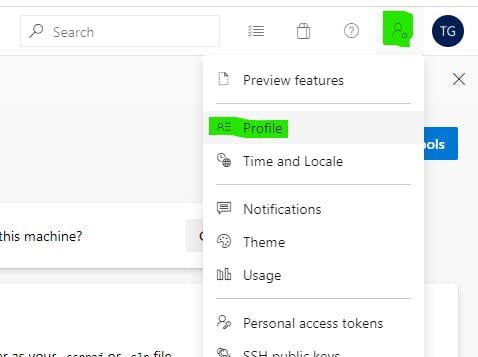
In the top right corner click the person icon and then select profile. On the profile screen you will see a section called Personal access tokens under Security.
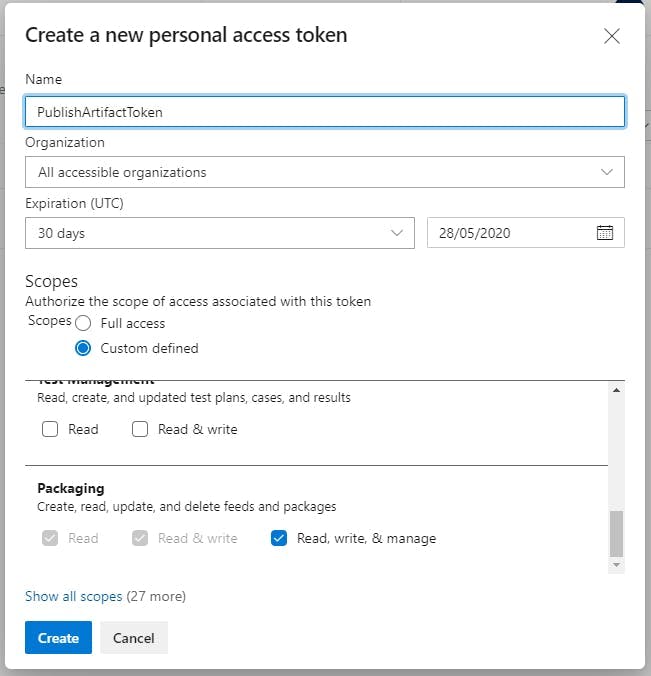
From here click New Token and give it the Read, write & manage permission for Packaging.

You will be given a token which you should save a copy of.
Now we are ready to publish are NuGet package to the Artifact feed.
Open a command prompt at the folder containing your solution file and run the following commands
1nuget push -Source <SourceName> -ApiKey az <PackagePath>
For me this is as follows:
1nuget push -Source MyFeed -ApiKey az .\Feydra.Custom.1.0.0.30.nupkg
You will then be prompted for a username and password which you should use the personal access token for both.
Refresh the feed on the website and you should see you package added to it, ready to be included in a release pipeline.


