At the end of last year I wrote a post on A first look at Sitecore SPEAK 3 which gave an overview of what Speak is, and the large architecture change that has happened between Speak 1/2 to 3.
In this post I'm going to share my experience on how to set up a Speak 3 application with Angular.
Step 1 - Creating the Angular project
To start your going to need a few things installed:
- An IDE - I'm using VS Code
- NodeJs - This is to get access to node package manager and to run your application in debug mode
- Angular
If you don't already have Node and Angular installed, I suggest going through Angular's quick start guide. If your also new to Angular I suggest going through their Tour of Heroes tutorial first. This will give you a good understanding of how Angular applications are built and some knowledge around a few key files.
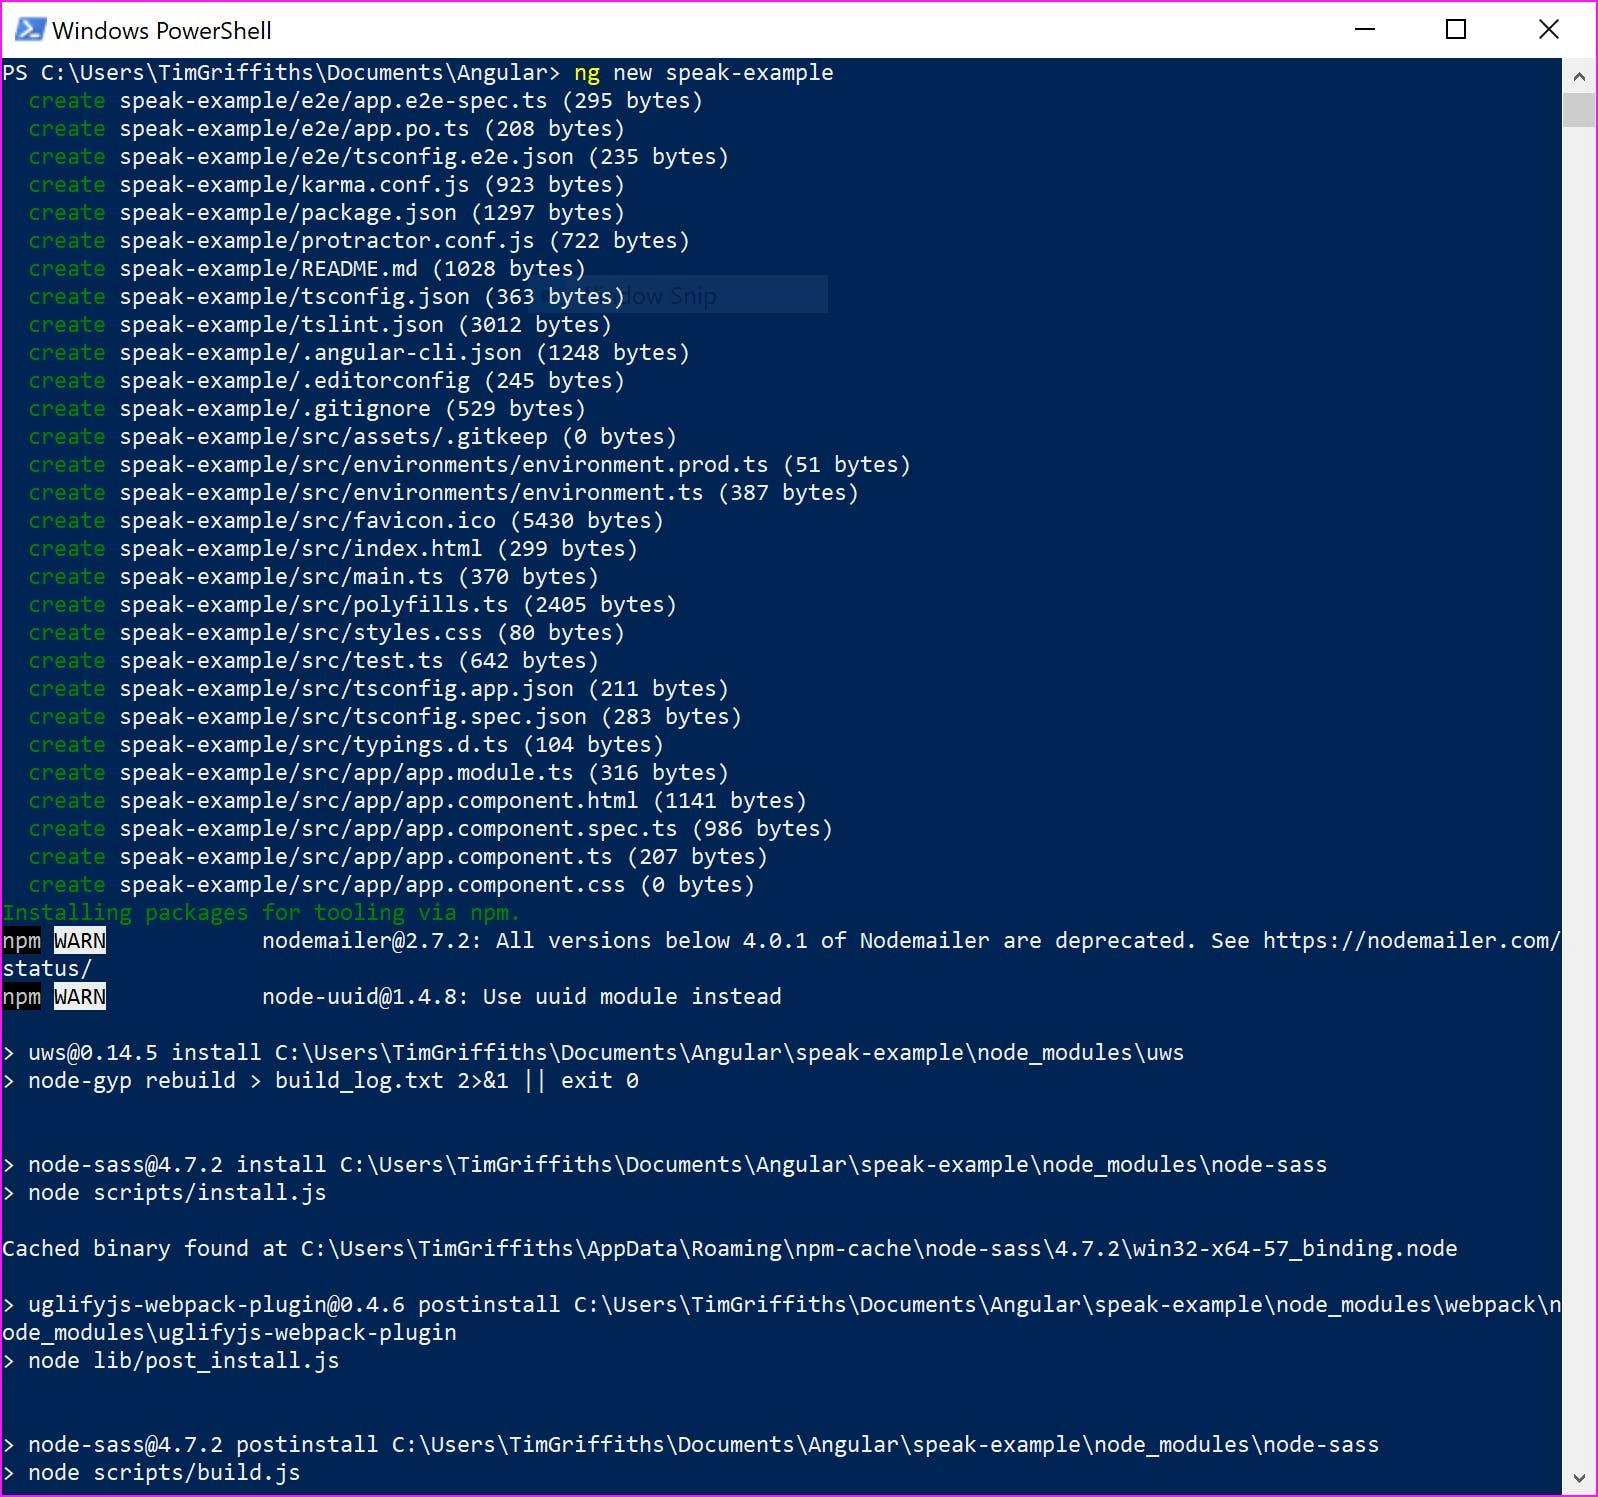
One you've got everything installed, create a new angular project from the command line.
At this point you could try manually installing the various modules Sitecore provide, covering things like common components, logout functionality etc. However I personally found this a bit awkward. Unless you know what your doing your probably going to run into issues such as compatibility between the latest version of Angular and the Sitecore components (at time of writing Angular is on version 5 but Speak 3 only supports Angular 4).
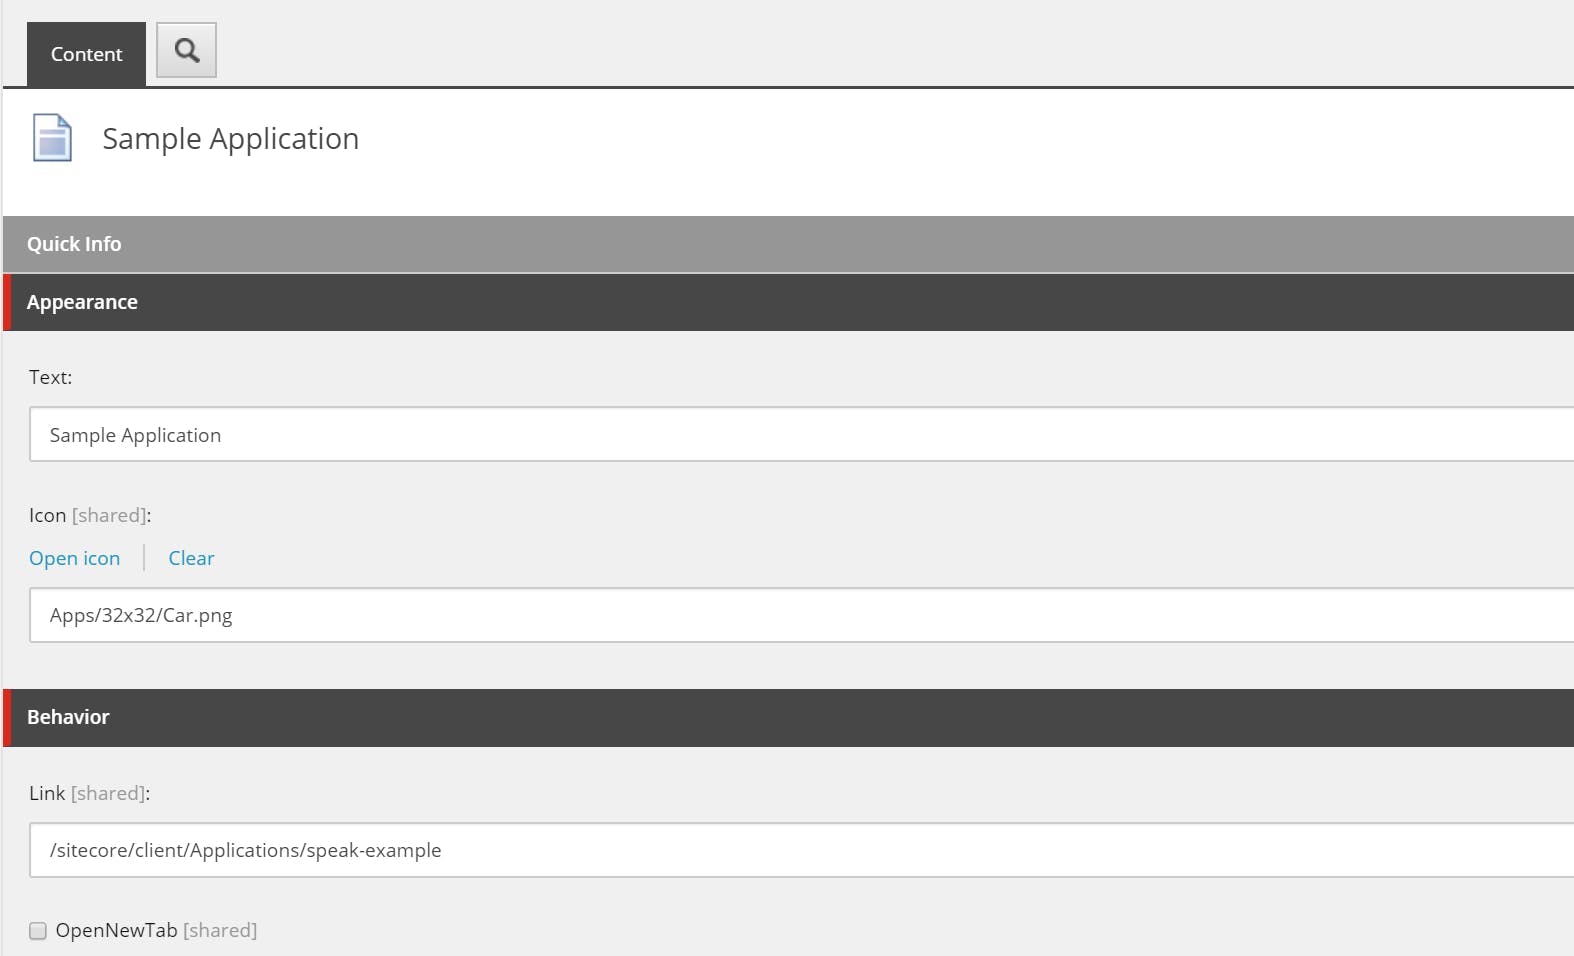
Instead I would recommend downloading the sample application from https://dev.sitecore.net/Downloads/Sitecore_SPEAK/3/Sitecore_SPEAK_3.aspx and then copy over the .npmrc and package.json file to your solution.
By including these files, the .npmrc file will add a reference to Sitecores package repository and the package.json file will make sure the right packages and versions will be installed. Use npm to install the packages.
Next we need to update a couple of files in the application to reference some Sitecore specific bits. This is explained in Sitecores documentation, in my examples though I've also included referencing some modules that you are likely to use.
app.module.ts
The app module file defines the modules that are going to be used in the application. Here we need to add the references to the Sitecore modules.
1import { BrowserModule } from '@angular/platform-browser'; import { NgModule } from '@angular/core'; import { ScAccountInformationModule } from '@speak/ng-bcl/account-information'; import { ScActionBarModule } from '@speak/ng-bcl/action-bar'; import { ScApplicationHeaderModule } from '@speak/ng-bcl/application-header'; import { ScButtonModule } from '@speak/ng-bcl/button'; import { ScGlobalHeaderModule } from '@speak/ng-bcl/global-header'; import { ScGlobalLogoModule } from '@speak/ng-bcl/global-logo'; import { ScIconModule } from '@speak/ng-bcl/icon'; import { ScMenuCategory, ScMenuItem, ScMenuItemLink, ScMenuModule } from '@speak/ng-bcl/menu'; import { ScTableModule } from '@speak/ng-bcl/table'; import { ScPageModule } from '@speak/ng-bcl/page'; import { CONTEXT, DICTIONARY } from '@speak/ng-bcl'; import { NgScModule } from '@speak/ng-sc'; import { AppComponent } from './app.component'; @NgModule({ declarations: [ AppComponent ], imports: [ BrowserModule, ScAccountInformationModule, ScActionBarModule, ScApplicationHeaderModule, ScButtonModule, ScGlobalHeaderModule, ScGlobalLogoModule, ScIconModule, ScPageModule, ScMenuModule, ScTableModule, NgScModule.forRoot({ contextToken: CONTEXT,
app.component.ts
The component file needs updating to call init on the ngScService.
1import { Component, OnInit } from '@angular/core'; import { NgScService } from '@speak/ng-sc'; @Component({ selector: 'app-root', templateUrl: './app.component.html', styleUrls: ['./app.component.css'] }) export class AppComponent implements OnInit { constructor( private ngScService: NgScService ) {} ngOnInit() { this.ngScService.init(); } }
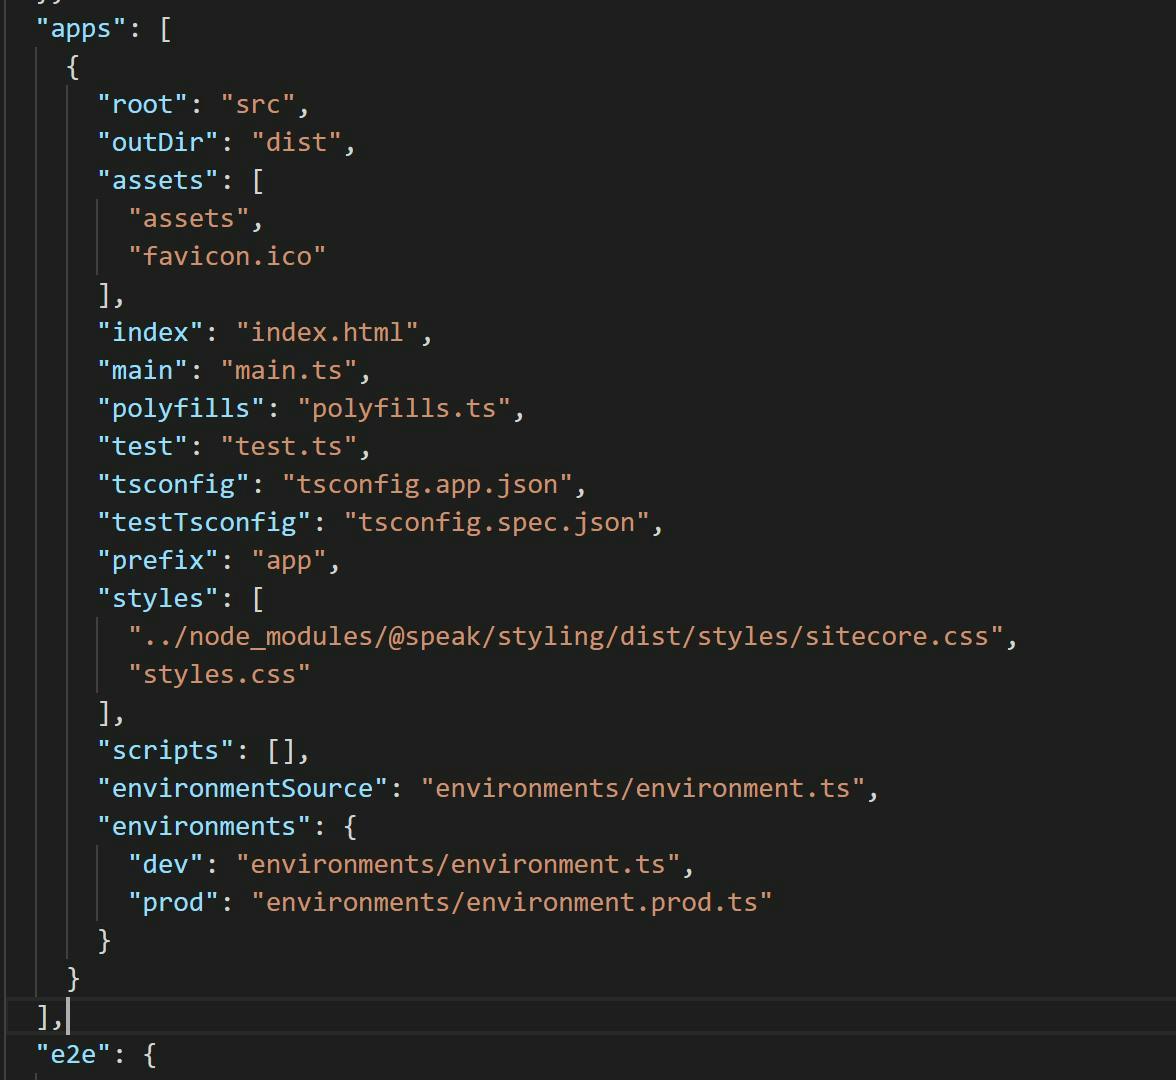
.angular-cli.json
In the angular-cli.json file you will see a styles section which references the main css file in the solution. Here you will need to add an additional reference to Sitecores css file.
1../node_modules/@speak/styling/dist/styles/sitecore.css
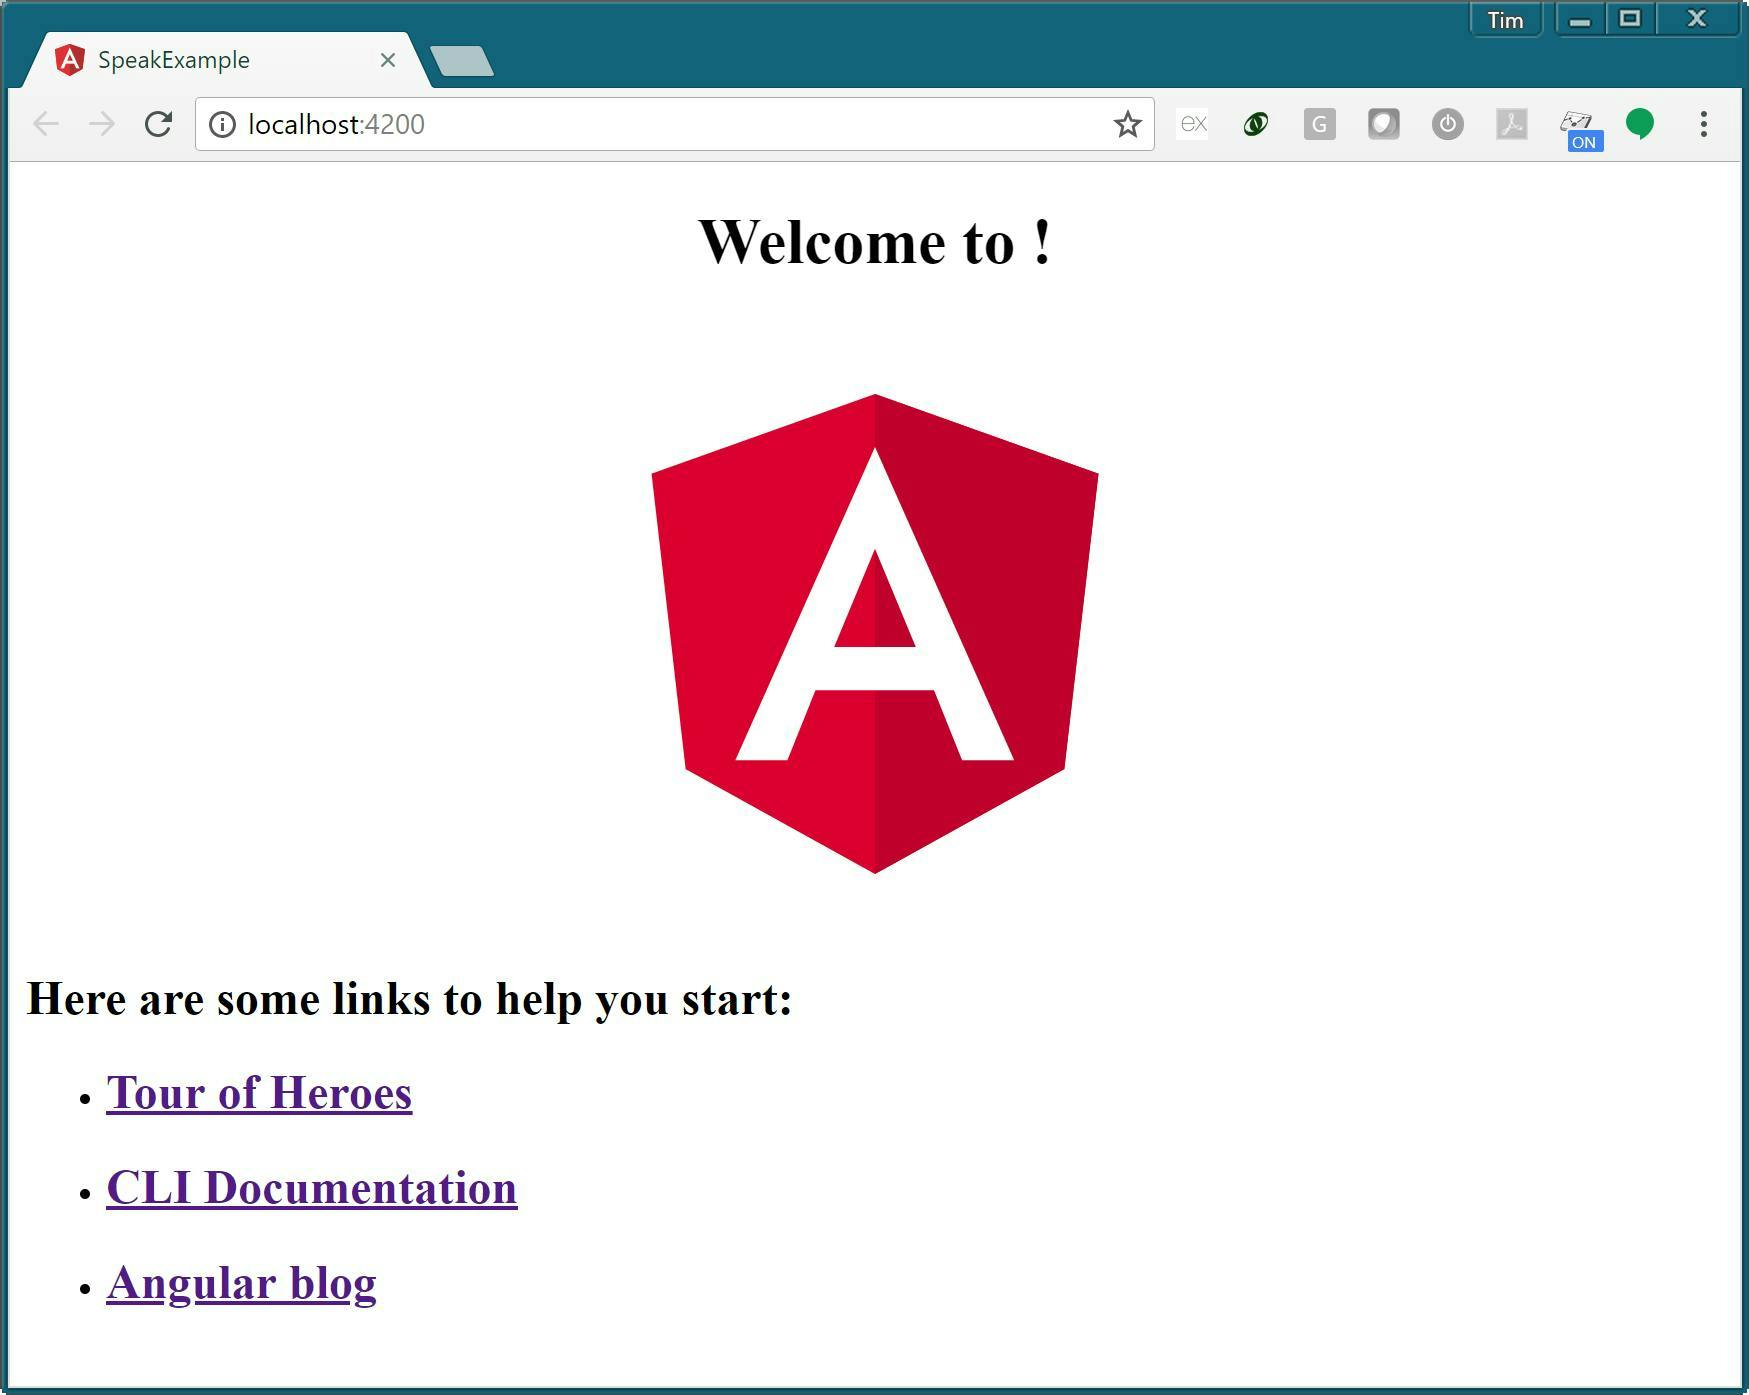
Launch
You can now launch your application from the command line and see the default start screen.
Step 2 - Building your application
It's not time to start building your application. If you don't know Angular I suggest going through a couple of tutorials, and go from there. I'm not going to go into any details about how Angular apps are and should be written, but I am going to go through a few of the Sitecore controls needed to make an application that fit's the Sitecore admin.
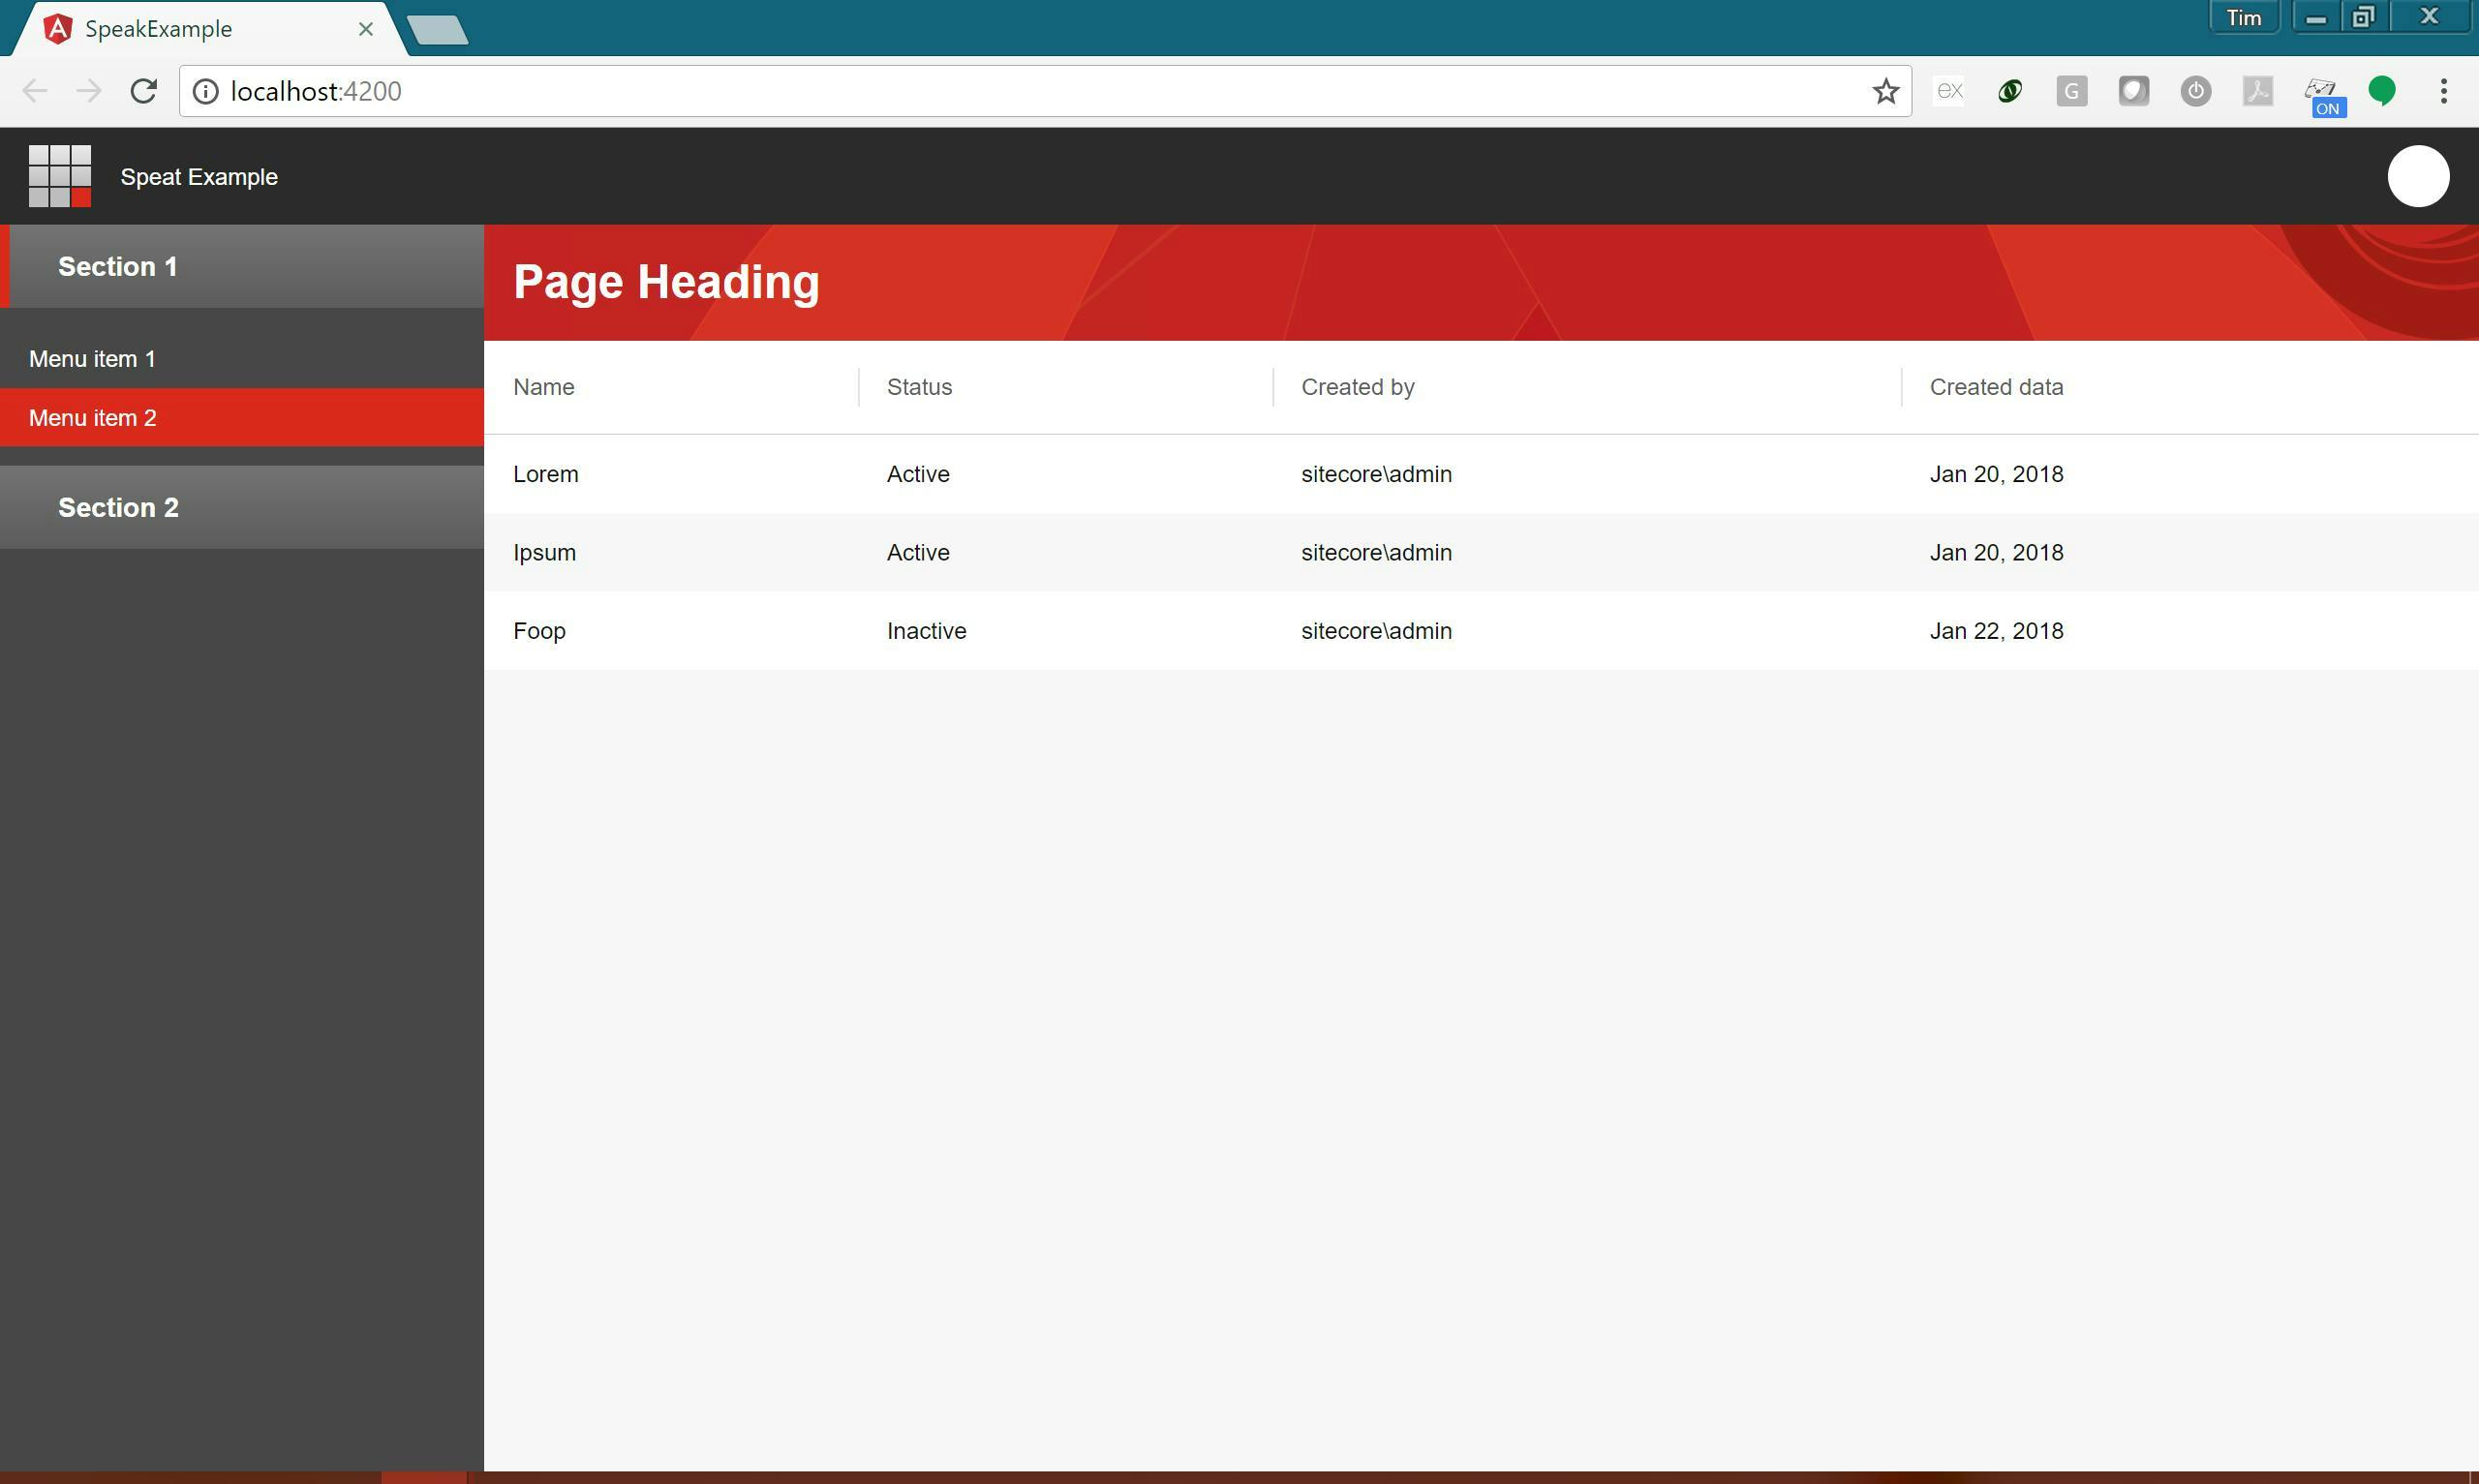
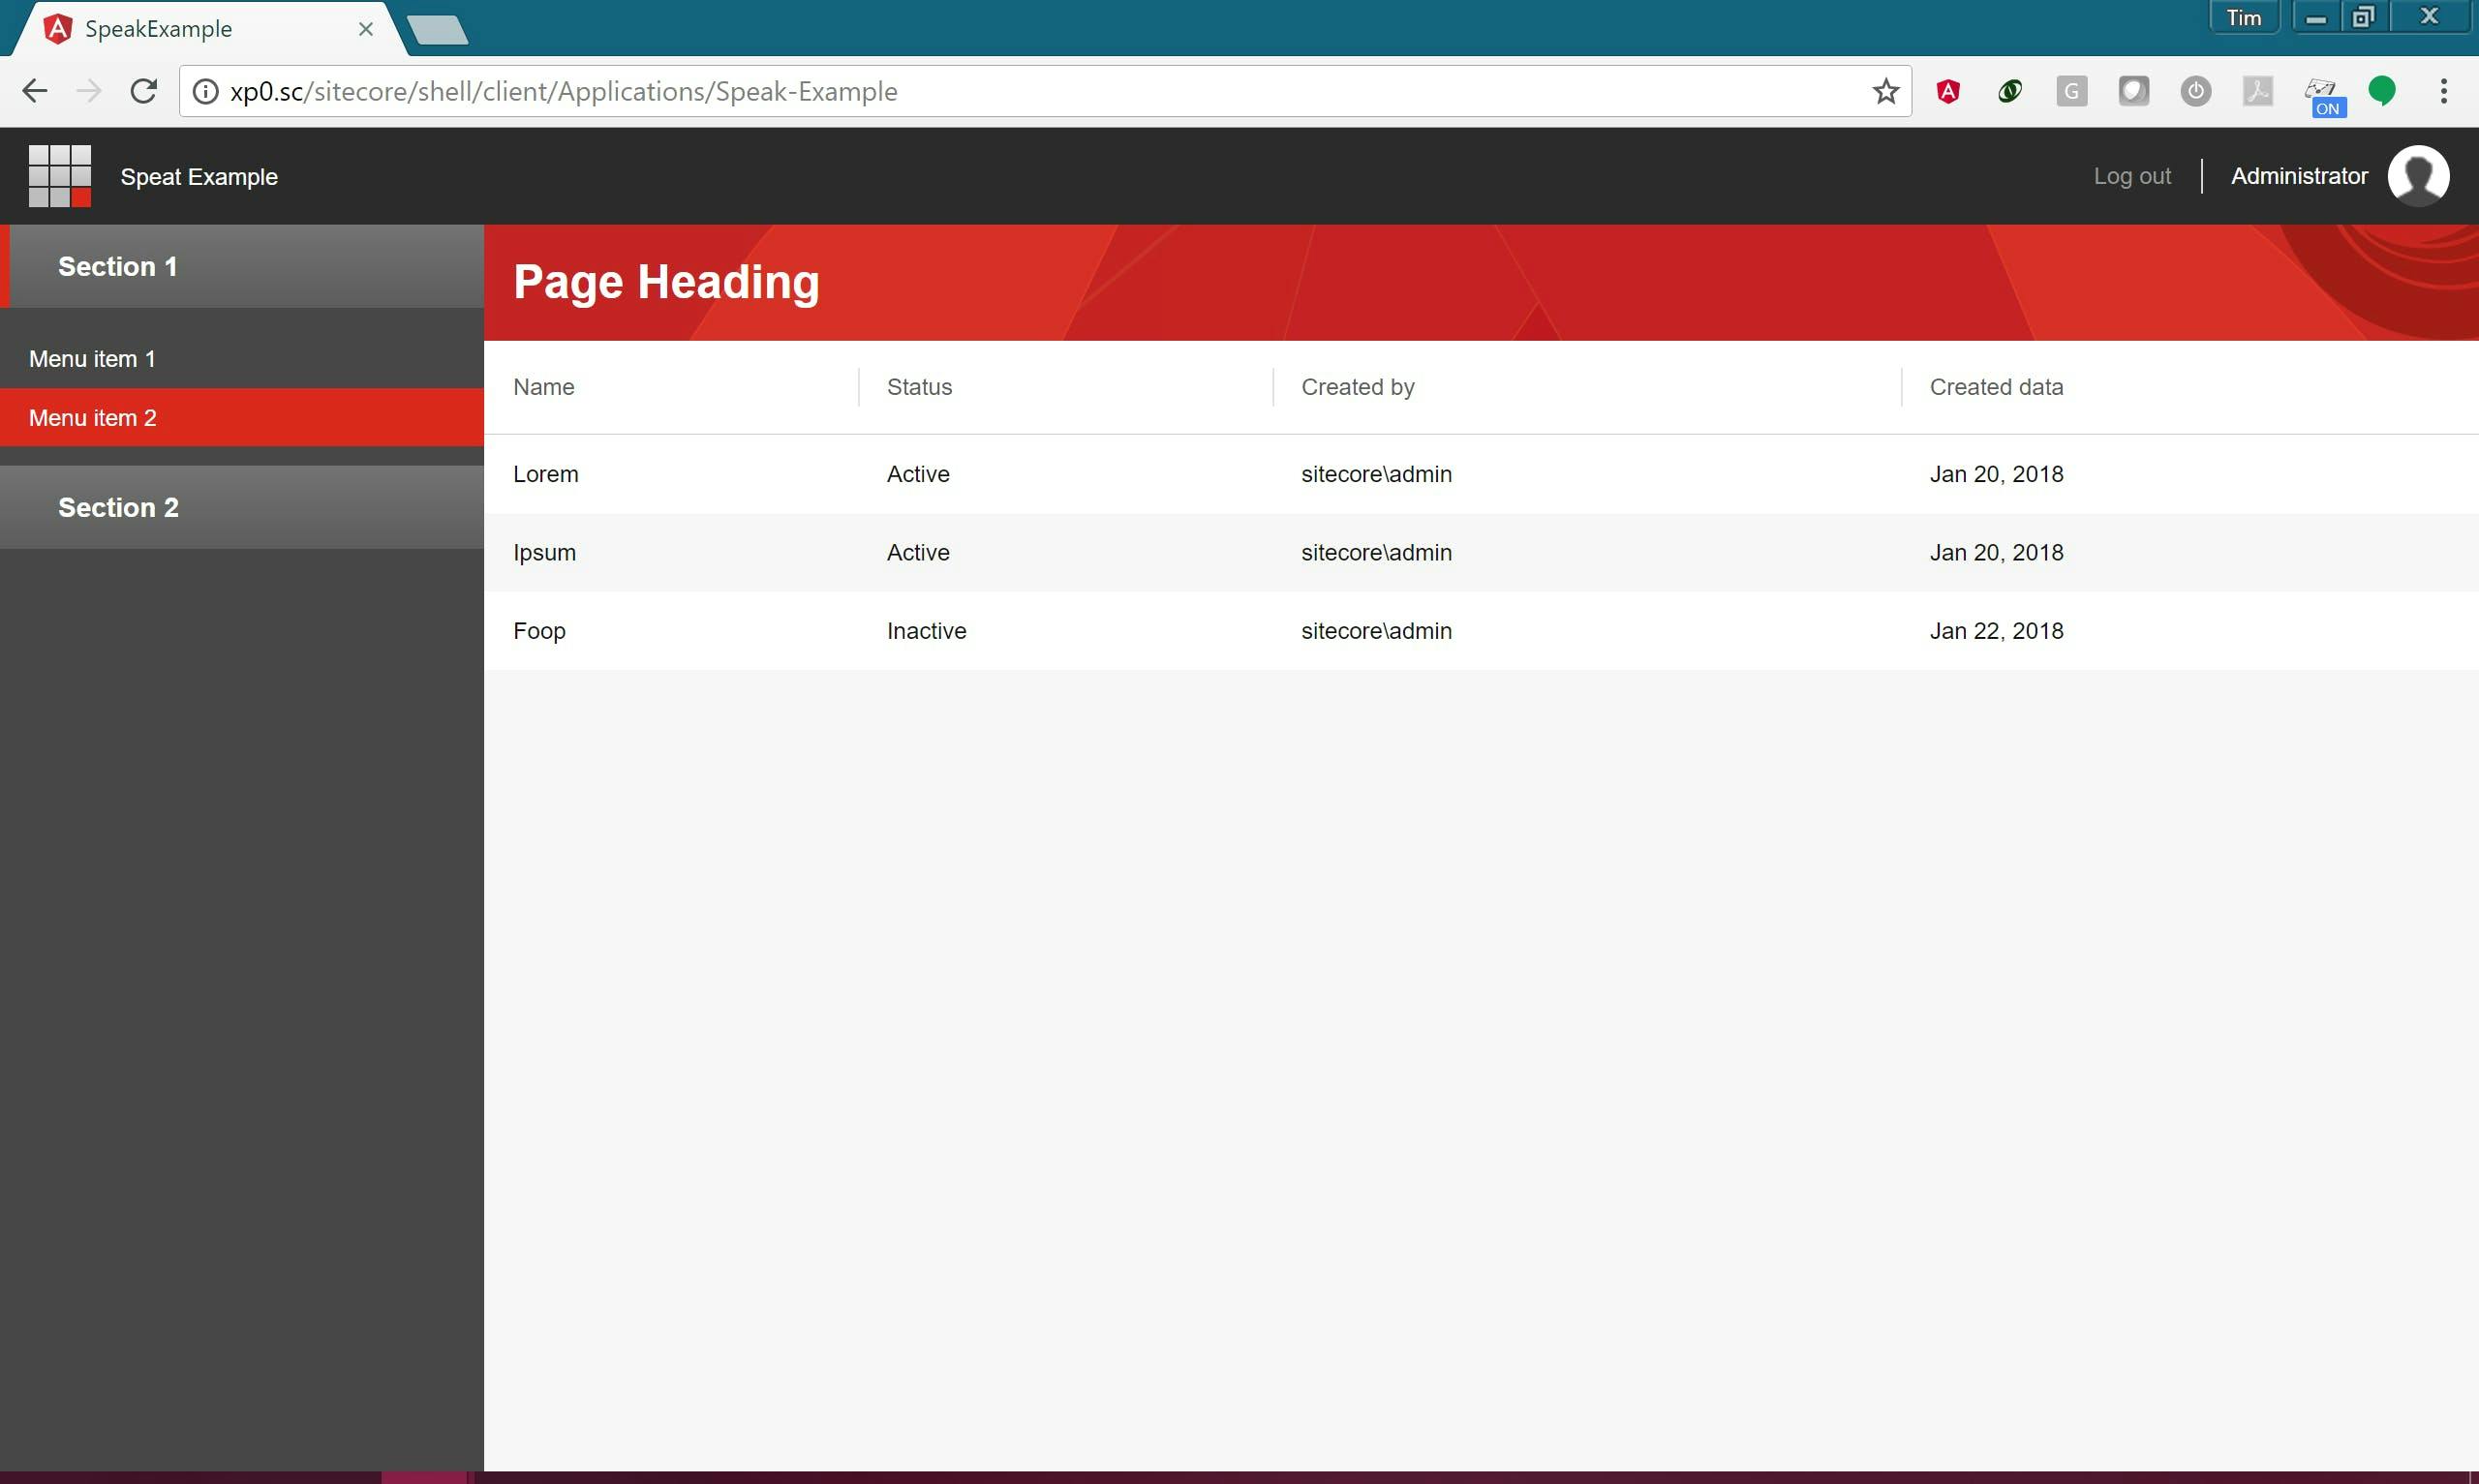
Example Page
To make this page first I cleared out everything from app.component.html and started adding some Sitecore components. Normally you would start generating your own components to represent things like pages, but for the purposes of the example I placing everything in the one file.
To start I have a sc-page containing a header. This comes out of Sitecores demo application and will give you the standard bar that sites at the top of the Sitecore admin, informing users where they are.
1<div> <a href="#"></a> </div>
To create the menu I'm using an sc-menu. Notice how some items are marked as active.
1<aside> <a>Menu item 1</a> <a>Menu item 2</a> <a>Menu item 3</a> <a>Menu item 4</a> </aside>
Lastly to create the main content of the page I'm using a scPageAppHeader, scPageContent and an scTable for the table.
1<div> </div> <article> <table> <thead> <tr> <th>Name</th> <th>Status</th> <th>Created by</th> <th>Created data</th> </tr> </thead> <tbody> <tr> <td>Lorem</td> <td>Active</td> <td>sitecore\admin</td> <td>Jan 20, 2018</td> </tr> <tr> <td>Ipsum</td> <td>Active</td> <td>sitecore\admin</td> <td>Jan 20, 2018</td> </tr> <tr> <td>Foop</td> <td>Inactive</td> <td>sitecore\admin</td> <td>Jan 22, 2018</td> </tr> </tbody> </table> </article>
The complete code looks like this:
1<div> <a href="#"></a> </div> <aside> <a>Menu item 1</a> <a>Menu item 2</a> <a>Menu item 3</a> <a>Menu item 4</a> </aside> <div> </div> <article> <table> <thead> <tr> <th>Name</th> <th>Status</th> <th>Created by</th> <th>Created data</th> </tr> </thead> <tbody> <tr> <td>Lorem</td> <td>Active</td> <td>sitecore\admin</td> <td>Jan 20, 2018</td> </tr> <tr> <td>Ipsum</td> <td>Active</td> <td>sitecore\admin</td> <td>Jan 20, 2018</td> </tr> <tr> <td>Foop</td> <td>Inactive</td> <td>sitecore\admin</td> <td>Jan 22, 2018</td> </tr> </tbody> </table> </article>
To avoid some build errors later on we also need to update the app.components.ts file (think of this as a code behind file), to have an additional property and service.
1import { Component, OnInit } from '@angular/core'; import { NgScService } from '@speak/ng-sc'; import { SciLogoutService } from '@speak/ng-sc/logout'; @Component({ selector: 'app-root', templateUrl: './app.component.html', styleUrls: ['./app.component.css'] }) export class AppComponent implements OnInit { isNavigationShown = false; constructor( private ngScService: NgScService, public logoutService: SciLogoutService ) {} ngOnInit() { this.ngScService.init(); } }
How to find more components
Unfortunately the Sitecore documentation doesn't currently contain a list of what's available. However if you look in your node_modules folder there is a change log containing information on each component here \node_modules\@speak\ng-bcl\CHANGELOG.md.
Step 3 - Publishing the application
Once you've built the application you need to publish it and copy it into Sitecore.
There are some differences in the way a Speak 3 Angular application needs to work which differ from the normal way an Angular application runs. Among others these include having an index.apsx page rather than an index.html and the application not being located in the root of a site. You can read more about this in Sitecores documentation. The good news though is Sitecore have provided a post build step to sort this out for you.
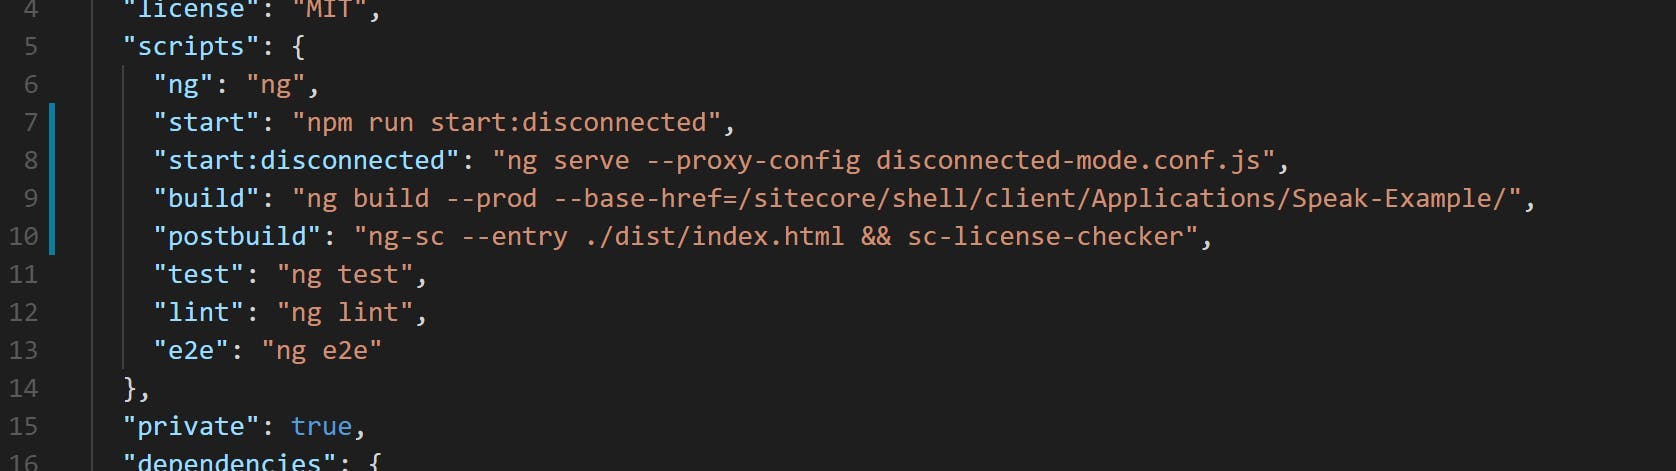
If you copied the package.json file at the beginning this will already be set up, one thing you do need to do though is update the base location to be where your application is going to live.
Once this is done you can run a build.
Note this is using npm to run the build script from the packages.json file rather than doing a regular ng build from Angulars CLI.
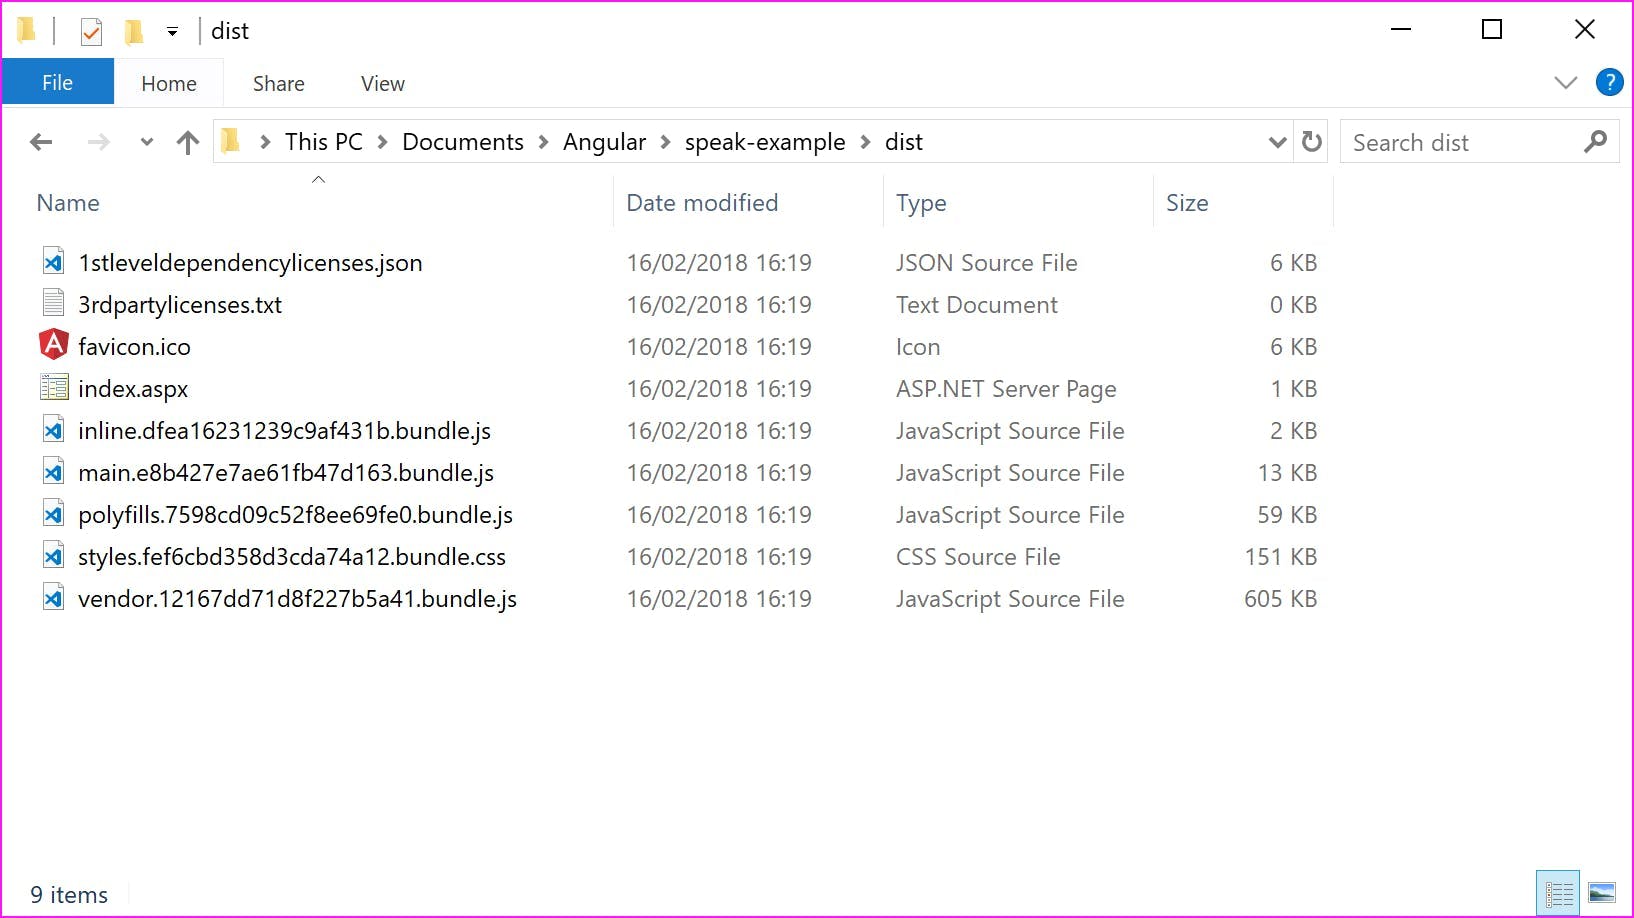
If all succeeds your dist folder will now contain a compiled version of the application.
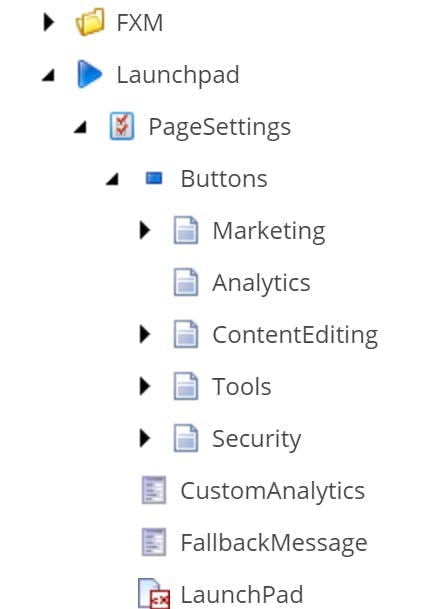
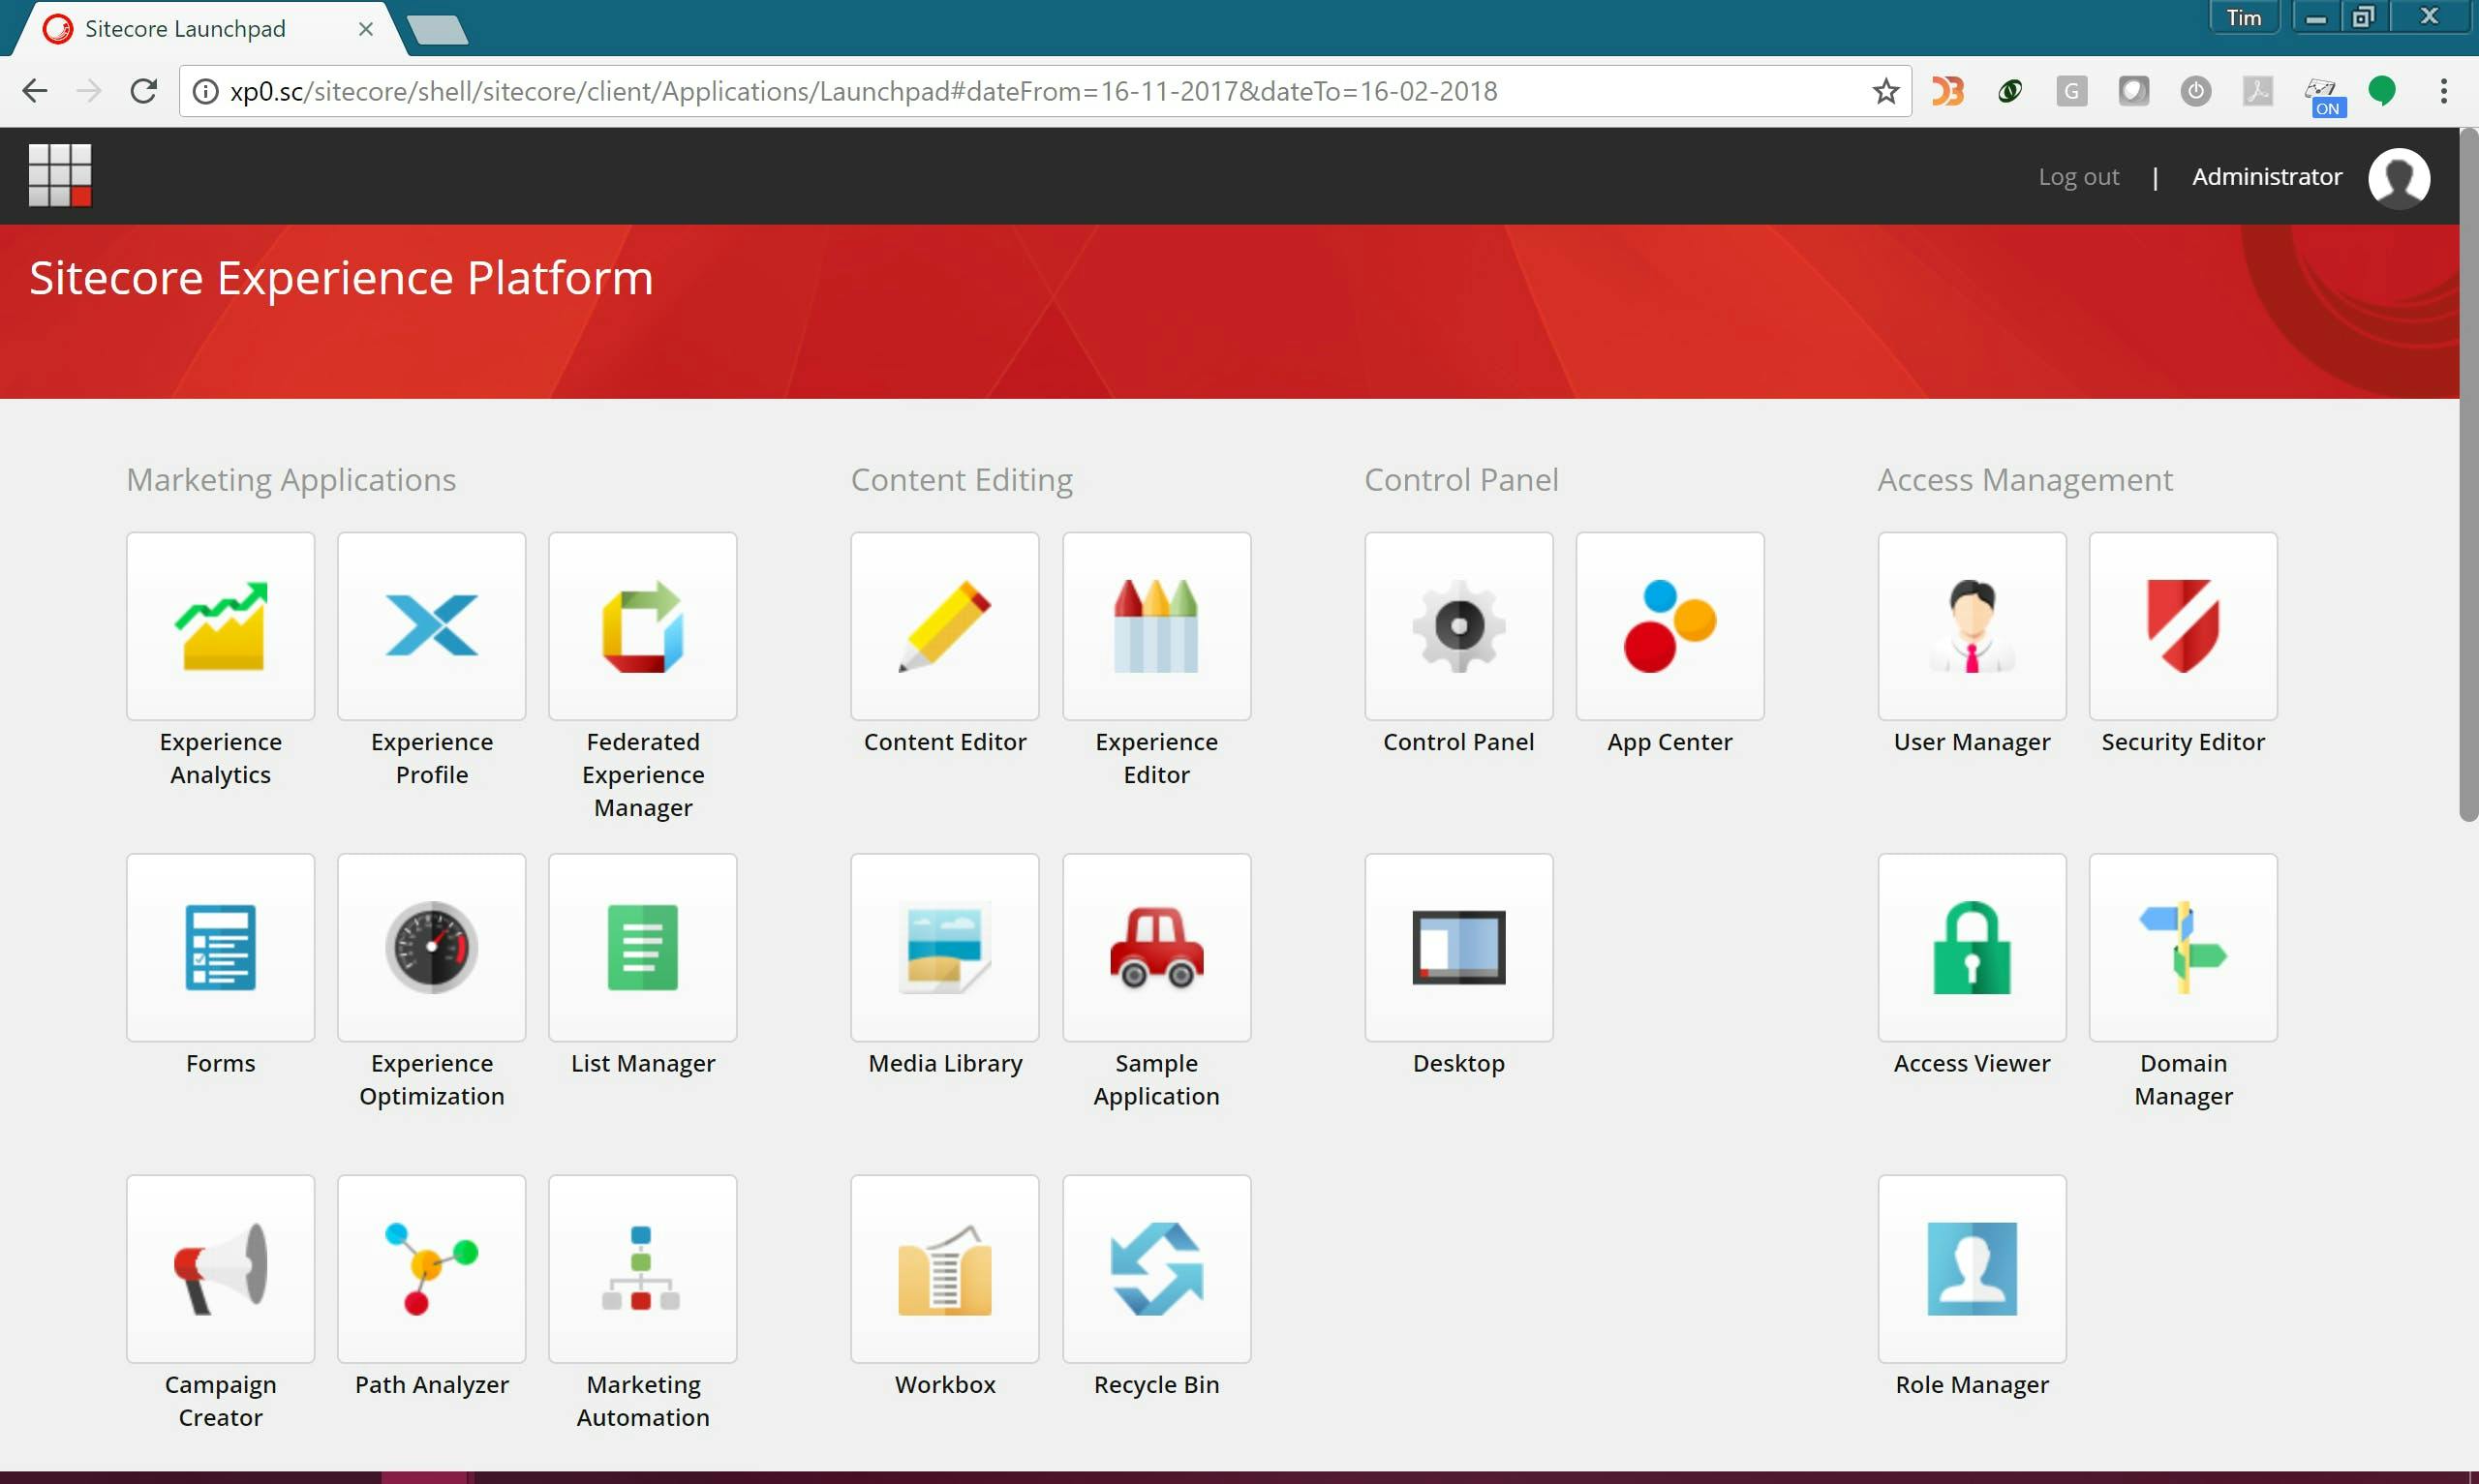
Copy these files into the destination folder in your Sitecore site. For me this is \sitecore\shell\client\Applications\Speak-Example. You should now be able to log in and view your application.
Notice the logout button now functions and the current user is displayed in the top right. The menu sections are also collapsible, but other than that our application doesn't actually do anything.
Moving on from this there's lot's more to cover on building out the functionality in the application and you may have also noticed in the app.module.ts file a reference for translations which I never created, but this should be enough to get anyone started with building an Angular Speak 3 project and then publishing it into Sitecore.
Related Links
Speak 3 Official documentation
Speak 3 Downloads