Config file transforms with Azure Devops
For a long time now our primary CI setup has been based around Team City and Octopus deploy, but as reliable as it is there are things I don't like about it:
- It's not a SASS setup meaning there's a VM to occassionaly think about and updates to install. While Octopus is now availiable as a SASS option, Team City is not and moving Octopus will only solve half the problem.
- That VM they both sit on every so often gets and issue with it's hard disk being full.
- It's complicated to recommend the same setup to clients. You end up having to go through multiple things they need to buy which then require some installation and ongoing maintenance. Ideally we would have a setup thats easy for them to replicate and own themselves with minimal maintenance.
So when we took over a site recently that typically came with no existing CI setup in place, I decided to take a look at using Azure Devops instead. You can use Azure Devops with Octopus Deploy but as it claims to be able to manage releases as well as builds we went for doing the whole thing just in Azure Devops.
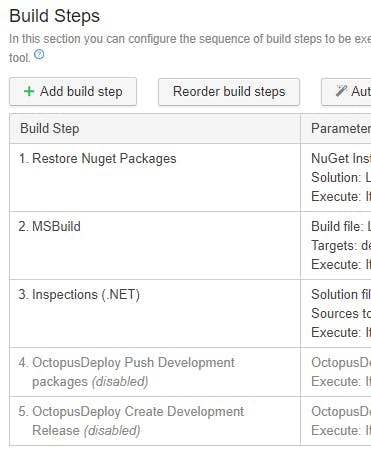
Getting a build set up was relatively straight forward so I'm going to skip past that bit, but in short we ended up with a build that will create a web deploy package and publish it as an artifact. Typical msbuild type stuff.
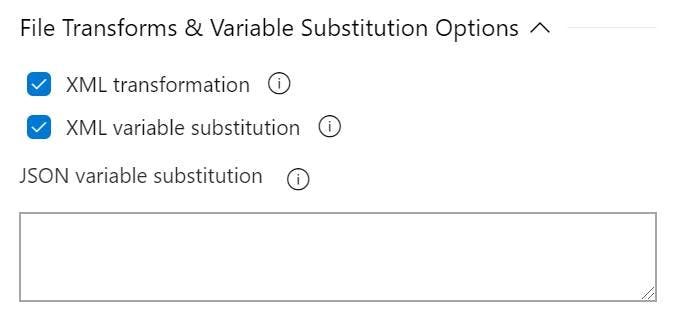
File transforms and variable substitution
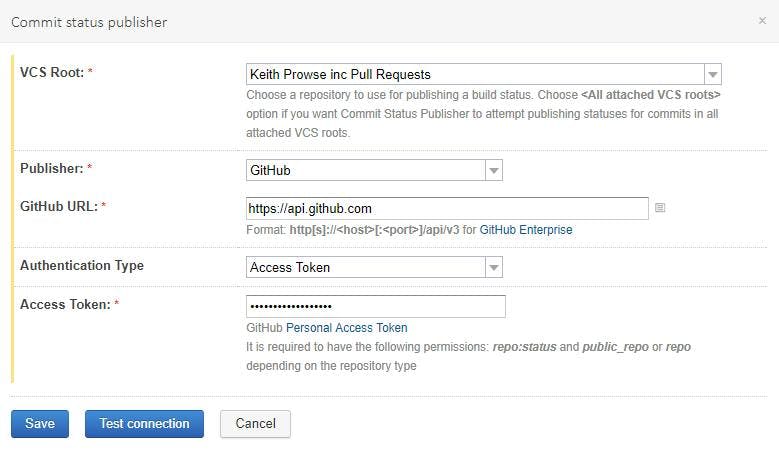
The first real tricky point came with replacing variables in config files during a release to each envrionment. We were using the IIS Web App Deploy task to deploy the application to IIS on a VM (no new Azure Web App Services in this setup :( as I said we took over the site and this was just to get automated deploys of what they already have). A simple starting point with this is some built in functionality for XML Variable Substituion in the IIS Web App Deploy task.
Quite simply you can add all your varibles to the variable list, set the scope for which envrionment you want it to apply to and the during the deploy they are replaced in your config. Unlike some tag replacement tools I've used in the past this one actually uses the name of the connecting string or app setting you need to set, so if you need to set a connection string named web, the variable name will be web.
This is also where my problem stated. The description for what XML variable substitution does is:
This was a Sitecore solution and for Sitecore most of your config settings are in Sitecores own Sitecore section of the config file. So in other words the connection string will get updated but the rest won't.
Parameter and SetParameter XML files
My next issue was trying to find a solution is actually quite hard. Searching for this problem either gave me a lot of results for setups using ARM templates (as I said, this was a solution we took over and that kind of change is not on the agenda), or you just get the easy bit above. Searching for Sitecore and Azure Devops also leads you to a lot of results on a cloud infrastructure setup (again not what we're doing here, at least in the short term). Everything that was coming up felt far more complicated than the solution should be.
However the documentation on the XML variable substitution did have one interesting sentance.
A parameters.xml file isn't something I've used before which makes this sentance a bit cryptic. The first half says I can do what I want with an xml file, but the second half says I'll need something else to actually do it.
After a bit of research this all comes back to web deploy. When you do a build that outputs a web deploy package, you get 5 files.
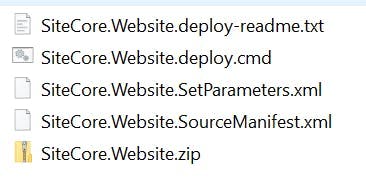
A zip file containing the actual site, a command file which has the script to do the deploy and a set parameters file which is used to set config variables during the deploy. The others aren't so imporant.
To have different config set on different envrionments you just need to edit the set parameters file. But first you need to have the parameter in the set parameters file so that you can actually change it and this is where the parameters.xml file comes in.
Creating the parameter files
Add a file called parameters.xml file to the root of your project and then add parameters as follows.
1<?xml version="1.0" encoding="utf-8" ?>2<parameters>3 <parameter name="DataFolderLocation" defaultvalue="#{dataFolder}">4 <parameterEntry kind="XmlFile" scope="App_Config\\Include\\Z.Project\\DataFolder\.config$" match="/configuration/sitecore/sc.variable[@name='dataFolder']/patch:attribute/text()" />5 </parameter>6</parameters>
Some important parts:
default value - The value that the config setting will get set to
scope - The path to the file containing the setting
match - An XPath expression for find the part of the config file to update
Once you have this the build will start producing a SetParameters.xml file containing the extra parameters.
1<?xml version="1.0" encoding="utf-8"?>2<parameters>3 <setParameter name="IIS Web Application Name" value="Default Web Site/SiteCore.Website_deploy" />4 <setParameter name="DataFolderLocation" value="#{dataFolder}" />5</parameters>
Note: I've set the value to be something I intend to replace in the release process.
Replacing the tokens
With our SetParameters.xml file now contining all the config we need to update, we need a step in the release process that will replace all the tokens with the correct values.
To do this I used a replaced tokens task https://marketplace.visualstudio.com/items?itemName=qetza.replacetokens
Config options need to be set for:
Root Directory - Path to the folder containing the SetParameters.xml file
Target files - A list of files to have replacements done in. In our case this was SiteCore.Website.SetParameters.xml
Token prefix - The prefix on tokens to be search for. Ours was #{
Token suffix - The suffix to denote the end of a token. Ours was }
Lastly in the IIS Web App Deploy step the SetParameters file needed to be selected and the new variables added to the variable list in Azure Devops. The variable names need to be called the bit between your prefix and suffix. i.e. #{datafolder} would be called datafolder.
If you don't set the variables then the log's will show warning for each one it couldn't find.
12019-09-24T17:17:21.6950466Z ##[section]Starting: Replace tokens in SiteCore.Website.SetParameters.xml22019-09-24T17:17:23.9831695Z ==============================================================================32019-09-24T17:17:23.9831783Z Task : Replace Tokens42019-09-24T17:17:23.9831816Z Description : Replace tokens in files52019-09-24T17:17:23.9831861Z Version : 3.2.162019-09-24T17:17:23.9831891Z Author : Guillaume Rouchon72019-09-24T17:17:23.9831921Z Help : v3.2.1 - [More Information](https://github.com/qetza/vsts-replacetokens-task#readme)82019-09-24T17:17:23.9831952Z ==============================================================================92019-09-24T17:17:27.2703037Z replacing tokens in: C:\azagent\A1\_work\r1\a\PublishBuildArtifacts\SiteCore.Website.SetParameters.xml102019-09-24T17:17:27.3133832Z ##[warning]variable not found: dataFolder112019-09-24T17:17:27.3179775Z ##[section]Finishing: Replace tokens in SiteCore.Website.SetParameters.xml
With all this set our config has it's variables configured within Azure Devops for each environment,