Tracking downloads in Sitecore Experience Analytics
This blog is generally aimed at developers whereas the contents of this post could be categorized as a topic for marketers, but I've decided to include it as its likely something a Sitecore dev could get asked about and its also quite useful to know about.
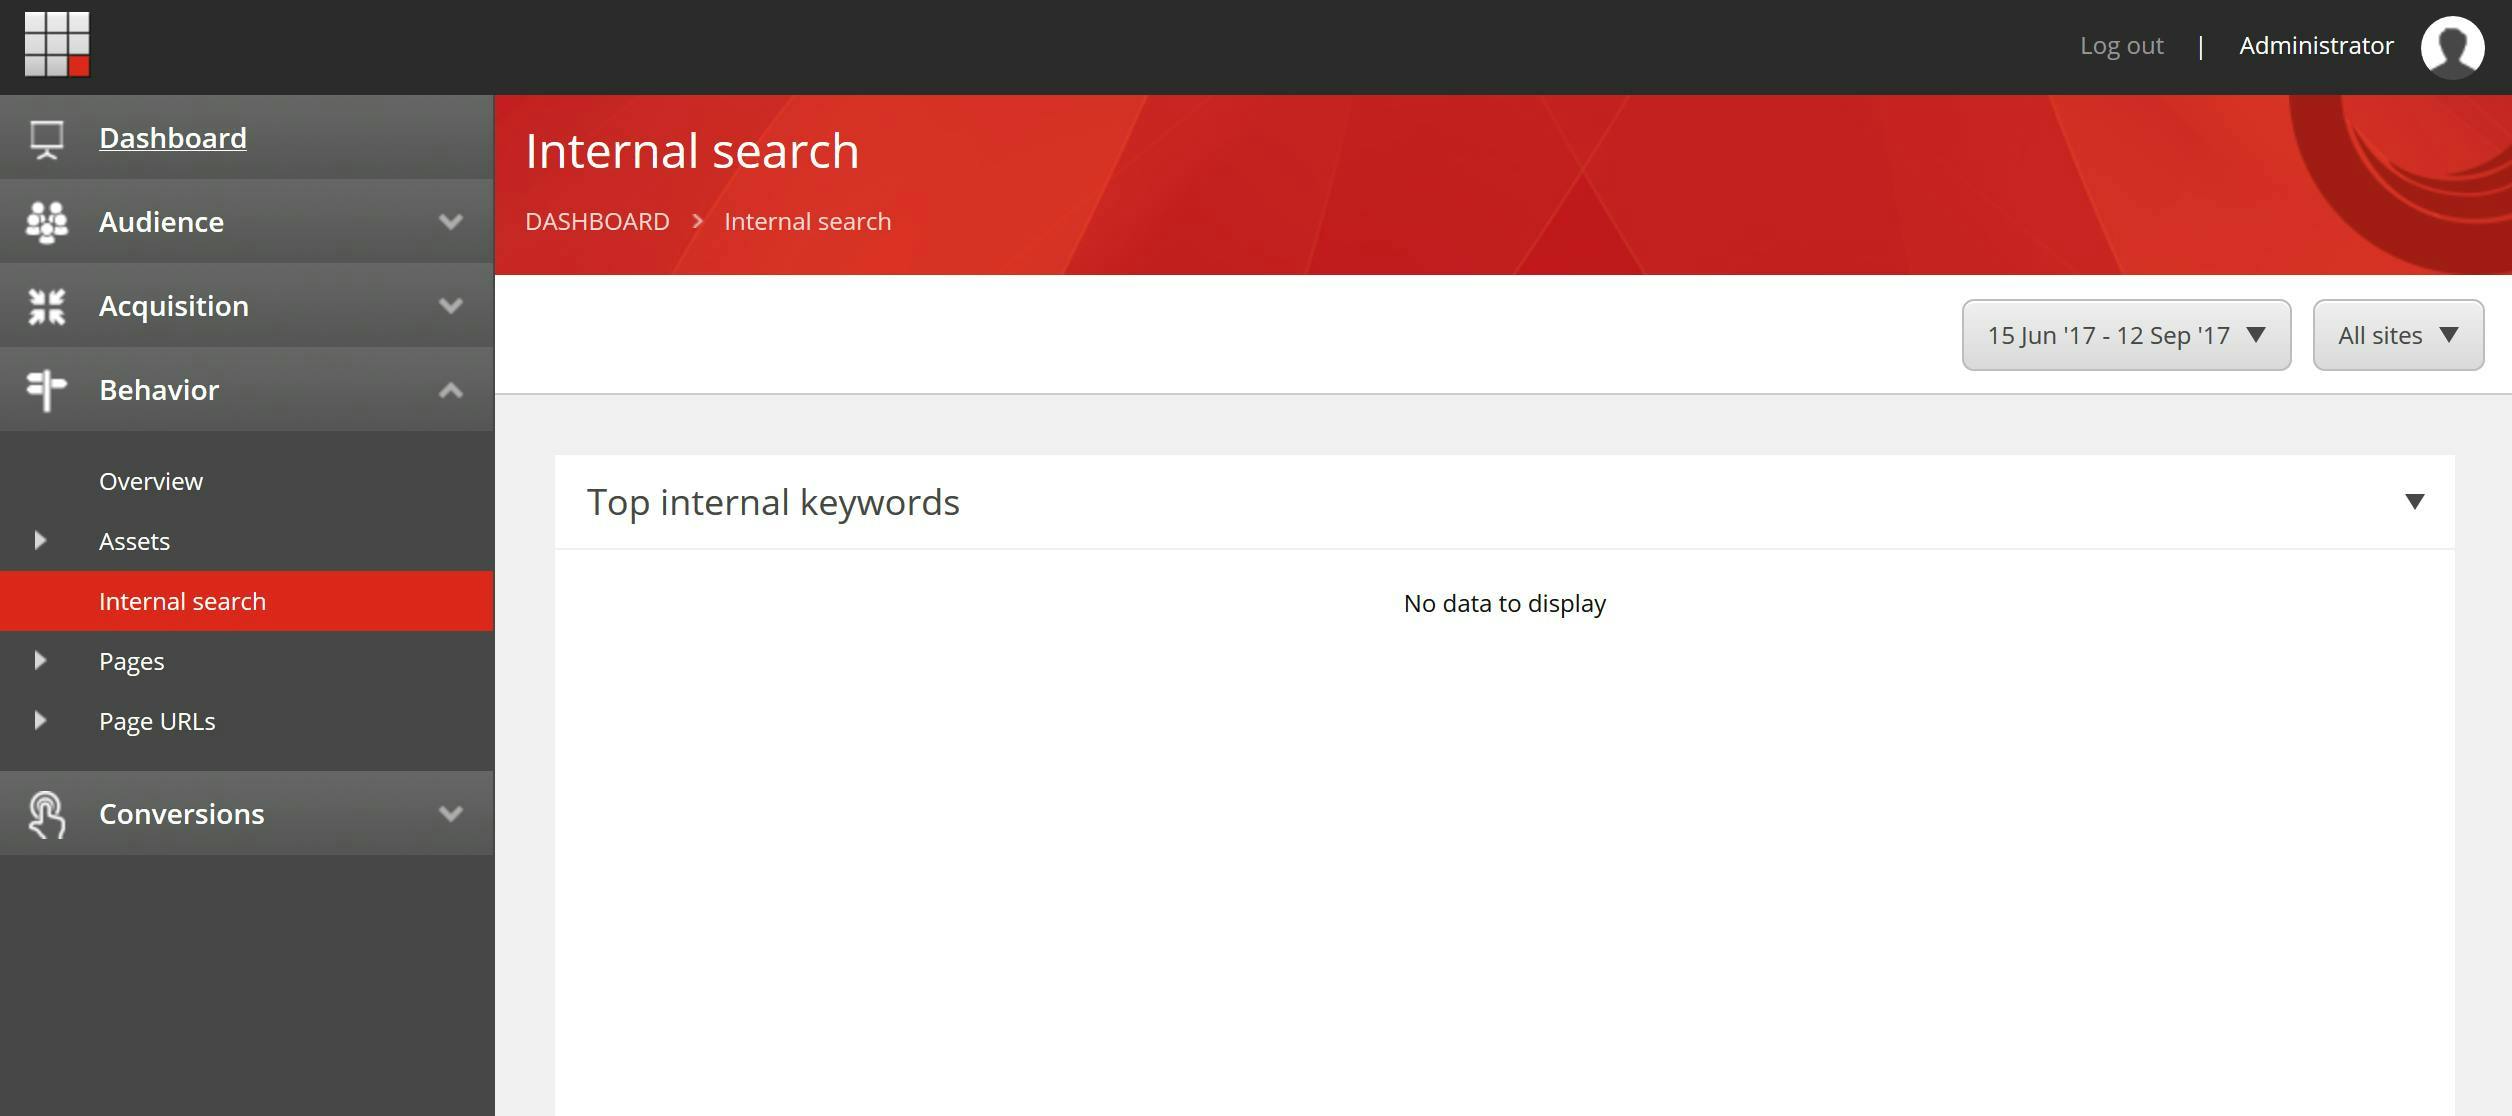
Out the box Sitecore's Experience Analytics comes with a set of pre-configured reports to give insights into the sites visitors. Previously I blogged about Populating the internal search report in Sitecore which unless done will probably lead to someone asking why it's blank. Another report which initially won't show any data is downloads.
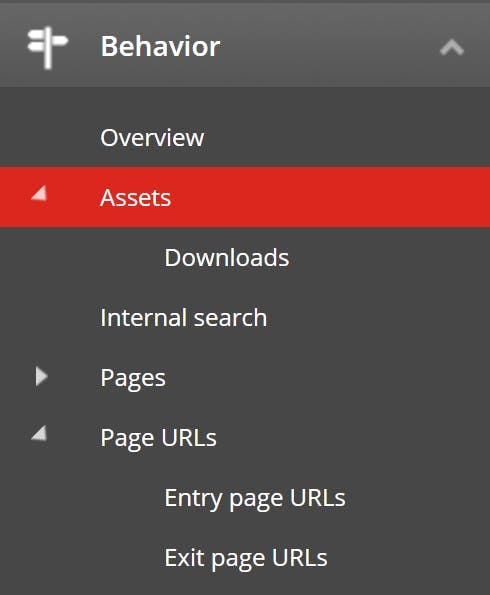
Located under behavior there is actually now two reports relating to downloads. The Assets report and the Downloads report.
Assets, in Sitecores words - "Describes your marketing assets or content used to attract contacts to your website and increase their engagement with your organization."
Downloads - "Describes your specific assets, their download activity, and their value."
These reports are populated by assigning a download event to a piece of media and organizing it as a marketing asset.
Adding a download event to an item
Sitecore doesn't know which items you think are important to track as downloads so content editors need to mark them manually.
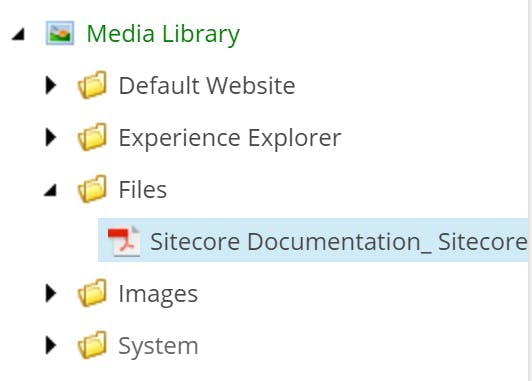
Go to the Media Library
Select the item you want to track as a download
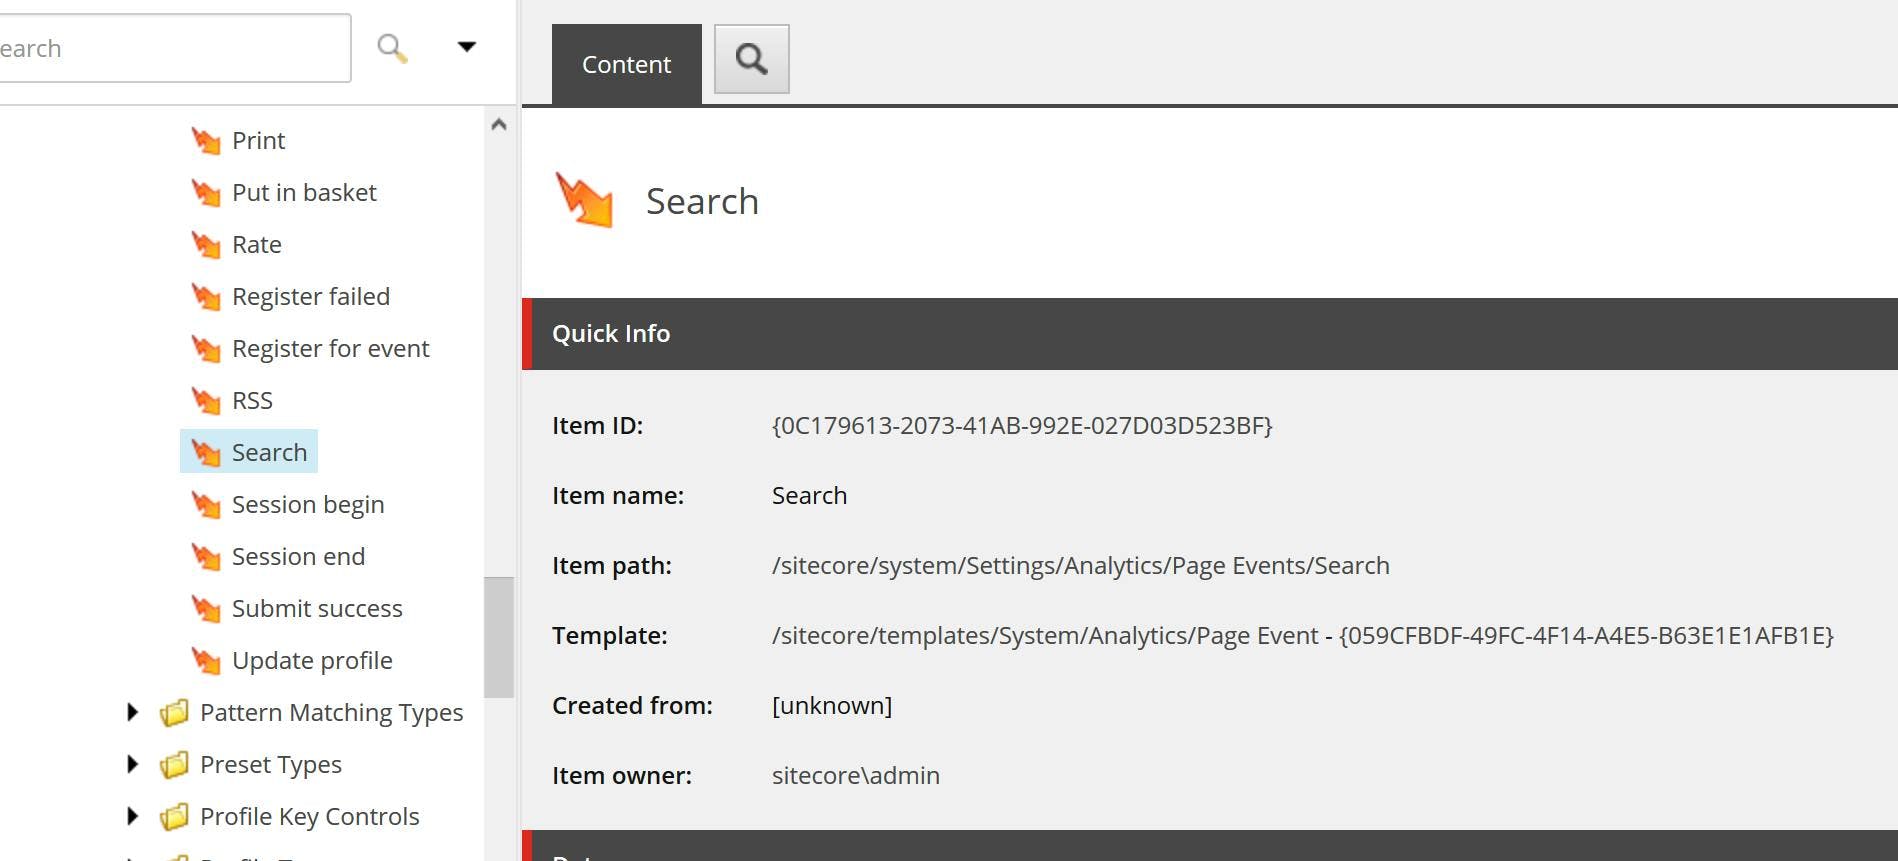
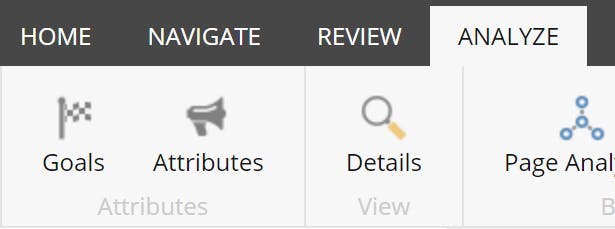
From the ribbon select the Analyze tab and click Attributes
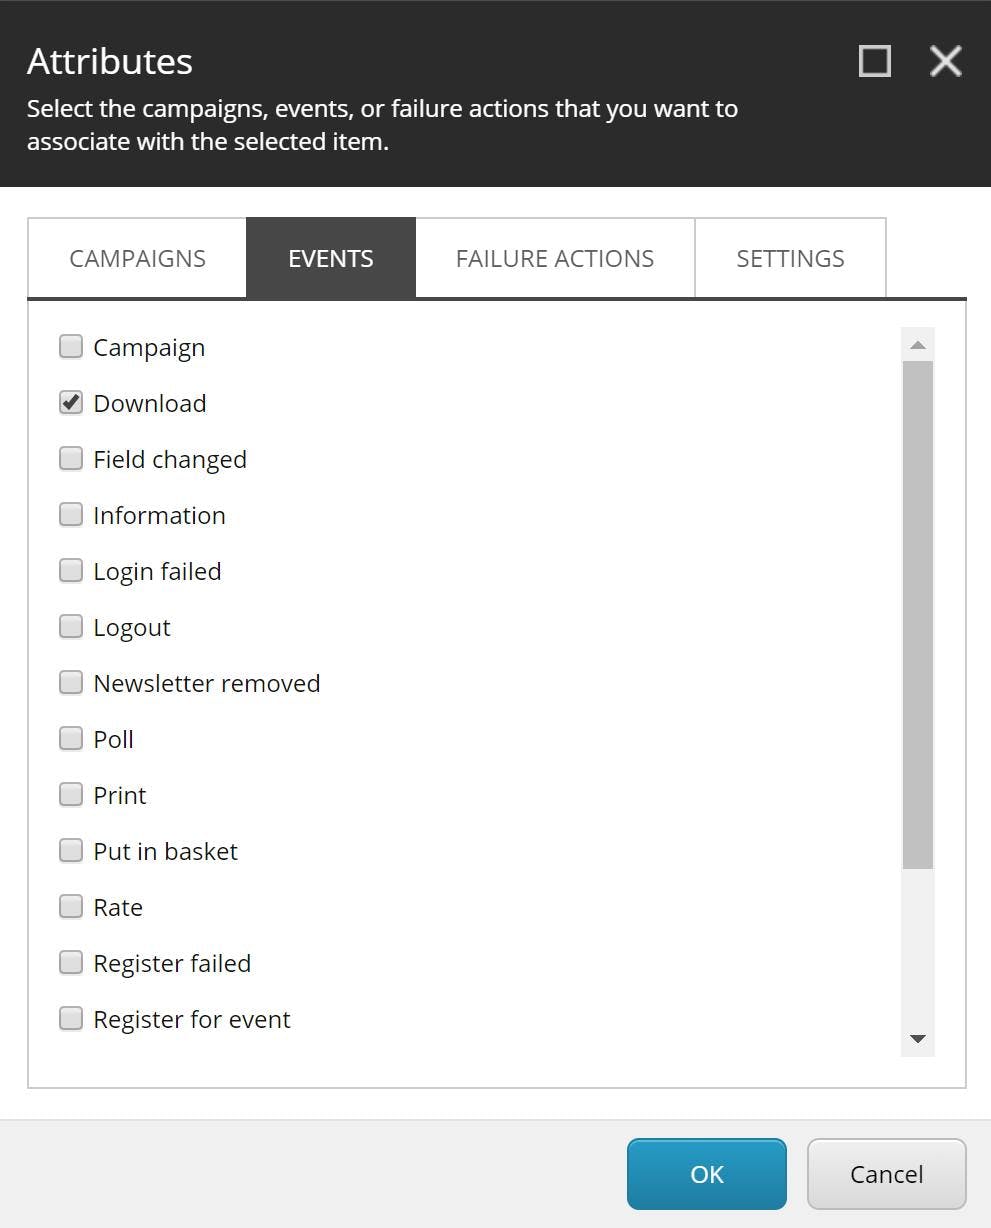
Select download form the list of events
Remember to publish your changes.
Categorizing an Asset
By assigning a marketing asset type to your items they can be grouped for analysis. Such as grouping downloads into categories like white paper and product brochure.
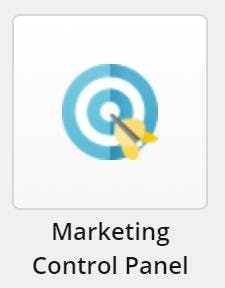
Before you assign a marketing asset to an item you will first need to create your assets. On the Sitecore Launchpad, open the Marketing Control Panel.
Go to Assets which is located under Taxonomies.
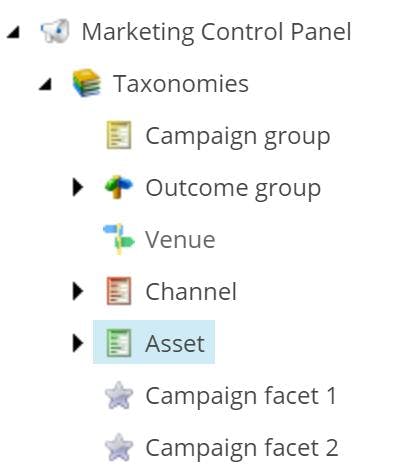
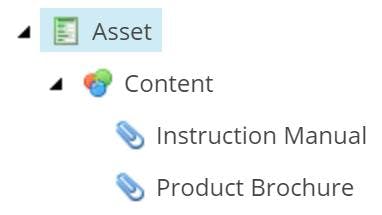
Create your set of Asset Groups and Assets within each. In this example I've created a group called Content and Assets called Instruction Manual and Product Brochure.
Navigate to the item you want to assign the asset to and select the relevant asset in the marketing asset field.
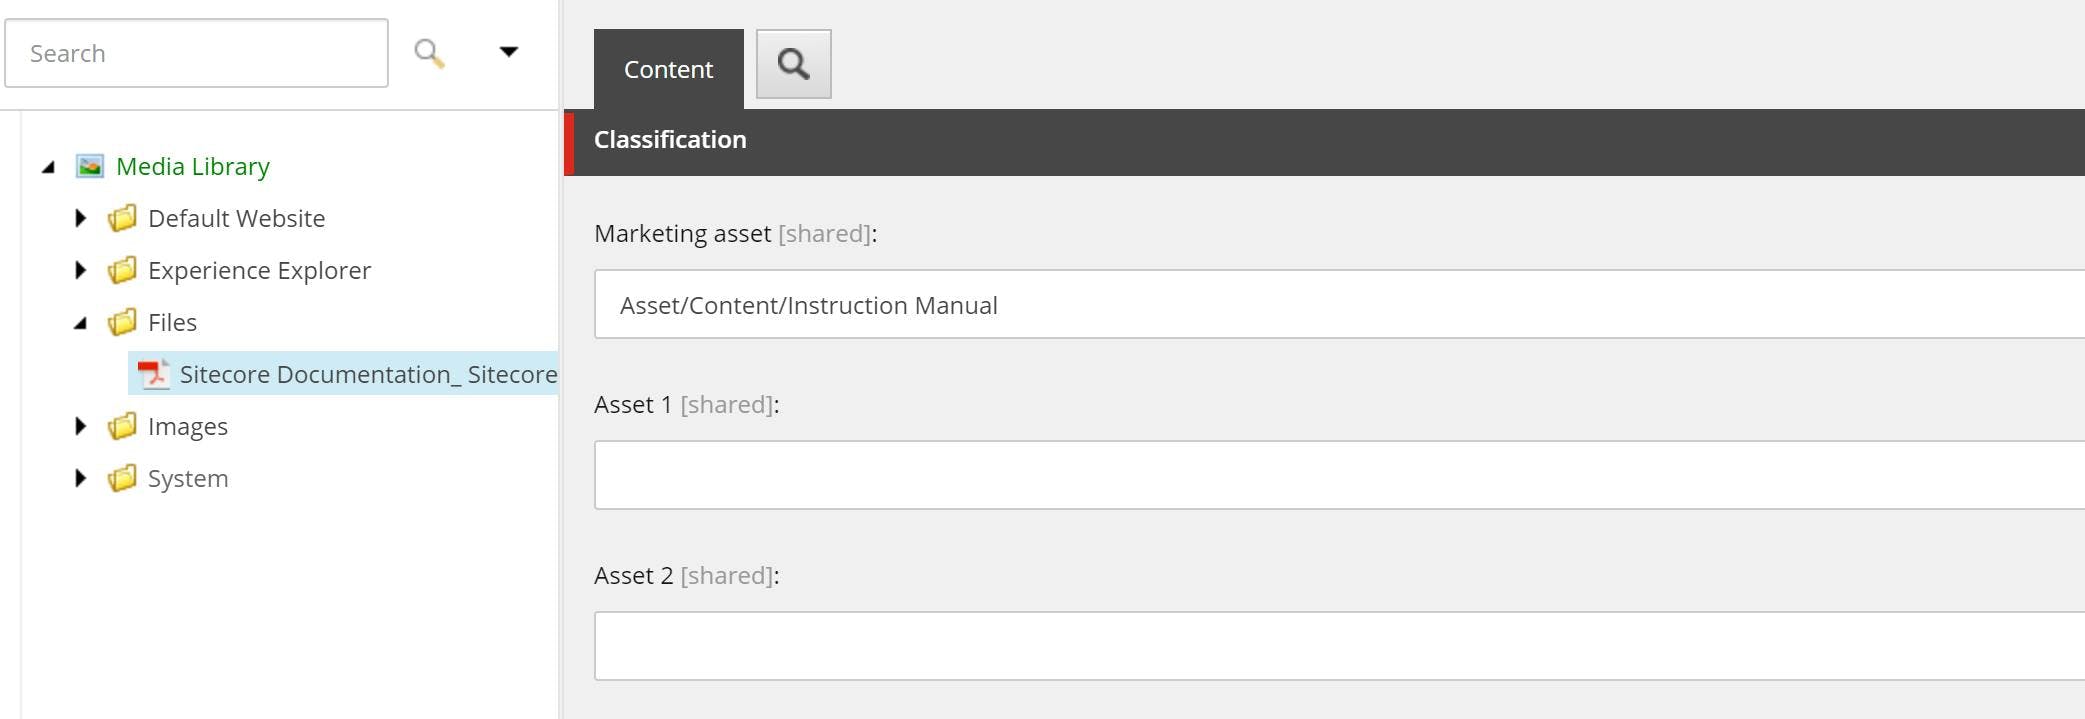
Publish all your changes.
The result
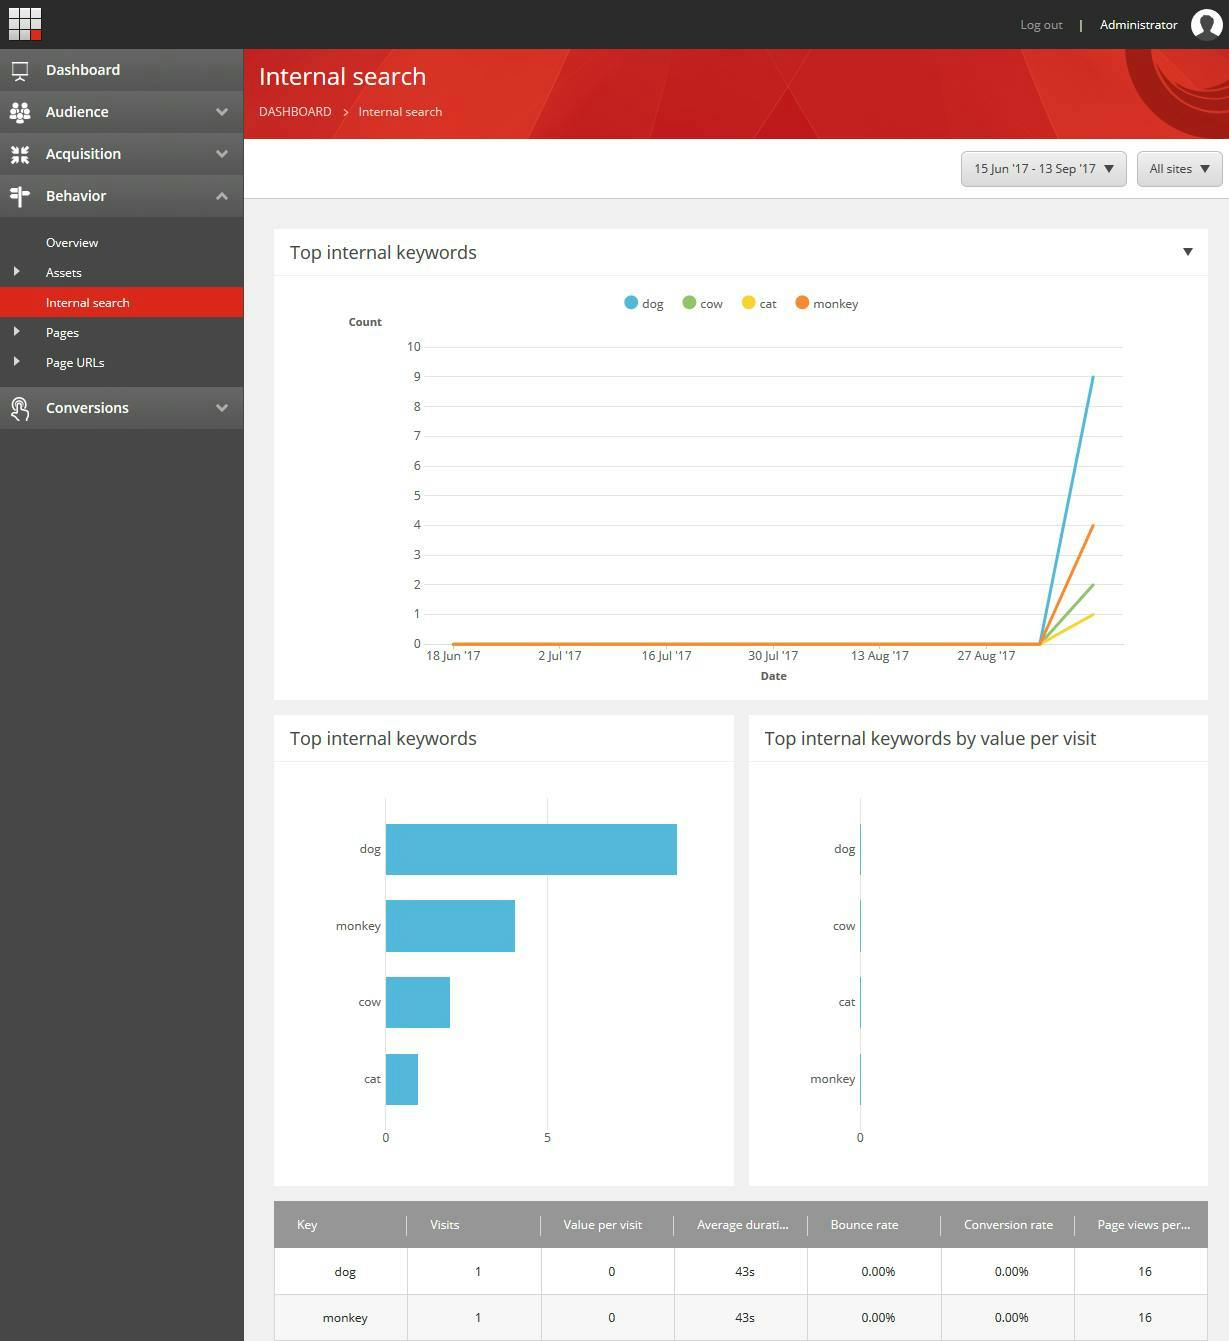
Now you've set a download event and a marketing asset, the assets and downloads reports will start populating.
Going Further
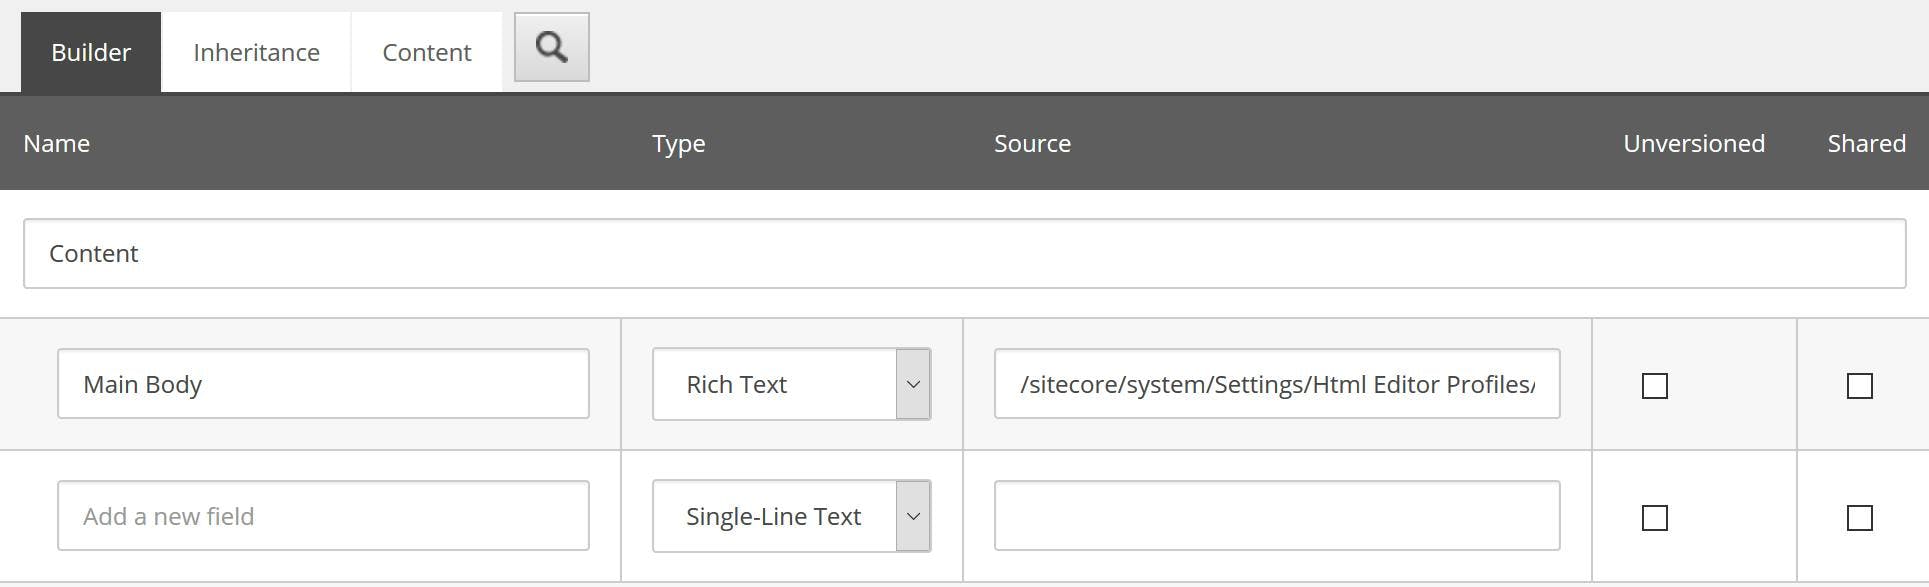
The concept of having to tag every download as a download may seem a little tedious and also prone to being missed in the future. If all your downloads are PDF's and you want to track all PDF's as a download, one way to make life easier is to update the standard values on the PDF template item (/sitecore/templates/System/Media/Unversioned/Pdf) so that it always has the attribute of download. The content authors will still need to do the marketing asset categorization, but at least this gives them 1 less thing to do.