Sitecore
Populating the internal search report in Sitecore

Populating the internal search report in Sitecore

Out the box Sitecore ships with a number of reports pre-configured. Some of these will show data without you doing anything. e.g. The pages report will automatically start showing the top entry and exit pages as a page view is something Sitecore can track.

Other's like the internal search report will just show a message of no data to display, which can be confusing/frustrating for your users. Particularly when they've just spent money on a license fee to get great analytics data only to see a blank report.
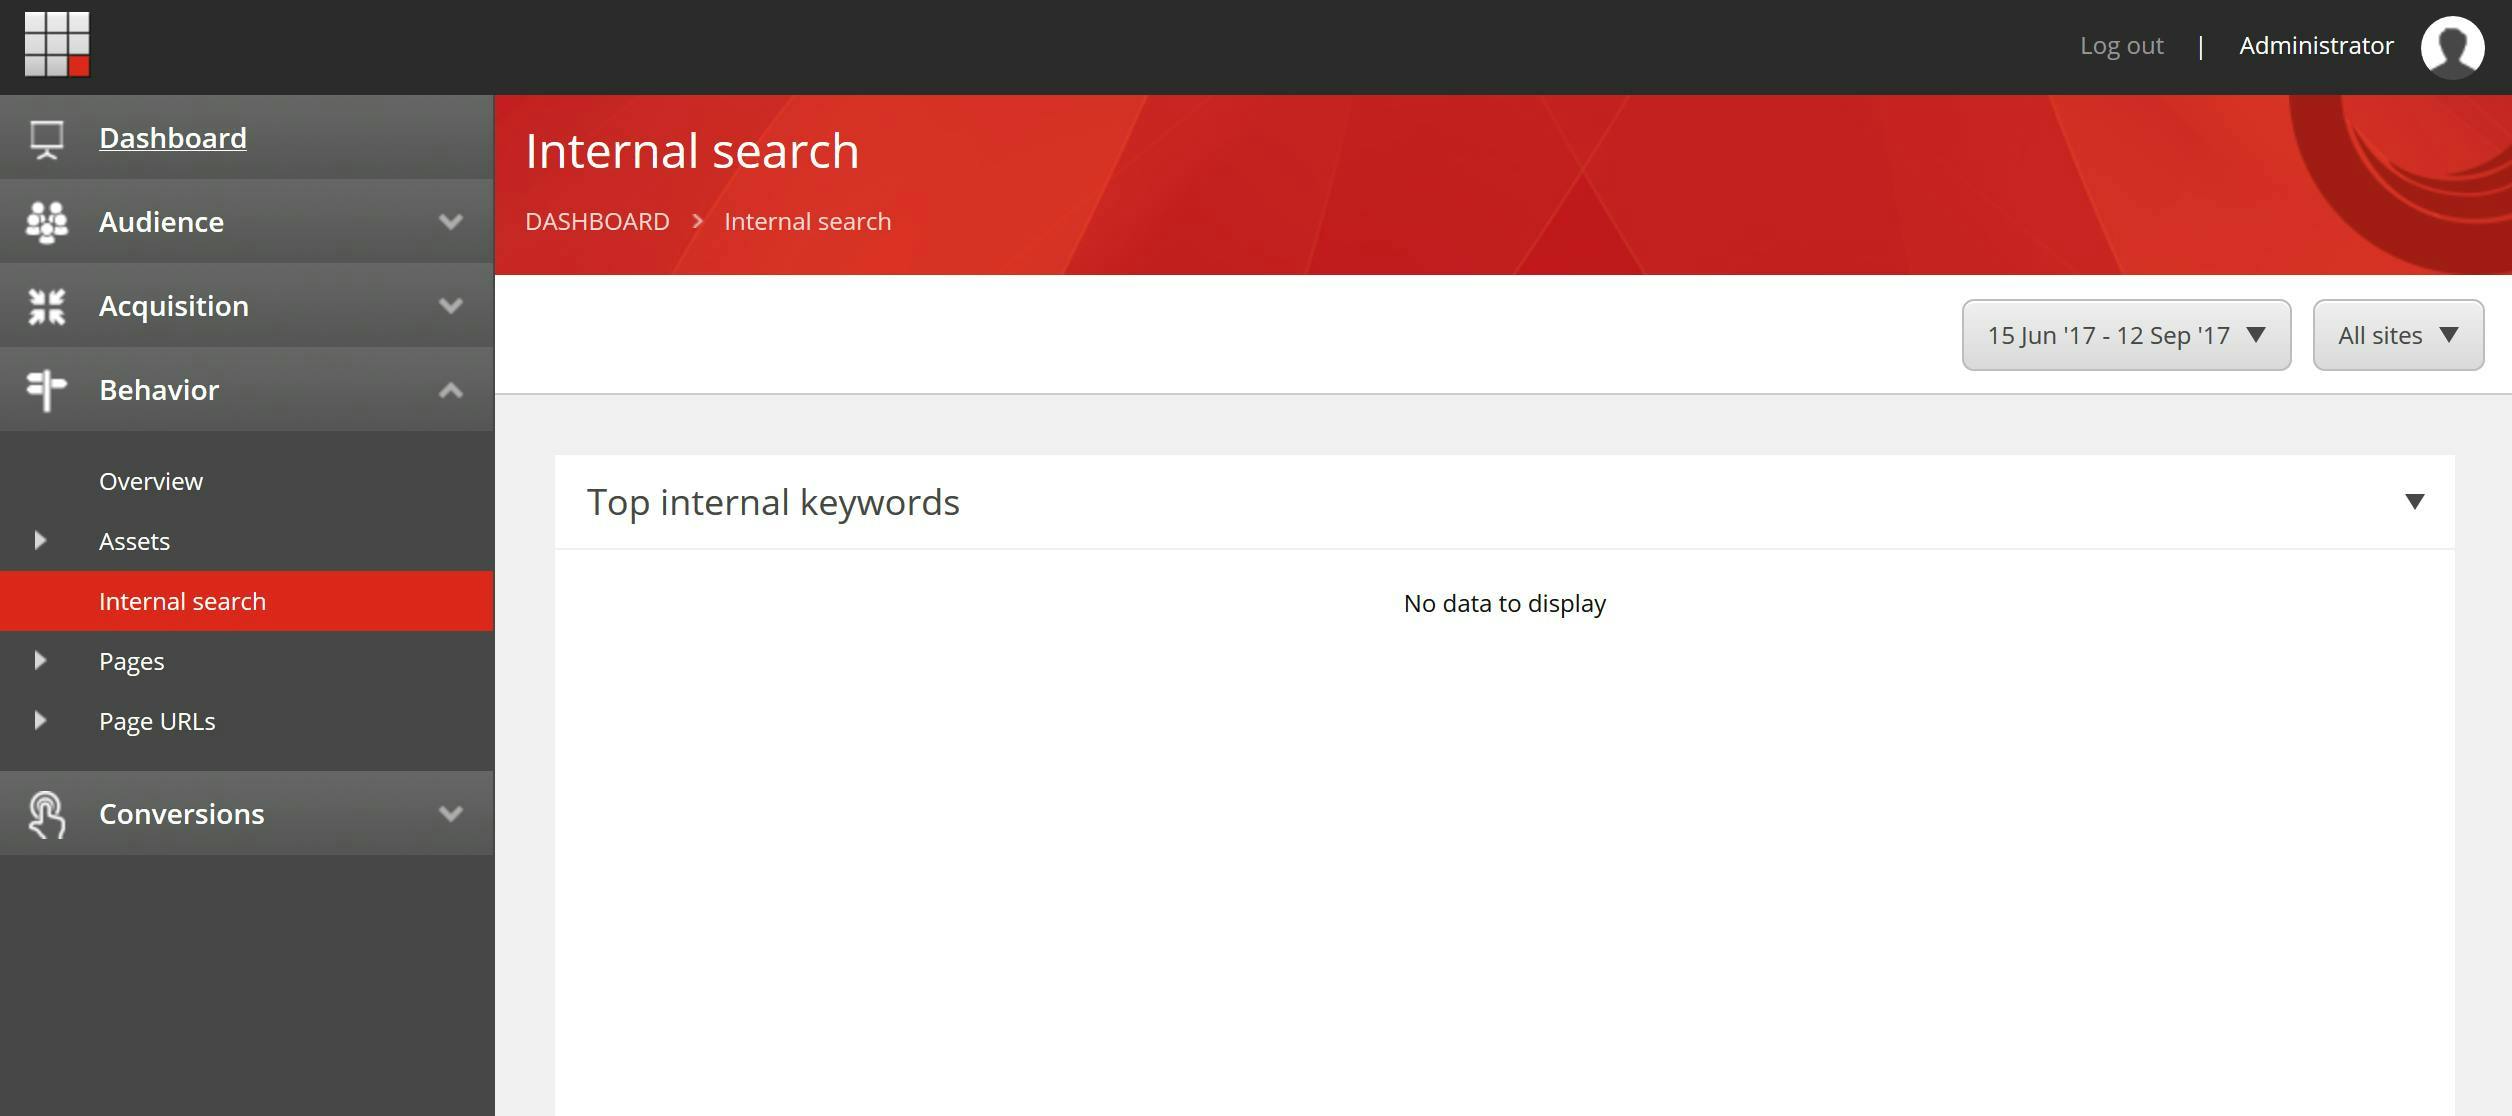
The reason it doesn't show any information is relatively straight forward. Sitecore doesn't know how your site search is going to work and therefore it can't do the data capture part of the process. That part of the process however is actually quite simple to do.

Sitecore has a set of page events that can be registered in the analytics tracker. Some of these like Page Visited will be handled by Sitecore. In this instance the one we are interested in is Search and will we have to register it manually.
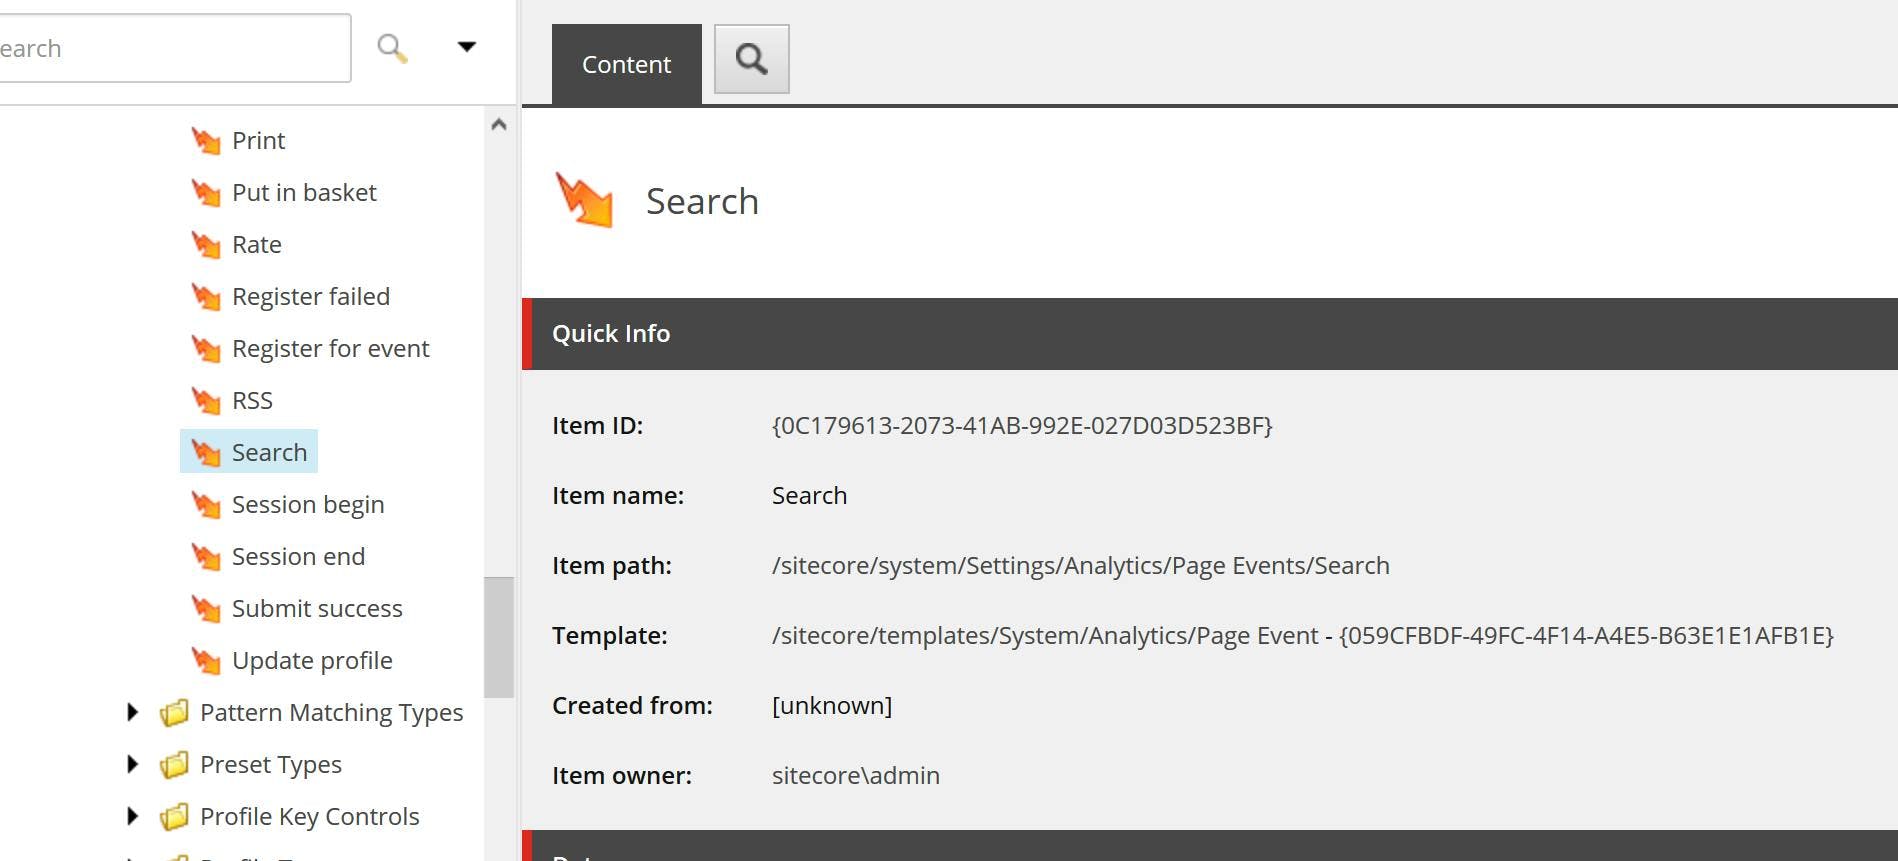
To register the search event use some code like this (note, there is a constant that references the item id of the search event). The query parameter should be populated with the search term the user entered.

1using Sitecore.Analytics;
2using Sitecore.Analytics.Data;
3using Sitecore.Data.Items;
4using Sitecore.Diagnostics;
5using SitecoreItemIds;
6
7namespace SitecoreServices
8{
9 public class SiteSearch
10 {
11 public static void TrackSiteSearch(Item pageEventItem, string query)
12 {
13 Assert.ArgumentNotNull(pageEventItem, nameof(pageEventItem));
14 Assert.IsNotNull(pageEventItem, $"Cannot find page event: {pageEventItem}");
15
16 if (Tracker.IsActive)
17 {
18 var pageEventData = new PageEventData("Search", ContentItemIds.Search)
19 {
20 ItemId = pageEventItem.ID.ToGuid(),
21 Data = query,
22 DataKey = query,
23 Text = query
24 };
25 var interaction = Tracker.Current.Session.Interaction;
26 if (interaction != null)
27 {
28 interaction.CurrentPage.Register(pageEventData);
29 }
30 }
31 }
32 }
33}

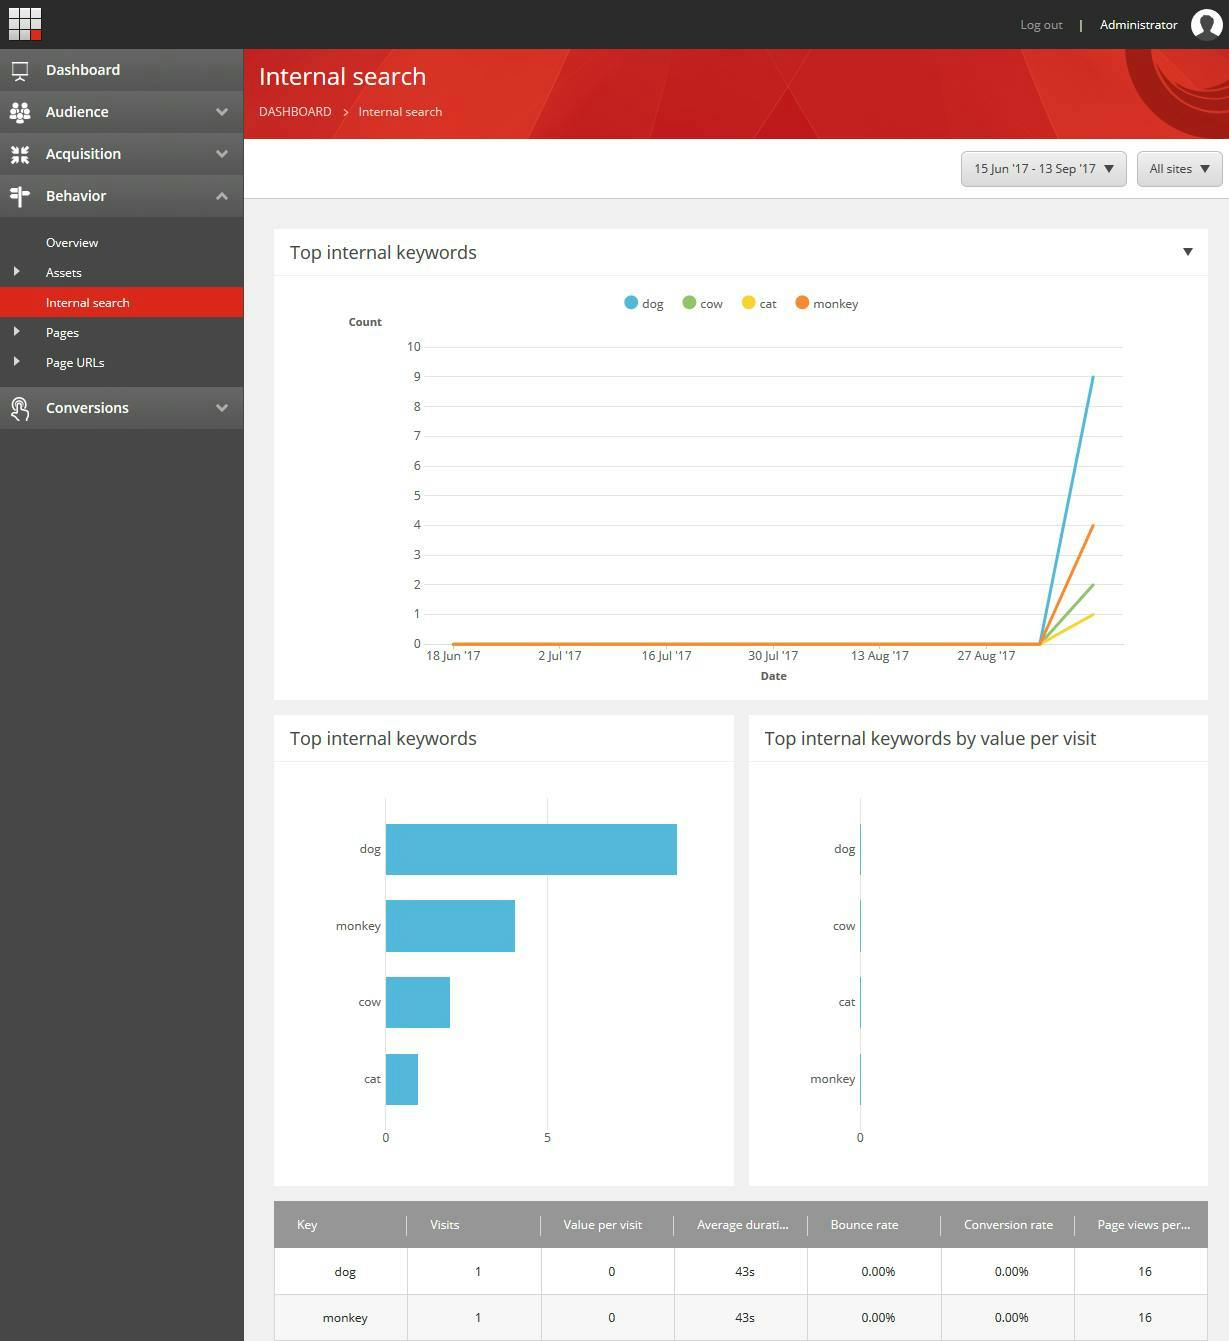
Now after triggering the code to be called a few times, your internal search report should start to be populated like this.
Optimize the Rich Text Editor in Sitecore

Optimize the Rich Text Editor in Sitecore

When it comes to building a Sitecore site your first thought probably isn't that you are going to need to make any setting updates or customization's to the rich text editor. After all when you learn about building a site its mostly focused around creating components to add and remove from pages, but there are a couple of things that will greatly enhance your content editors experience.

Configure the toolbars

Out the box Sitecore ships with 4 toolbar configurations. These are defined in the core db here:

  • /sitecore/system/Settings/Html Editor Profiles/Rich Text Default
  • /sitecore/system/Settings/Html Editor Profiles/Rich Text Full
  • /sitecore/system/Settings/Html Editor Profiles/Rich Text IDE
  • /sitecore/system/Settings/Html Editor Profiles/Rich Text Medium

The "Rich Text Default" toolbar

The "Rich Text Full" toolbar

The "Rich Text IDE" toolbar

The "Rich Text Medium" toolbar

As the name suggests, by default your content editors will see the default toolbar that contains a very limited number of options. This may in-fact be to limited and you need to offer the content editors one of the toolbar's with more options. Equally, the full toolbar may give to many options such as font's and you would want to offer a more restricted set of options.

Setting a toolbar on a field

You can set a toolbar on each individual field by specifying the path in the template fields source field. This is particularly useful when a field needs specific options, such as a text area that should allow a user to configure bold, italics and links but shouldn't ever contain an image.

Updating the default toolbar for a rich text field

When you want to change the toolbar for all rich text fields, a better option is to update which toolbar is used by default. You can do this with a patch config file.

1<?xml version="1.0" encoding="utf-8" ?>
2<configuration xmlns:patch="http://www.sitecore.net/xmlconfig/">
3 <sitecore>
4 <settings>
5 <setting name="HtmlEditor.DefaultProfile" value="/sitecore/system/Settings/Html Editor Profiles/Rich Text Full" />
6 </settings>
7 </sitecore>
8</configuration>

Updating the rich text editor CSS

A second way of customizing the rich text editor that you should consider is to make changes to the CSS file that the editor uses. By default this will use a CSS file called default.css that you will find in the root of the site. You can see this being referenced form a config setting if you look at the showconfig.aspx page.

1<!-- WEB SITE STYLESHEET
2 CSS file for HTML content of Sitecore database.
3 The file pointed to by WebStylesheet setting is automatically included in Html and Rich Text fields.
4 By using it, you can make the content of HTML fields look the same as the actual Web Site
5-->
6<setting name="WebStylesheet" value="/default.css" />

You can change this to use a different CSS file using a patch config file as follows:

1<configuration xmlns:patch="http://www.sitecore.net/xmlconfig/">
2 <sitecore>
3 <settings>
4 <setting name="WebStylesheet">
5 <patch:attribute name="value">/rich-text-editor.css</patch:attribute>
6 </setting>
7 </settings>
8 </sitecore>
9</configuration>

Now you may be wondering why you would want to do this, after all Sitecore offers an experience editor mode that will show the entire webpage as it will appear to visitors and also offers inline editing. However some aspects of a page can be better achieved using CSS styles rather than new components or new fields and content editor will need both an easy was to apply these style and a visual way to see that they have been applied, irrespective of if they are using the experience editor or the content editor.

For example, in this section of a blog post from Scott Hanselman he has highlighted some text as an aside which can easily be achieved in a rich text editor by applying a CSS class.

The first step to enabling this in Sitecore is to make sure you're using a toolbar that allows the user to select CSS classes (that's any but the default).

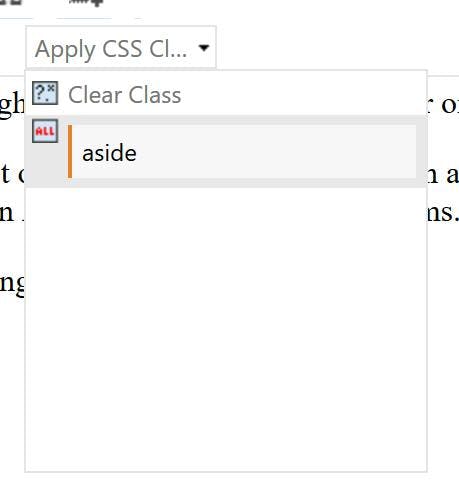
Next by creating a stylesheet that just contains the relevant style to be applied, the content editor can now select this in the CSS drop down;

1.aside {
2 border-left: 2px solid #e2842c;
3 background-color: #f7f7f7;
4 padding: 5px;
5 margin: 5px;
6 display: block;
7}
Sitecore Rendering Datasource Restrictions

Sitecore Rendering Datasource Restrictions

Datasources on Sitecore Renderings are the basis for content authors to combine a variety of components to form a page, without the need for all the fields to exist in the context item. They also form the underpinnings of switching out content based on personalization rules.

To make life easier for content authors there are two properties which should always be set; Datasource Template and Datasource Location.

Datasource Template

The datasource template field is fairly straightforward to understand. It specifies what type of template is compatible with a rendering.

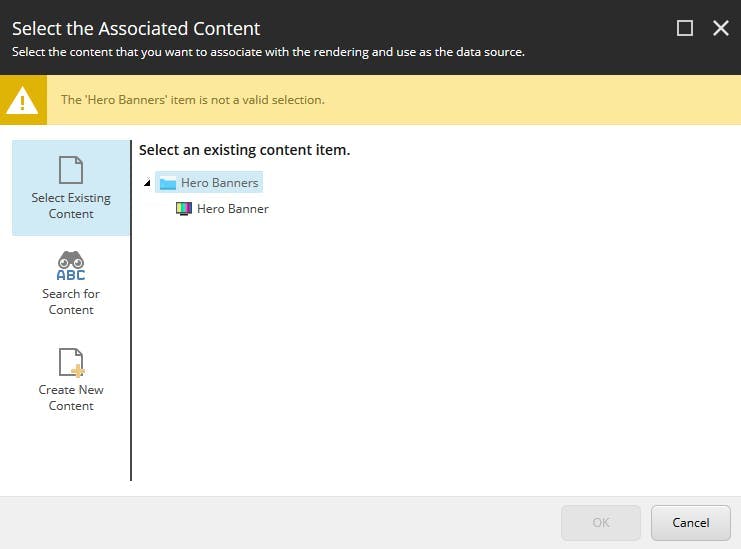
If the content editor try's to select an incorrect template they will see an error message like this and the ok button will be disabled:

The template reference can point to either the final template that an instance of which will be created, or a template that had been inherited. So if you structure your templates using base template like I describe in my article on How I structure Sitecore Templates then you can reference the base template and anything including it will become available.

However there is a fundamental flaw in linking to a base template. As well as restricting the template that can be selected, specifying the template type also enables the ability to create new content, which will create it as the form of the template specified. So only link to the templates you want your editors to create.

Datasource Location

The datasource location property (as the name suggest) enables you to restrict where in the content tree items can be selected from (or new content created).

Simply specify the folder the content should be placed in and the rest of the content tree will now be hidden from content authors.

Multi-site solutions

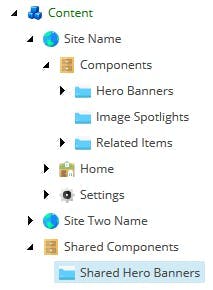
If your solution contains more than one website this may cause a problem as you likely want to be able to restrict certain content to certain sites and may additionally have a global content folder.

The first solution to this is to add multiple path's separated by a pipe.

This will enable multiple folders to be shown to the user, but it wont enable any sort of restriction.

The second option is to add an xpath query find the relevant folder. This can also be used in conjunction with the static path by being pipe separated as in the last example.

A query like this:

1/sitecore/content/Shared Components/Shared Hero Banners|query:./ancestor-or-self::*[@@templatename='Site']/Components/*[@@templatename='Hero Banners']

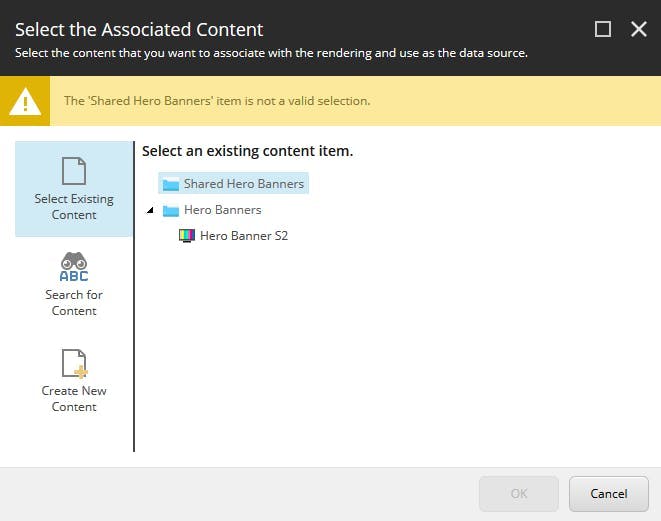
Will produce the desired output like this:

Here you can see the shared hero banners folder is available as is the specific hero banner folder for the current site, but not the hero banner folder from the other site.

Using template source restrictions in Sitecore

Using template source restrictions in Sitecore

The source field on a template definition is a great and easy way to enhance your content editors experience.

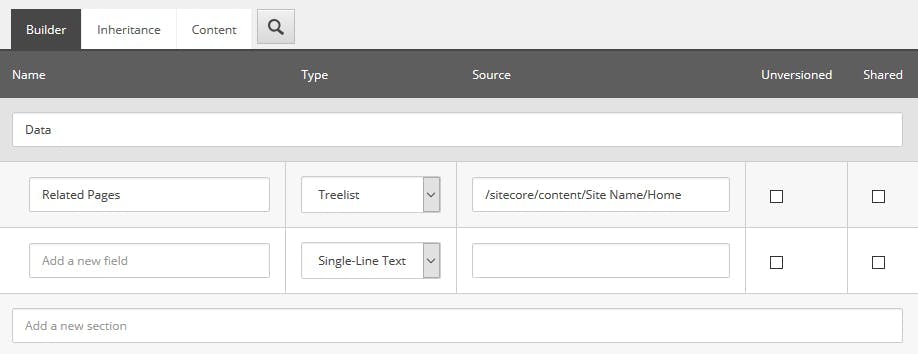
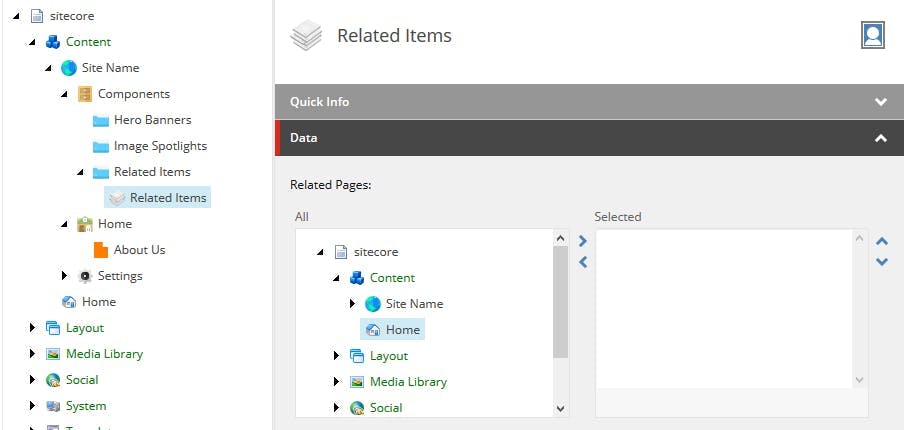
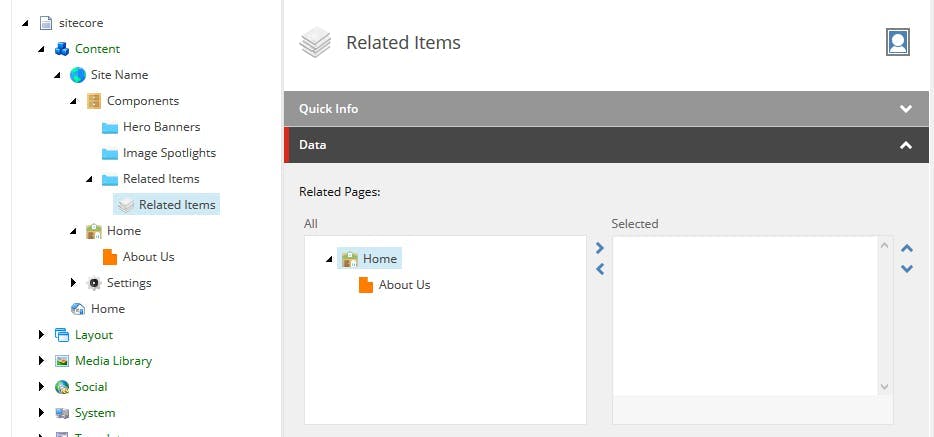
With fields types such as a tree list, this can be used to restrict the content tree to the section that is relevant. e.g.

Adding a source property like this:

Will change how a tree list displays from this:

To this:

Multi-Site Solutions

The source field however is far more powerful than just pasting in a fixed path to an item. Rather than a static path you can use xpath to make the results based on a query, such as restricting options on a droplink by template type.

In a multi-site solution this is particularly useful, by restricting the options to the site that your content item is on.

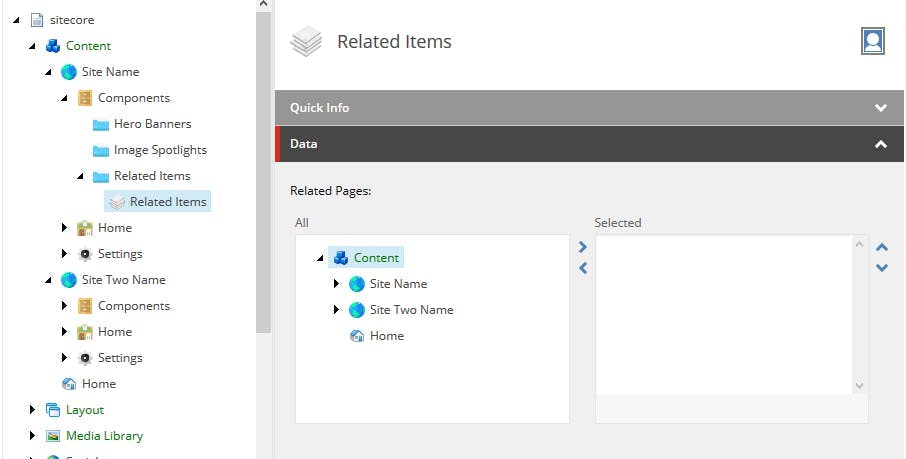
With a fixed path the best we could do in the above example would be to set the restriction to the nearest folder that could access both, resulting in a restriction like this:

While this makes some improvement for the user, but not hugely and they can still select content from the wrong site.

By using an xpath query that utilizes the ancestor-or-self function with a template name, the restriction will dynamically be based on navigating up the content tree from the current item until the template is found and then showing items from it or in this example going back down to the home item.

1query:ancestor-or-self::*[@@templatename='Site']/Home

Resulting in an output like the original example, but dynamically changing to be the correct items for where the current content item is located: