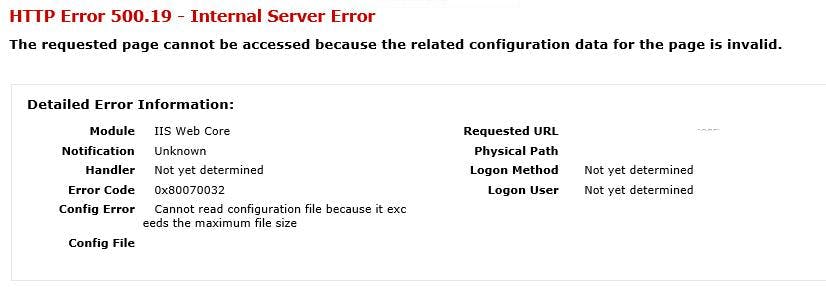
It's a frequent scenario that a website your in the process of building needs to be accessible over the internet before it should actually be publicly available over the internet. This can come in the form of clients needing to review staging sites before there live, test sites needing to be accessible to testers who may not be in a location that can access private servers, or working jointly with other suppliers.
This scenario presents a lot of dangers such as, the URL of a site could get leaked early ruining a marketing strategy, or the site could end up in Google destroying the SEO value on the clients current site and even worse, actually get real customers visiting it.
There are only 2 real methods of protecting test/staging sites. One is adding authentication to the site restricting access to people with a valid username and password. The other is IP white-listing so only people from a valid IP can access the site.
In the past I've seen people suggest using a robots.txt to tell search engines to ignore the site. This is guaranteed to fail, Google will index a site with a robots file saying not to. Your robot's file may say don't crawl, but that auto generated Sitemap will be obeyed an the files indexed. There will also come a time the robots file gets copied live de-indexing the live site, or someone forgets the file on staging and the staging site is indexed.
Using IIS to set up IP restrictions
Using IIS to set up IP restrictions is quick and easy, and what's best about it is you can set it at the server level and not worry about people forgetting to add it to new sites. Better still you can also easily add configuration at a website level to allow certain people to see certain sites rather than the whole box.
Installing the Feature
First you need to make sure you have the feature installed on IIS. To do this on Windows Server 2012:
- Go to Server Manager and click "Add roles and features"
- Click next to take you from the Before you begin page to Installation Type
- Leave Role-based selected and click next
- On the Server Selection screen the server your on should be auto selected. Click next
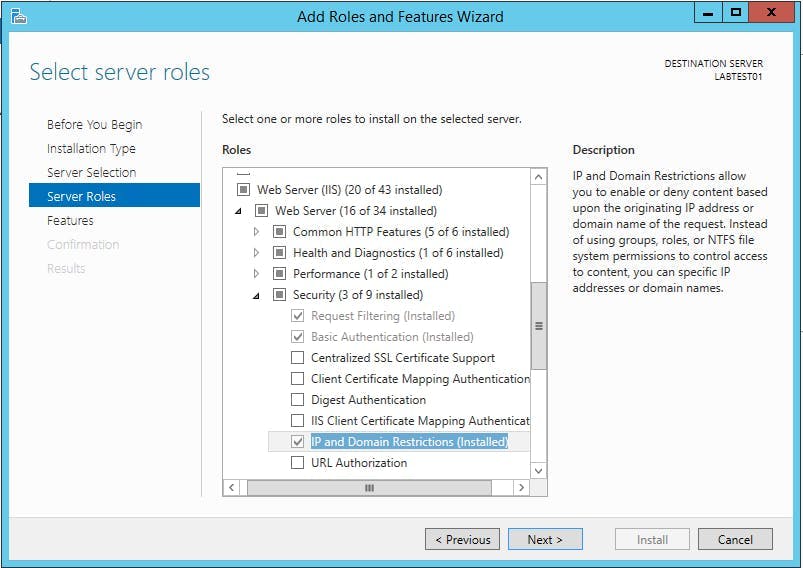
- On the Server Roles screen scroll down to "Web Server (IIS)". IP and Domain Restrictions is located under Web Server (IIS) > Web Server > Security
- Click the check box on IP and Domain Restrictions if its not already selected and complete the wizard to install the features.
Configuring IIS
The set up an IP restriction in IIS do the following:
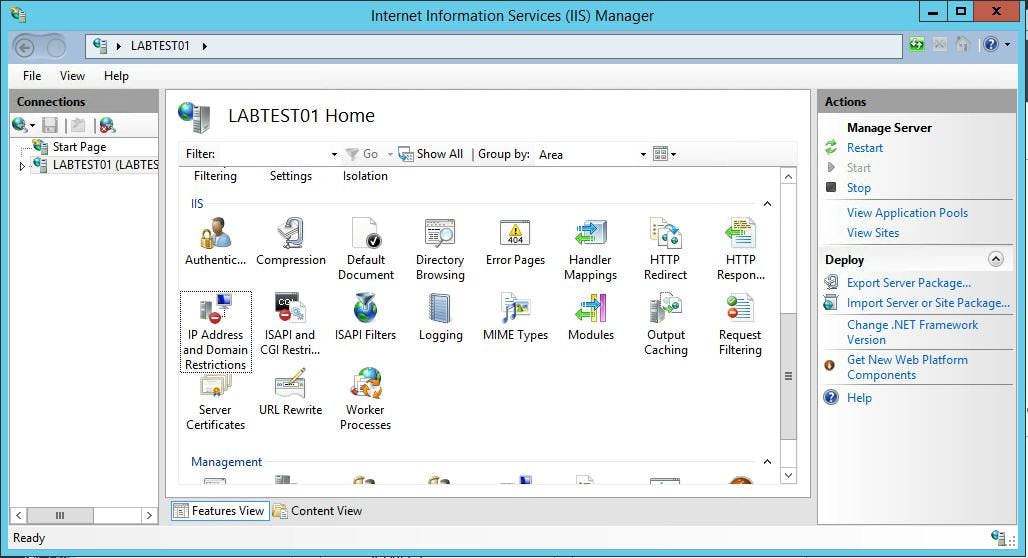
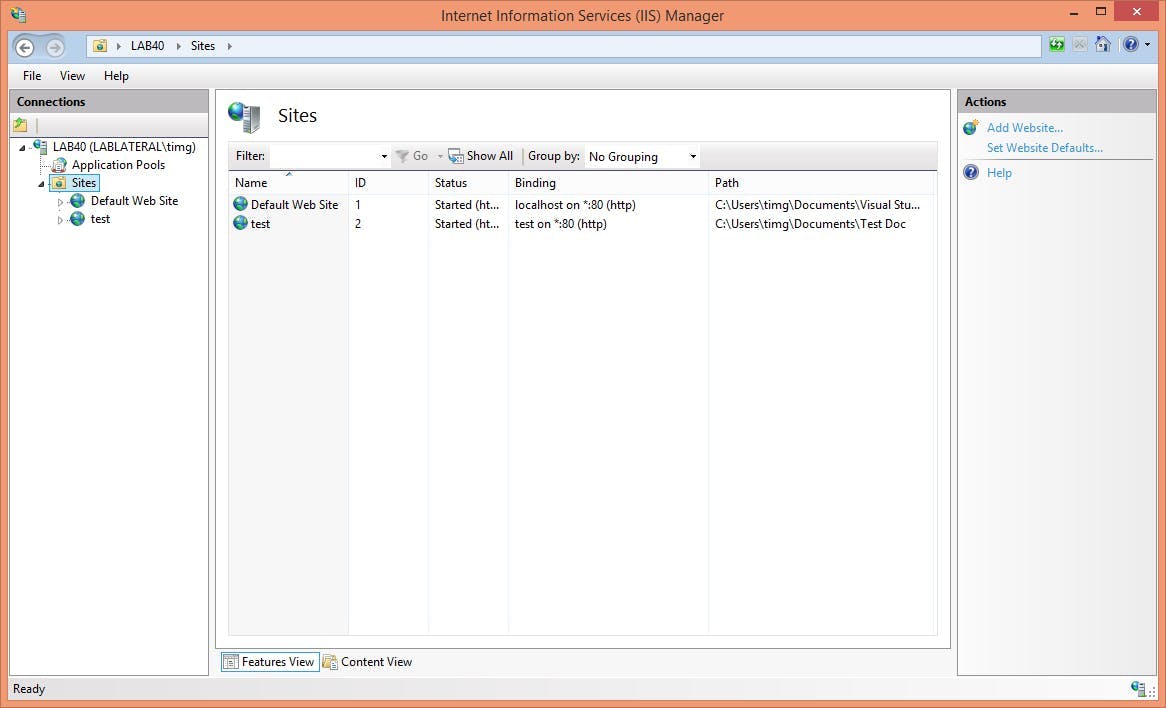
Open IIS and select your server in the left hand treeview. Alternatively if you wanted to add the restrictions to an individual site, select that site.
Within the IIS section you should have an item titled IP Address and Domain Restrictions
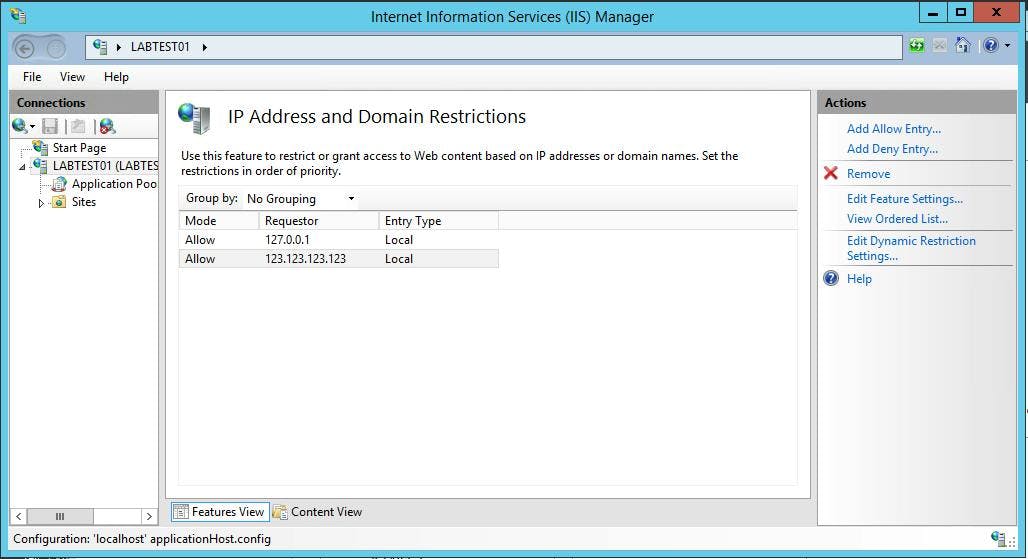
The configured IP address will be listed out. To add a new one click the "Add Allow Entry" action on the right.
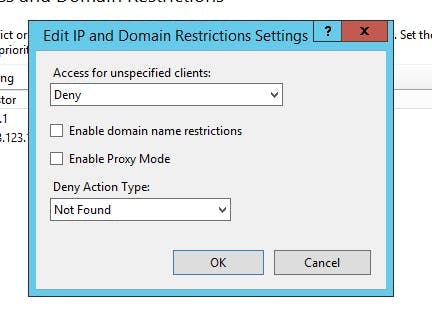
This screen allows you to set up allow and deny lists, but the restrictions don't actually have an effect until you edit the feature settings.
On this screen you need to set the access for unspecified clients to deny. You can also specify a deny action type which alters the status code between unauthorized, forbidden, not found and abort.
What this doesn't do
What this won't do is block all traffic not in the allow list to your server. It will only cover IIS, so if you have other services running on your box like SQL Server, Mongo, Apache etc this will all still be publicly available.