Bundling with Gulp in TeamCity
Like most, our front end developers write CSS in LESS or SASS and then use Gulp to compile the result. This is great but up until recently both the compiled and source style files would end up in our source control repository.
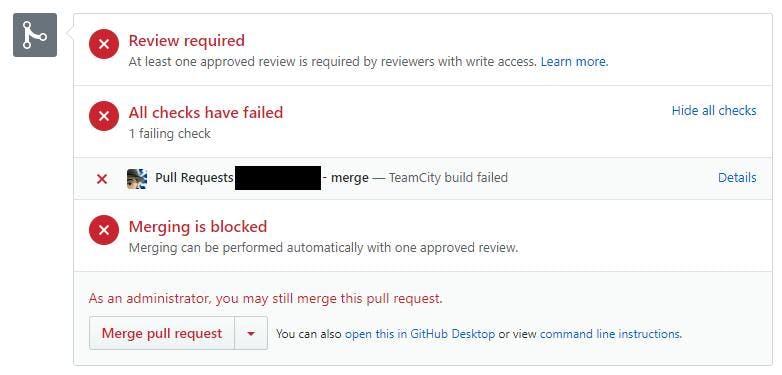
While this isn't a major issue it was more of an annoyance factor when doing a merge that the compiled file would need to be merged as well as the source files. Any conflicts in bundled/minified files also can become problematic to solve. As well as this it also just seems wrong to have both files in a repo, effectively duplicating the file. After all we wouldn't put compiled dll's into a repo with their source.
Our solution was to get the build server to start running the gulp tasks to produce the bundled files.
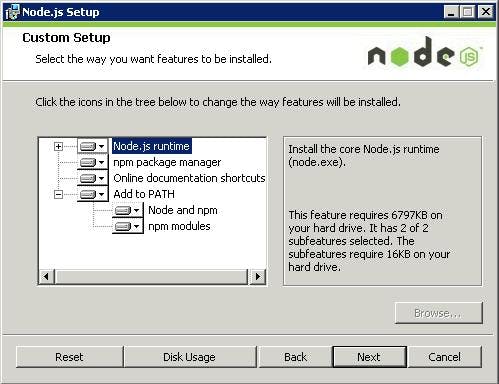
Step 1 - Install Node on the build server
To start we need NodeJS installed on the build server. This allows extensions to be installed via NPM (Node Package Manager), it's a similar thing to NuGet,
Step 2 - Install the TeamCity plugin for NodeJS
To add built steps for Node and Gulp we need to install a plugin to make them available. Lucking there is one that does such a thing here https://github.com/jonnyzzz/TeamCity.Node
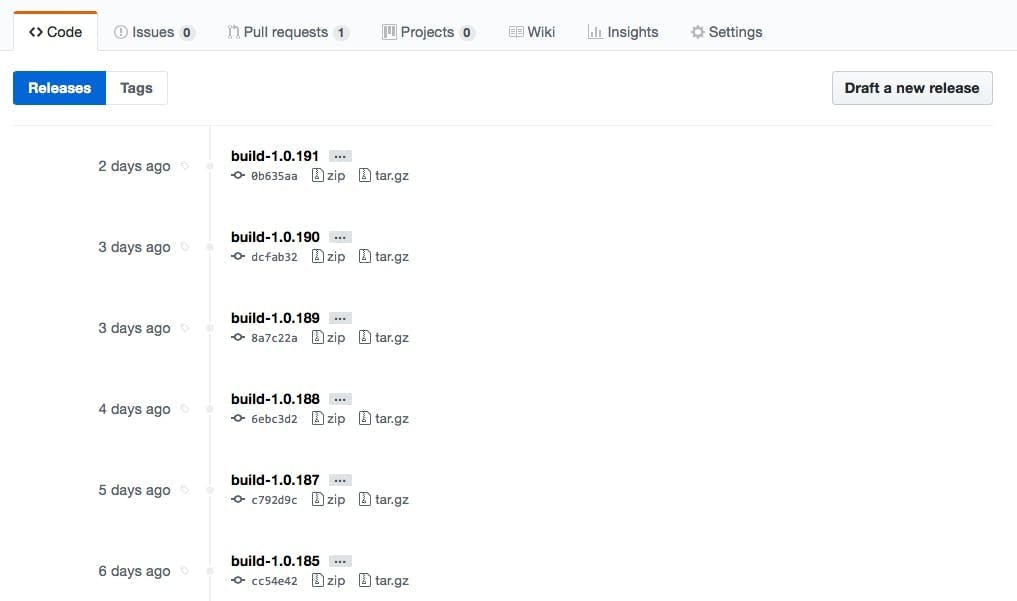
The actual build of the plugin you can download from Jetbrains team city here https://teamcity.jetbrains.com/viewType.html?buildTypeId=bt434. Just login as guest and then download the latest zip from the artifacts of the last build.
To install the plug you need to copy the zip to Team City's plugin folder. For me this was C:\ProgramData\JetBrains\TeamCity\plugins, if your having trouble finding your's just go to Administration > Global Settings in Team City and it will tell you the data directory. The plugin folder will be in there.
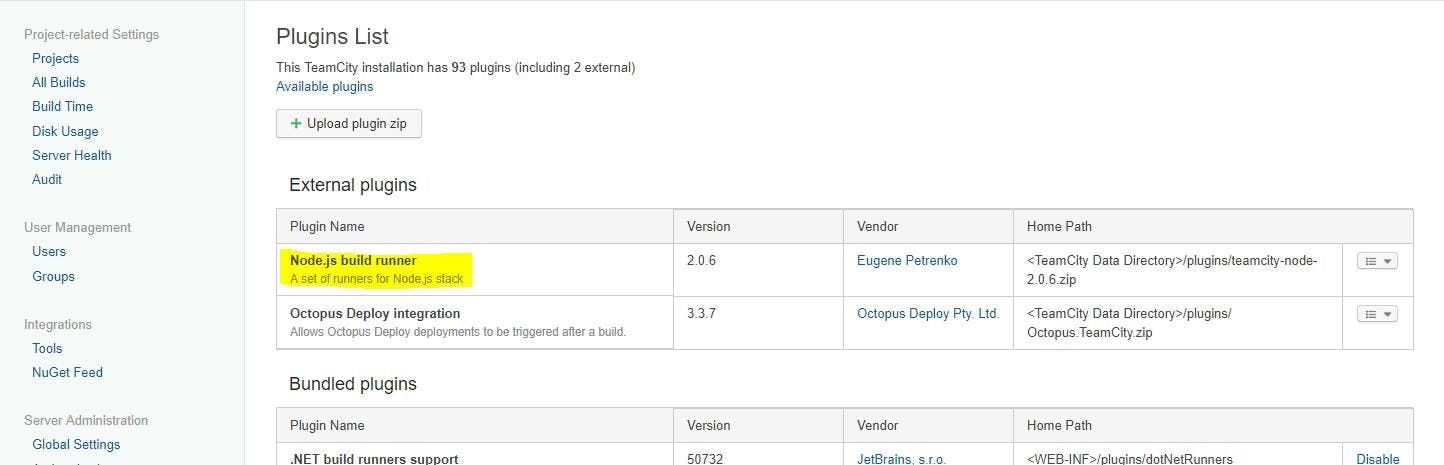
Restart the TeamCity server and the plugin should now show under Administration > Plugins List
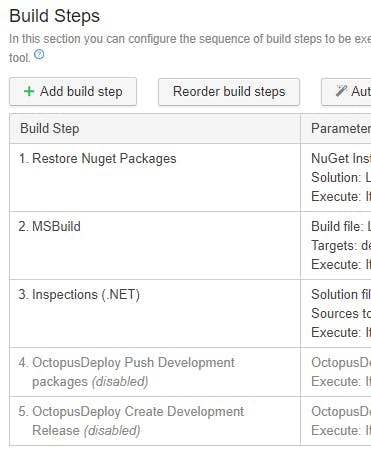
Step 3 - Add a NPM Setup build step
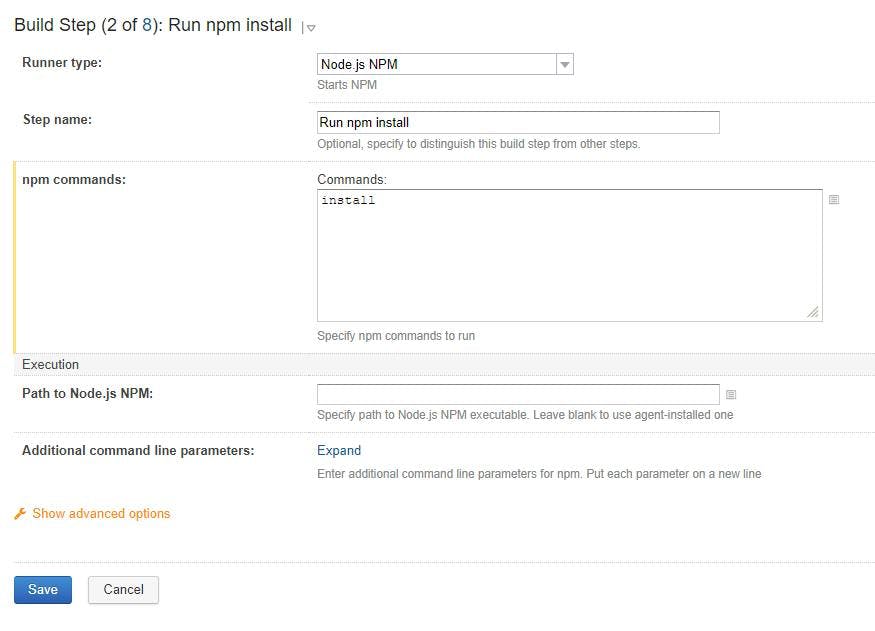
The NPM step with a command of install will pick up dependencies and get the files.
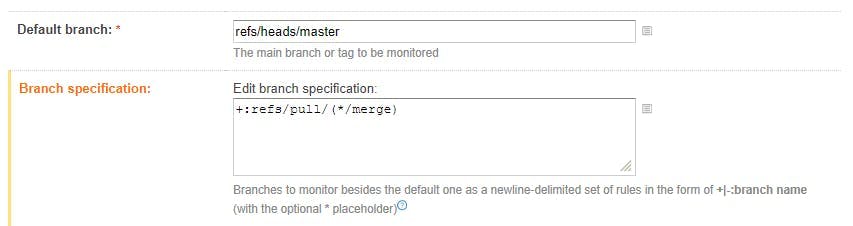
Step 4 - Add a Gulp build step
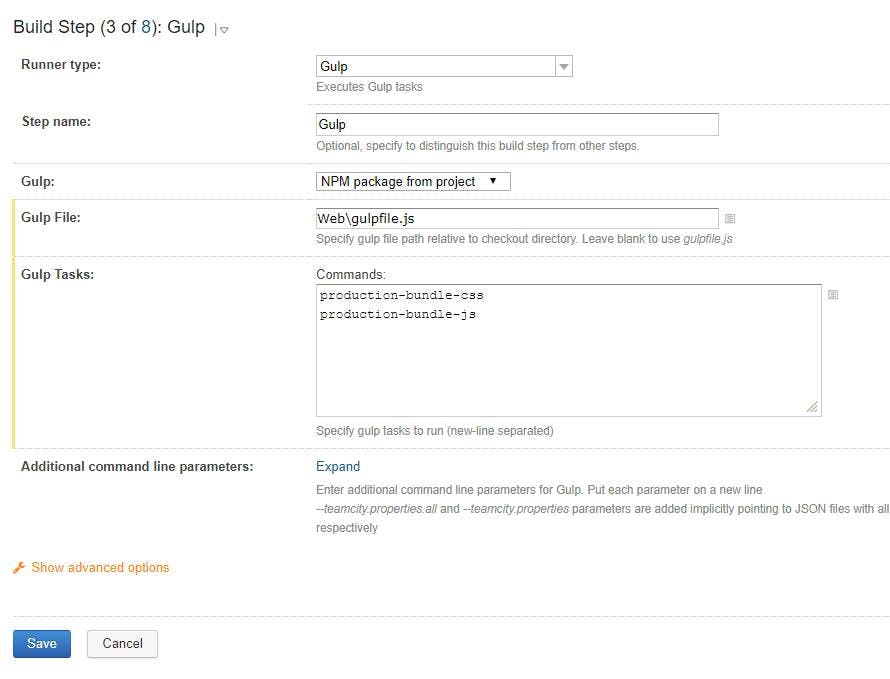
In your gulp step add the path to the gulp file and the tasks in your gulp file that need to be run. I'm using a gulp file that our front end devs had already created for the solution that contained as task for bundling css and another for bundling js.
Step 5 - Including bundled files in a MSBuild
As the bundled files are no longer included in our Visual Studio solution it also means that they arn't included in the set of files which will be included in a publish when MSBuild runs.
To overcome this update the .csproj file with a Target with BeforeTargets set to BeforeBuild and list your bundled files as content. In my example I'm included the whole Content\bundles folder
1<Target Name="BundlesBeforeBuild" BeforeTargets="BeforeBuild">2<ItemGroup>3<Content Include="Content\bundles\**" />4</ItemGroup>5</Target>