Using compile options for version compatibility
Here's the scenario; Your building a module and it needs to be compatible with different versions of a platform. e.g. Sitecore, and everything's great up until the day you need to call different methods in different versions of the platform. You'd rather not drop support for the old versions, and nor do you want to start maintaining two code bases. So what do you do?
C# Preprocessor Directives
Preprocessor directives provide a way to give the compiler instructions to follow while its compiling a project. By using this we can give the compiler conditions to compile different versions in different ways. Thereby allowing us to maintain one codebase, but produce compilations for different versions of the platform. e.g. One for Sitecore 8.0 and another for Sitecore 9.0.
#if, #else and #endif
When the compiler encounters an #if followed by an #endif, it will only compile the code between the two if the specified symbol had been defined.
1#if DEBUG2 Console.WriteLine("Debug version");3#else4 Console.WriteLine("Non Debug version");5#endif6
Defining a preprocessor symbol
For the if statement to work, your going to need to define your symbol which is being evaluate.
This can be included in code as follows
1#define YOURSYMBOL
A more useful was of defining this however is to include it in your call to MSBuild (this is particularly useful when using a build server).
1-define:name[;name2]
If your compiling from Visual Studio an easier solution is to set up a new build configuration with a conditional compilation symbol.
- Right click your solution item in Solution Explorer and select Properties
- Click Configuration Properties on the left and then Configuration Manager on the right
- In the pop up window click the Active solution configuration drop down and then click New
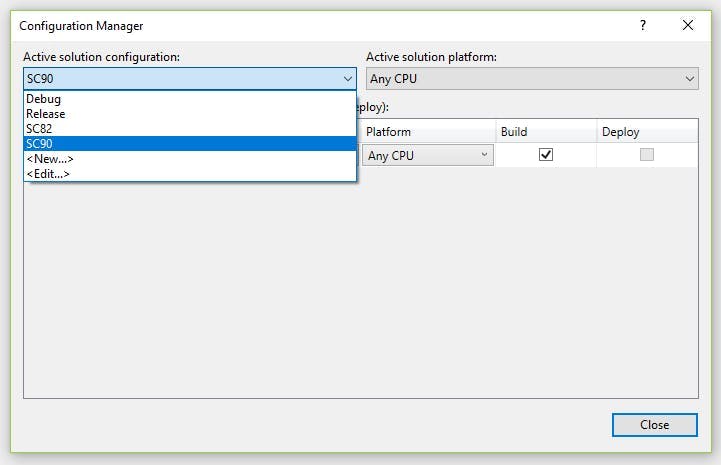
- Enter the name of the build config. In my example above I have SC82 for Sitecore 8.2 and SC90 for Sitecore 9.0.
- Click Ok and close all the windows you just opened
- Right click the project that your going to build and select Properties
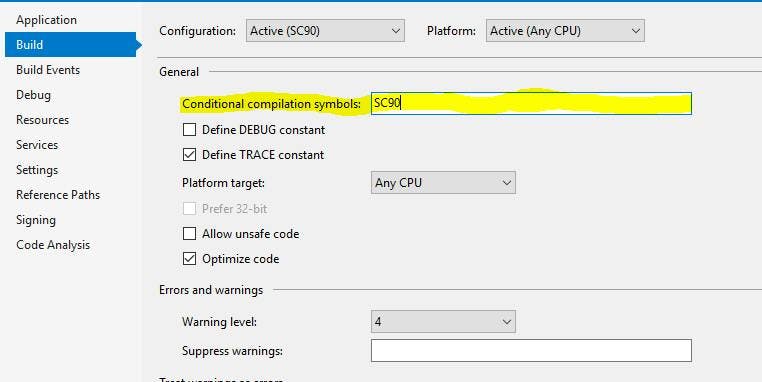
- Select the Build tab
- Select your build configuration from the configuration at the top
- Enter the symbol your using for the #if directives
Reference different versions of an assembly
Adding conditions to our code is good, but for this to fully work we also need to reference different versions of the assemblies that are causing the issue in the first place.
There's no way of doing this through Visual Studio but by editing the .csproj file manually we can update the hint path on a reference to include the configuration name as a variable.
1..\libraries\$(Configuration)\Sitecore.Kernel.dll False
This example shows how different versions of the Sitecore Kernel can be referenced by keeping each version in a subfolder that corresponds with the build configuration name.
As well as different versions of assemblies, it may also be needed to target different versions of the .NET framework. This can be done in the .csproj file by including additional property groups that have a condition on the configuration name.
1bin\SC82\2TRACE;SC823true4v4.5.256bin\SC90\7TRACE;SC908true9v4.6.2
In this example I'm targeting .net 4.5.2 for my Sitecore 8.2 configuration and 4.6.2 for my Sitecore 9 configuration.