Tag: IIS
Creating a SSL for your local Sitecore Site

Creating a SSL for your local Sitecore Site

When you install Sitecore, the installer will quite handily setup some SSL certificates for you. That way when you test locally your site will correctly run under https. However for various reasons you may not have used the installer to setup your local instance, in which case you need to do it yourself.

Creating a self signed SSL certificate however is one of those things that's always been far harder than is should. Previously I've written about how you can do it using mkcert, but recently I've found another way.

Creating a new self-signed SSL certificate with PowerShell

First open a PowerShell window or if you use the new Windows Terminal then one of those will do. Make sure you run it as an administrator or you'll run into permissions errors.

Then run the following command filling in your site URL and a friendly name.

1New-SelfSignedCertificate -CertStoreLocation Cert:\LocalMachine\My -DnsName "my-site.local" -FriendlyName "MySiteName" -NotAfter (Get-Date).AddYears(5)

This will create a cert with the expiry date set in 5 years time.

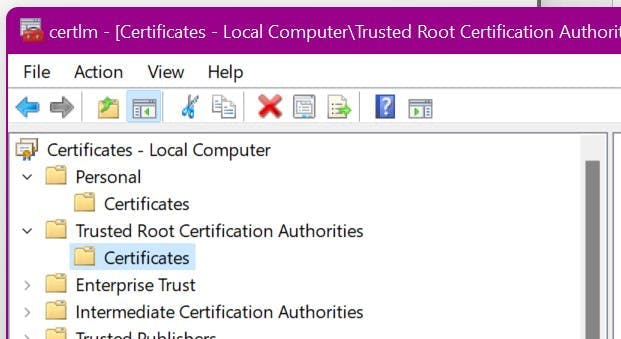
Next, it needs moving to the Trusted Root Certification Authorities store.

Click Start and type:

1certlm.msc

Find the certificate you just created in your personal certificates, and copy it into the trusted root certificates.

IIS HTTPS Site Bindings

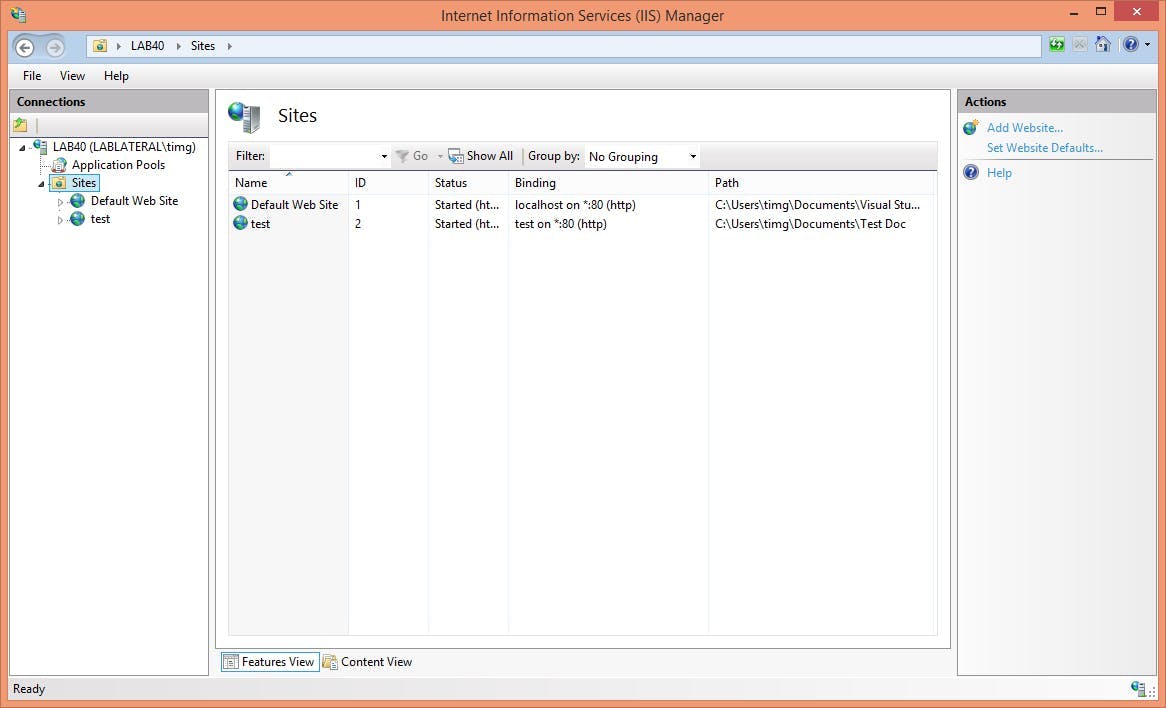
To instruct your site to use the new certificate you need to update the IIS bindings for your site.

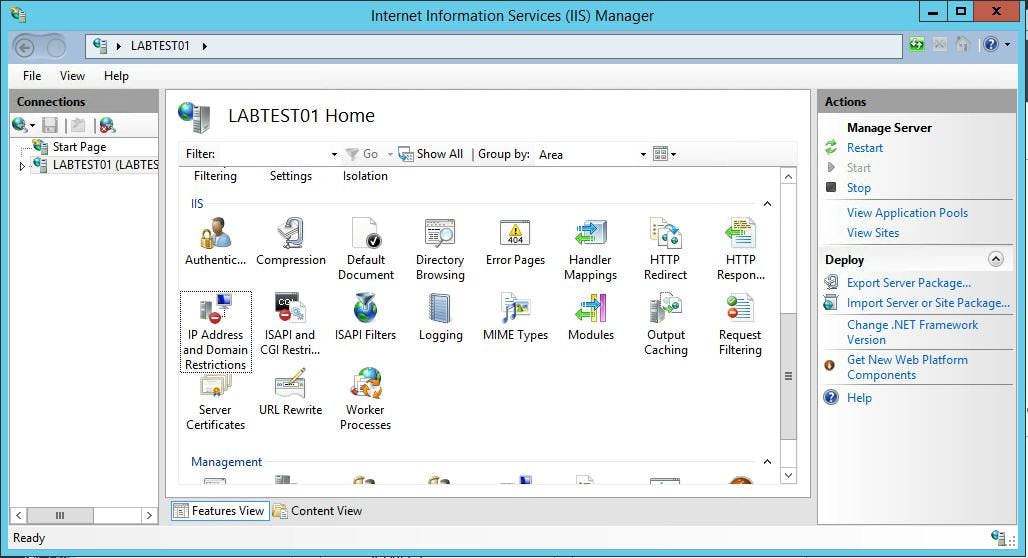
Go to IIS > selects site > Bindings... and then choose the https bindings.

You should have something like this.

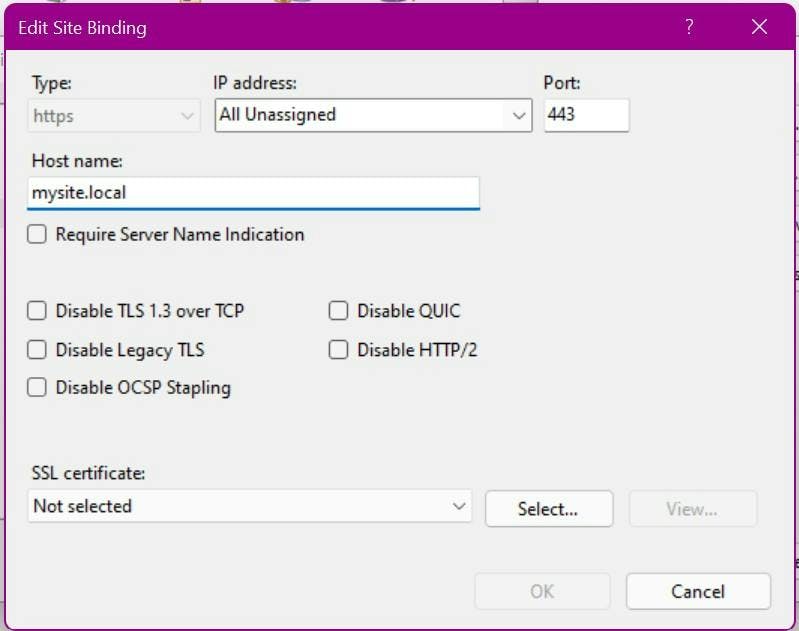
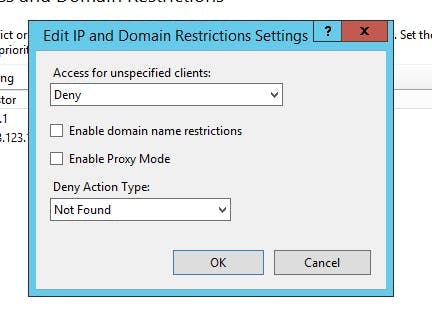
In the SSL certificate drop down, pick your newly created certificate.

At this point you should have an SSL certificate which browsers actually like!

Other Sitecore Settings

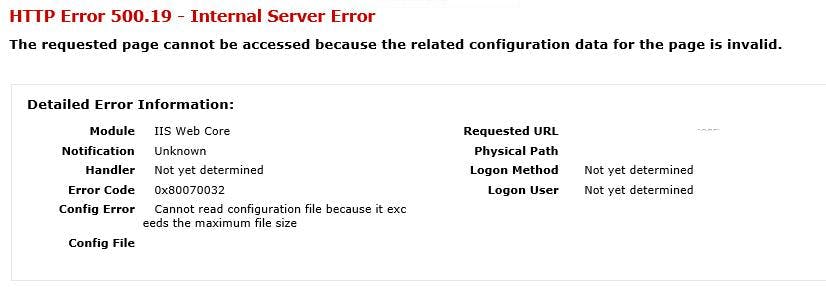
Despite the newly working certificate you may still run into issues with Sitecore which could either be due to SSL thumbprints in config files or config settings for URLs not including https. e.g. In {IDENTITYSERVER_ROOT}/Config/production/Sitecore.IdentityServer.Host.xml there is a setting for AllowedCorsOrigins which will need the https version of the url.

Setting up local https with IIS in 10 minutes

Setting up local https with IIS in 10 minutes

For very good reasons websites now nearly always run under https rather than http. As dev's though this gives us a complication of either removing any local redirect to https rules and "hoping" things work ok when we get to a server, or setting local IIS up to have an https binding.

Having https setup locally is obviously a lot more favourable and what has traditionally been done is to create a self signed certificate however while this works as far as IIS is concerned, it still leaves an annoying browser warning as the browser will recognise it as un-secure. This can then create additional problems in client side code when certain things will hit the error when calling an api.

mkcert

The solution is to have a certificate added to your trusted root certificates rather than a self signed one. Fortunately there is a tool called mkcert that makes the process a lot simpler to do.

https://github.com/FiloSottile/mkcert#windows

Create a local cert step by step

1. If you haven't already. Install chocolatey ( https://chocolatey.org/install ). Chocolatey is a package manager for windows which makes it super simple to install applications. The name is inspired from NuGet. i.e. Chocolatey Nuget

2. Install mkcert, to do this from a admin command window run

1choco install mkcert

3. Create a local certificate authority (ca)

1mkcert -install

4. Create a certificate

1mkcert -pkcs12 example.com

Remember to change example.com to the domain you would like to create a certificate for.

5. Rename the .p12 file that was created to .pfx (this is what IIS requires). The certificate will now be created in the folder you have the command window open at.

You can now import the certificate into IIS as normal. When asked for a password this have been set to changeit

Redirect to https using URL Rewrite

Redirect to https using URL Rewrite

There's always been reasons for pages to be served using https rather than http, such as login pages, payment screens etc. Now more than ever it's become advisable to have entire sites running in https. Server speeds have increased to a level where the extra processing involved in encrypting page content is less of a concern, and Google now also gives a boost to a pages page ranking in Google (not necessarily significant, but every little helps).

If all your pages work in https and http you'll also need to make sure one does a redirect to the other, otherwise rather than getting the tiny page rank boost from Google, you'll be suffering from having duplicate pages on your site.

Redirecting to https with URL Rewrite

To set up a rule to redirect all pages from is relatively simple, just add the following to your IIS URL Rewrite rules.

1<rule name="Redirect to HTTPS" stopProcessing="true">
2 <conditions>
3 <add input="{HTTPS}" pattern="^OFF$" />
4 </conditions>
5 <action type="Redirect" url="https://{HTTP_HOST}{REQUEST_URI}" appendQueryString="false" />
6</rule>

The conditions will ensure any page not on https will be caught and the redirect will do a 301 to the same page but on https.

301 Moved Permanently or 303 See Other

I've seen some posts/examples and discussions surrounding if the redirect type should be a 301 or a 303 when you redirect to https.

Personally I would choose 301 Moved Permanently as you want search engines etc to all update and point to the new url. You've decided that your url from now on should be https, it's not a temporary redirection and you want any link ranking to be transfered to the new url.

Excluding some URL's

There's every chance you don't actually want every url to redirect to https. You may have a specific folder that can be accessed on either for compatibility with some other "thing". This can be accomplished by adding a match rule that is negated. e.g.

1<rule name="Redirect to HTTPS" stopProcessing="true">
2 <match url="images" negate="true" />
3 <conditions>
4 <add input="{HTTPS}" pattern="^OFF$" />
5 </conditions>
6 <action type="Redirect" url="https://{HTTP_HOST}{REQUEST_URI}" appendQueryString="false" />
7</rule>

In this example any url with the word images in would be excluded from the rewrite rule.

Increasing the Maximum file size for Web.Config

This can happen in any ASP.NET Web Application, but as Sitecore 8's default web.config file is now 246 kb this makes it extremely susceptible to exceeding the default 250 kb limit.

To change the size limit you need to modify/create the following registry keys:

HKLM\SOFTWARE\Microsoft\InetStp\Configuration\MaxWebConfigFileSizeInKB  (REG_DWORD)

On 64-bit machines you may also have to update the following as well

HKLM\SOFTWARE\Wow6432Node\Microsoft\InetStp\Configuration\MaxWebConfigFileSizeInKB (REG_DWORD)

You will probably find that these keys need to be created, rather than just being updated. After changing them you will also need to reset IIS.

Alternatively

Alternatively you can leave the default values at 250 kb and split the web.config files into separate files.

More information on doing this can be found here:

http://www.davidturvey.com/blog/index.php/2009/10/how-to-split-the-web-config-into-mutliple-files/

My personal preference for Sitecore projects is to update the the max file size as this allows keeping the web.config file as close to the default install as possible. The benefit of doing this is it makes upgrades easier, rather than needing to know why your web.config doesn't match the installation instructions.

Setting IP restrictions in IIS

It's a frequent scenario that a website your in the process of building needs to be accessible over the internet before it should actually be publicly available over the internet. This can come in the form of clients needing to review staging sites before there live, test sites needing to be accessible to testers who may not be in a location that can access private servers, or working jointly with other suppliers.

This scenario presents a lot of dangers such as, the URL of a site could get leaked early ruining a marketing strategy, or the site could end up in Google destroying the SEO value on the clients current site and even worse, actually get real customers visiting it.

There are only 2 real methods of protecting test/staging sites. One is adding authentication to the site restricting access to people with a valid username and password. The other is IP white-listing so only people from a valid IP can access the site.

In the past I've seen people suggest using a robots.txt to tell search engines to ignore the site. This is guaranteed to fail, Google will index a site with a robots file saying not to. Your robot's file may say don't crawl, but that auto generated Sitemap will be obeyed an the files indexed. There will also come a time the robots file gets copied live de-indexing the live site, or someone forgets the file on staging and the staging site is indexed.

Using IIS to set up IP restrictions

Using IIS to set up IP restrictions is quick and easy, and what's best about it is you can set it at the server level and not worry about people forgetting to add it to new sites. Better still you can also easily add configuration at a website level to allow certain people to see certain sites rather than the whole box.

Installing the Feature

First you need to make sure you have the feature installed on IIS. To do this on Windows Server 2012:

  1. Go to Server Manager and click "Add roles and features"
  2. Click next to take you from the Before you begin page to Installation Type
  3. Leave Role-based selected and click next
  4. On the Server Selection screen the server your on should be auto selected. Click next
  5. On the Server Roles screen scroll down to "Web Server (IIS)". IP and Domain Restrictions is located under Web Server (IIS) > Web Server > Security
  6. Click the check box on IP and Domain Restrictions if its not already selected and complete the wizard to install the features.

Configuring IIS

The set up an IP restriction in IIS do the following:

Open IIS and select your server in the left hand treeview. Alternatively if you wanted to add the restrictions to an individual site, select that site.

Within the IIS section you should have an item titled IP Address and Domain Restrictions

The configured IP address will be listed out. To add a new one click the "Add Allow Entry" action on the right.

This screen allows you to set up allow and deny lists, but the restrictions don't actually have an effect until you edit the feature settings.

On this screen you need to set the access for unspecified clients to deny. You can also specify a deny action type which alters the status code between unauthorized, forbidden, not found and abort.

What this doesn't do

What this won't do is block all traffic not in the allow list to your server. It will only cover IIS, so if you have other services running on your box like SQL Server, Mongo, Apache etc this will all still be publicly available.

IIS Where are my log files?

This is one of those things that once you know is very very simple, but finding out can be very very annoying.

IIS by default will store a log file for each site that it runs. This gives you valuable details on each request to the site that can help when errors are being reported by users.

When you go searching for them your initial thought may be to go to IIS and look at the site you want the files for. There you will see an item called logging. Excellent you think, this will tell you all you need to know.

There's even a button saying "View Log File...", but once you click it you realise things aren't so simple. The link and folder path on the logging page both take you to a folder, containing more folders. In those folders are the logs, but there's a folder for each site in IIS and they've all got a weird name. How do you know which folder has the log files for the site you want?

Back on the IIS logging screen there's nothing to say which folder the files will be in. There isn't any indication anywhere.

The answer however is very easy. Each folder has the Site ID in its name. You can find the Site ID for your site in IIS either by looking at the sites list

or clicking on a site and clicking advanced settings

Creating 301 redirects in web.config

For various reasons at times you may need to create a 301 redirect to another URL. This could be as a result of a page moving or you just need to create some friendly URLS.

As a developer you may be tempted to do something like this in code...

1private void Page_Load(object sender, System.EventArgs e)
2{
3 Response.Status = "301 Moved Permanently";
4 Response.AddHeader("Location","http://www.new-url.com");
5}

But do you really want your project cluttered up with files who's only purpose is to redirect to another page!

You may also be tempted to try doing something with .NET's RouteCollection. This would certainly solve an issue on creating a redirect for anything without a file extension, but there is a better way.

In your web.config file under the configuration node create something like this

1<location path="twitter">
2 <system.webServer>
3 <httpRedirect enabled="true" destination="http://twitter.com/TwitterName" httpResponseStatus="Permanent" />
4 </system.webServer>
5</location>

The location path specifies that path on your site that this redirect will apply to. The destination value in the httpRedirect is where the redirect will go to. As well as setting Permanent for the httpResponseStatus you can also specify Found or Temporary depending on your needs.

ASP.NET Session Timeout

A users session on an ASP.NET site by default will time-out after 20 minutes. This however can be changed through either the web.config file or IIS.

To edit through the web.config file you need to edit the sessionState tag under system.web

1<system.web>
2 <sessionState timeout="30"></sessionState>
3</system.web>

Or through IIS click on your site name and then click Session State under the ASP.NET heading. There will be a field labeled Time-out (in minutes).

The value you enter for time-out must be an integer.

Help it doesn't seem to work!

If your sessions still seem like there timing out after 20 minutes it could be because your site isn't very active.

The application pool for your site also has an idle time-out that is set by default to 20 minutes. When the idle time-out is reached it will cause your application pool to recycle and therefore loose any active sessions (that's assuming you have the session state mode set to In Proc). Therefore it is a good idea to increase this to whatever you have set the session time-out to.

To do this go to your sites application pool in IIS, click advanced settings on the right and then look for the Idle Time-out (minutes) setting and update this to be the same as your session time-out value.