Data Source vs Rendering Parameters
On the face of it being able to specify Rendering Parameters, or a Data Source on a control achieves a very similar goal. You want to componentise your page and not fill up your page type item with fields for specific renderings. Everything should be isolated in it's own little compartment.
Linking a rendering control to a Data Source does this by moving all your data to a completely separate item, that can be re-used over multiple pages and even swapped out to do personalization or A/B testing.
Equally, using Rendering Parameters does this just as well. Just like a Data Source, you can create a template for the fields that need to be entered, and the data is kept in the same place that a link to a Data Source would be specified.
But what should I use?
The easiest way I can describe it is by asking, are you storing content or something else?
If the answer is content then you most likely want a data source. Alternatively, if it's something else like some config for a filter, or a background colour you will most likely want a rendering parameter (but there could be exceptions).
Data Sources
Data Sources have some distinct advantages over a Rendering Parameter including:
- Data can be edited in the Experience Editor inline in your page
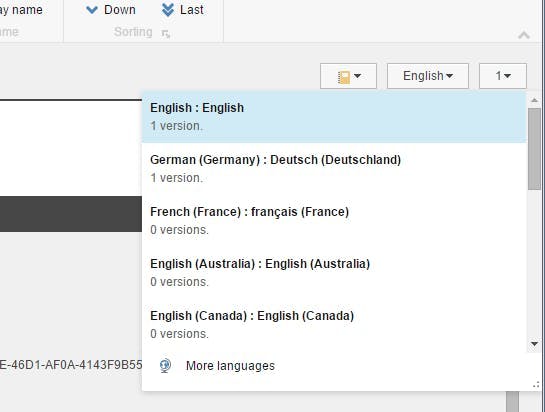
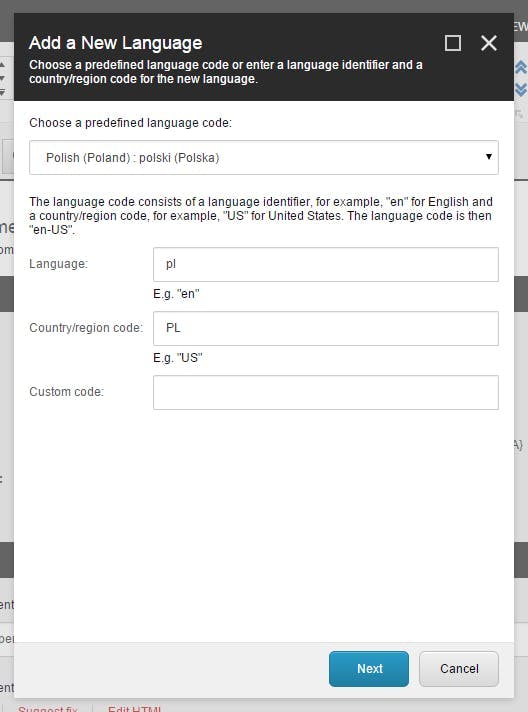
- Language versions are very easy to understand by content editors
- Easily used for personalization and testing
- Can be reused on as many controls as you like
These things all make a Data Source a perfect option for anything content related. Without them you loose some big features related to content and ease of use. There are times non-content is also a good option. e.g. A hero banner on a page could be used across multiple pages and as well a reusing the text, if a background colour is also customizable you would want to be re-using that too.
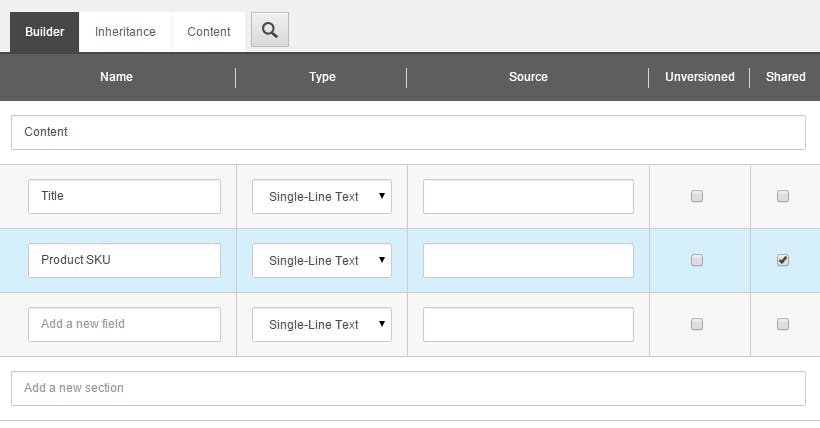
Rendering Parameters
Likewise Rendering Parameters also have there benefits:
- Doesn't create an extra item to publish. You just have to publish the page your editing, not the related data source
- Easy to access in the control properties of the item your looking at, without having to find the related data source
These features make Rendering Parameters ideal for the non-content config of a control and removes non-content fields from your item templates. The thing to be aware of though is you can't easily do A/B testing or personalization with a rendering parameter, so while it's nice for your items to only contain content, that might not be the only thing that's being tested.
How about both?
There is also nothing to stop you using a Rendering Parameter and a Data Source at the same time.
You could have a situation when a Data Source is being used to populated the content on multiple different controls. Each control may have some additional config needed, such as text colour or text size. Keeping this data in the data source might become problematic as on one rendering your text may need to be black, whereas on another it may need to be white. By moving these fields to Rendering Parameters, you keep the benefit of a shared Data Source for content, while the Rendering Parameter takes care of the presentation config.